HD Ceramic Coating Project Tracker
Danny's Truck
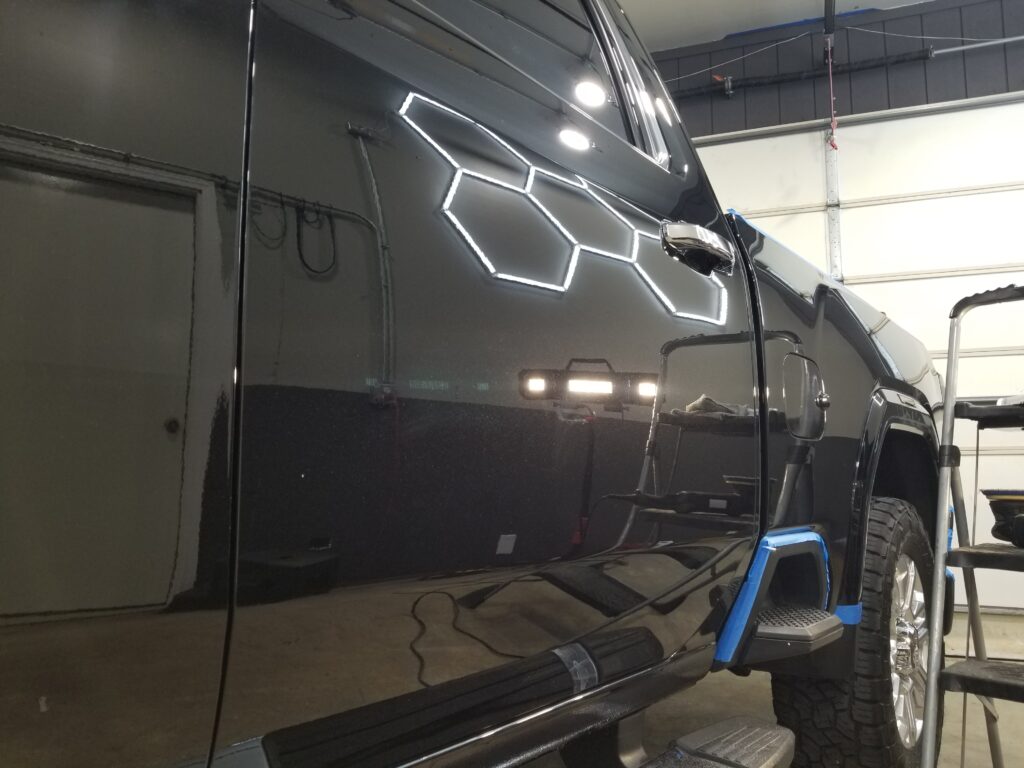
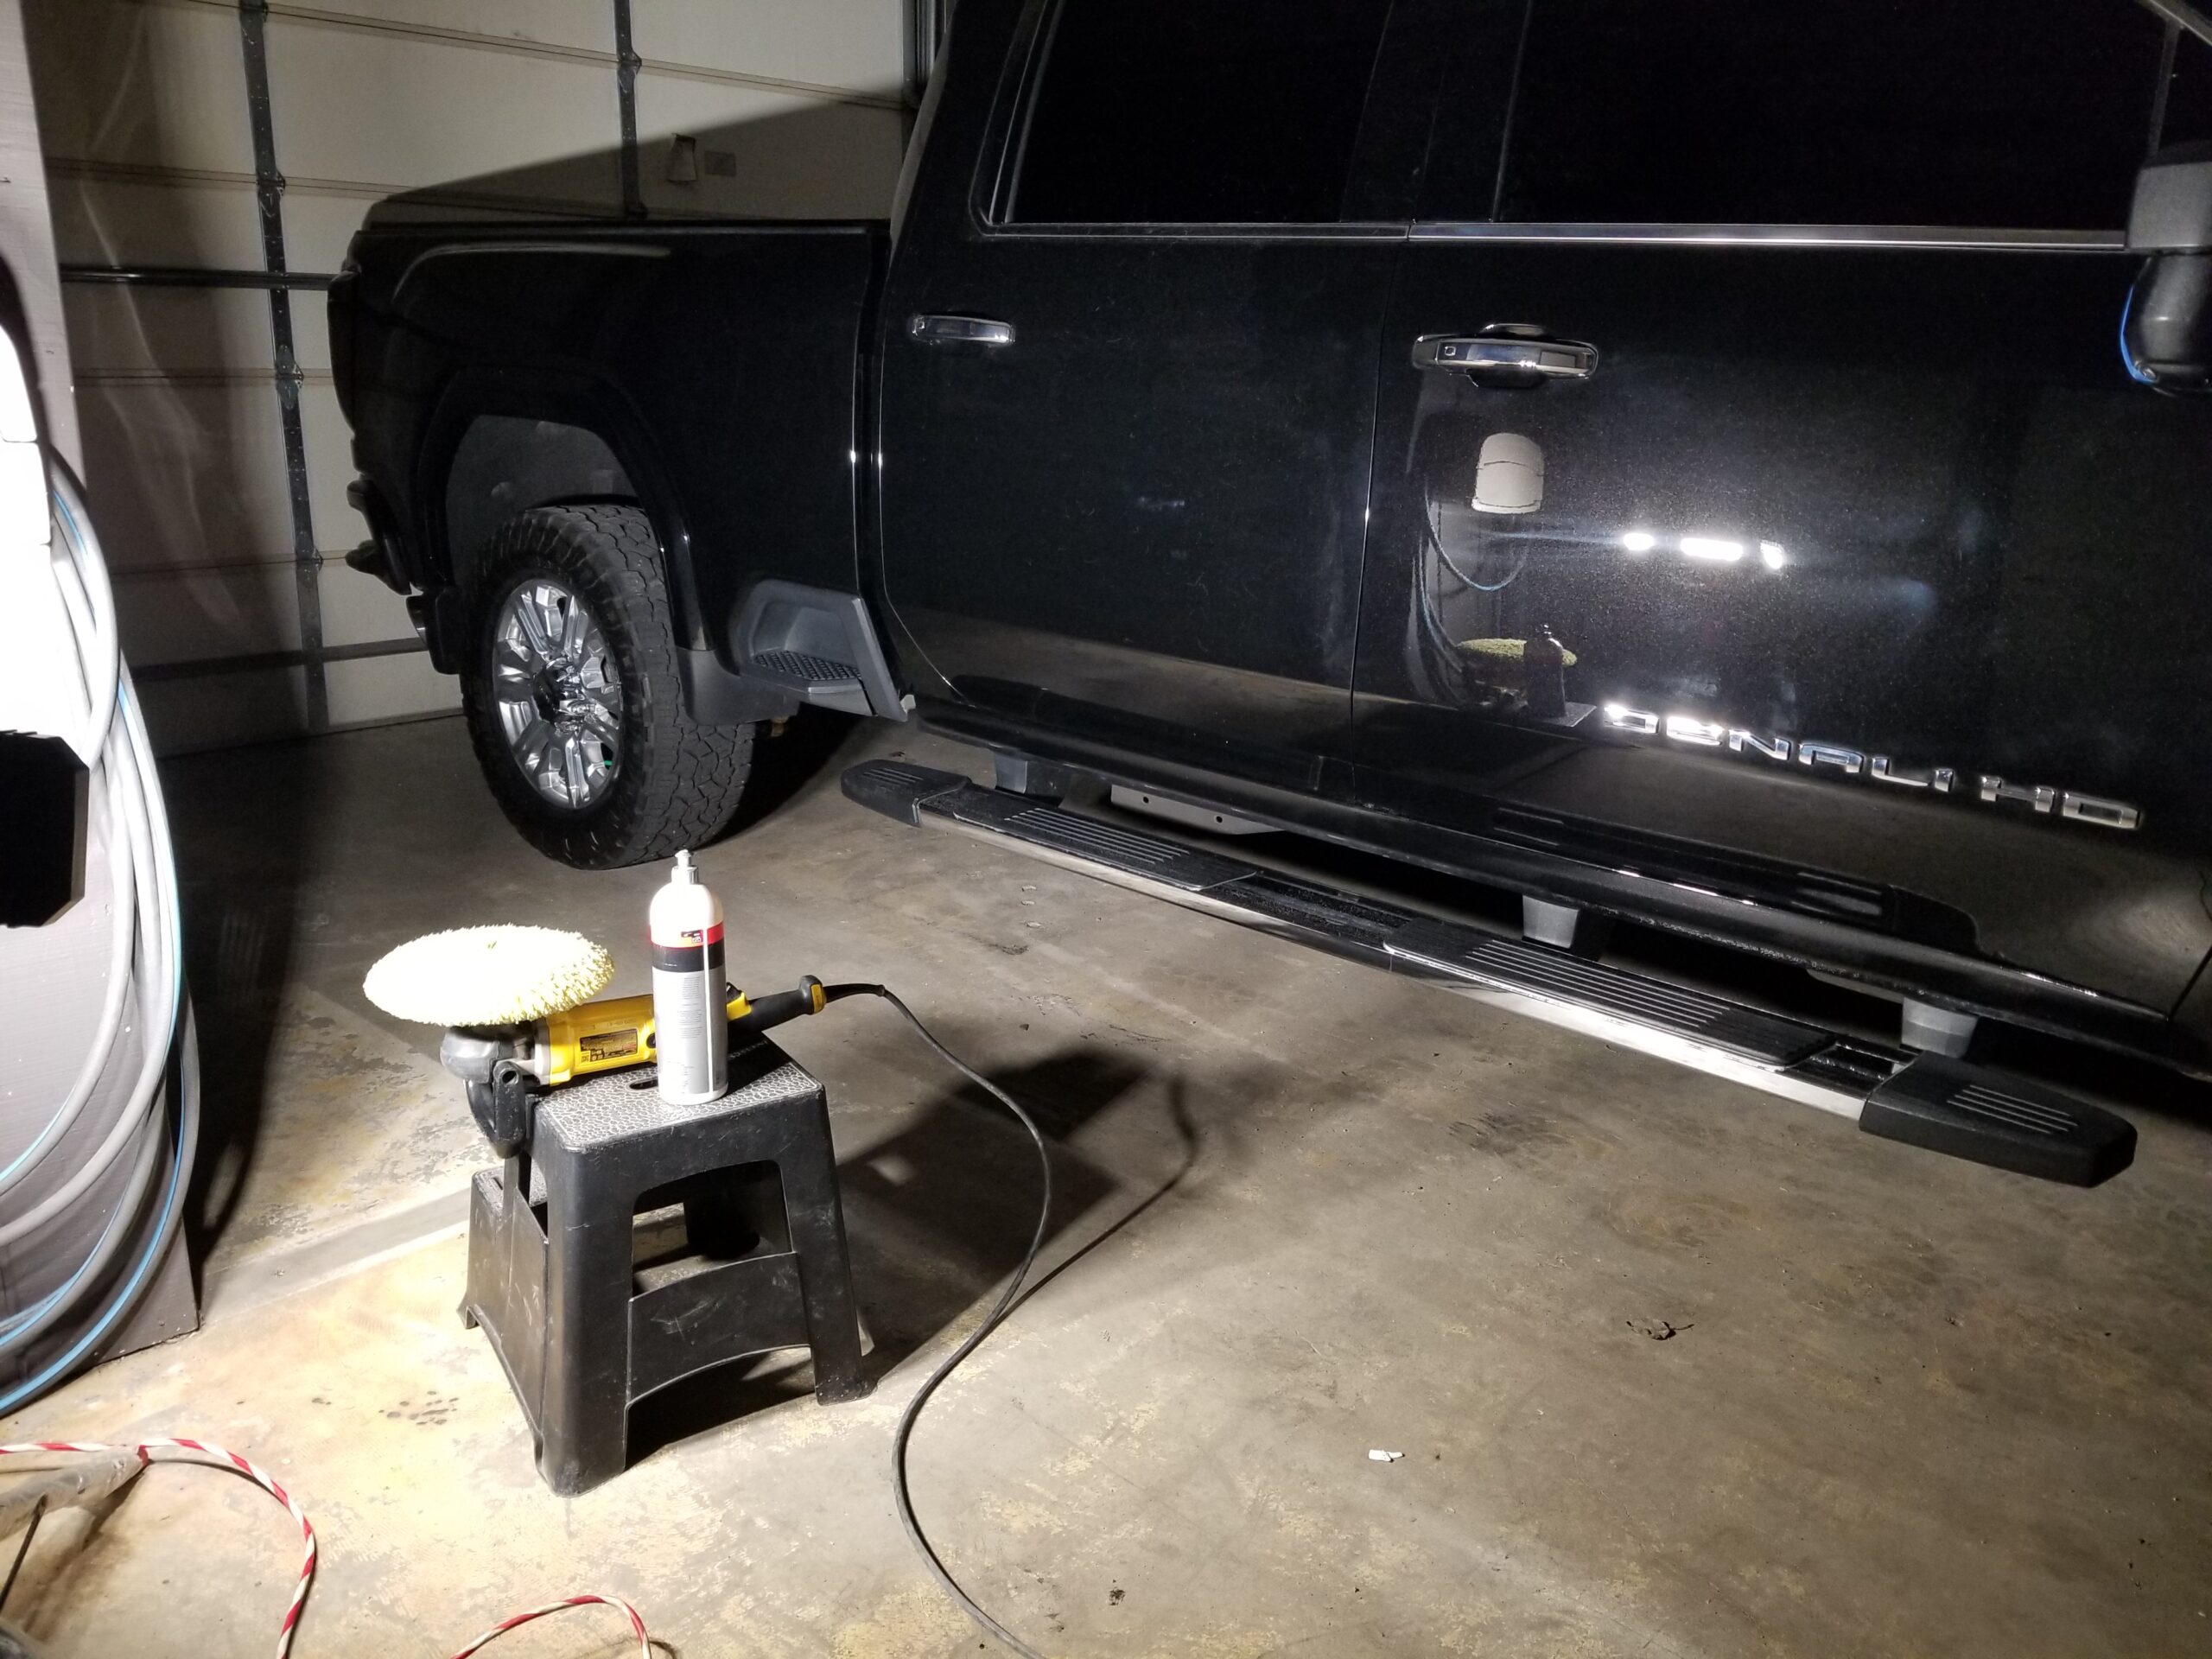
We have Danny's Duramax in for our full showroom correction and ceramic coating service.
The Agenda:
- Full Paint Correction (98% plus)
- Ceramic Coating
- Backed by Complete HD Bond Installation Process
- Interior Detail
- Make Danny So Happy He Cries A Little
Ceramic Coating Installation
Getting started on the coating installation. It's a 4 part install, I'll update the log as we go. The bond coat is a two part system, Part A and Part B. Part A is being hand applied to the paint work as I type...part B will go on immediately after that.
This step is really cool, it's where we're changing your paint's surface at a molecular level, evening out all of the microscopic imperfections in the freshly corrected paint, and presenting a completely bonded, perfect base for the ceramic coating to bond with. Normally the coating tries to handle all of this, and what we're doing is creating a denser, more flexible and sturdy base for the coating. This is also where we're adding gloss enhancers as well. The entire ceramic stack starts here. Stay tuned, more to come!
10:36am - About halfway done with Part A. Your truck is looking very sharp. It's starting to feel like it's coated. We still have 3 more trips around the truck after this too!
2:02pm - Part B is down, now we wait for it to set. Take a quick break and come back to install the Kenzo base coat.
4:32pm - Kenzo Base Coat is installed. Kenzo Top Coat is going on next.
6:48pm - Kenzo Top Coat is installed. Ceramic coating installation is complete on the main body. Tomorrow we'll get the wheel faces and the windshields.
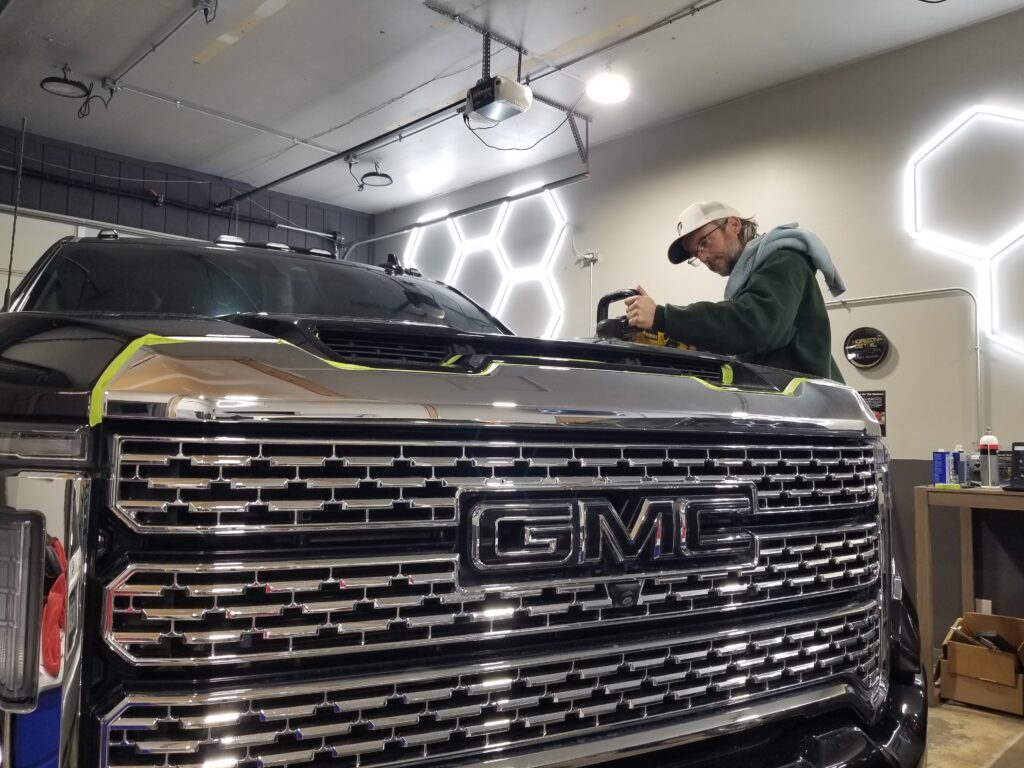
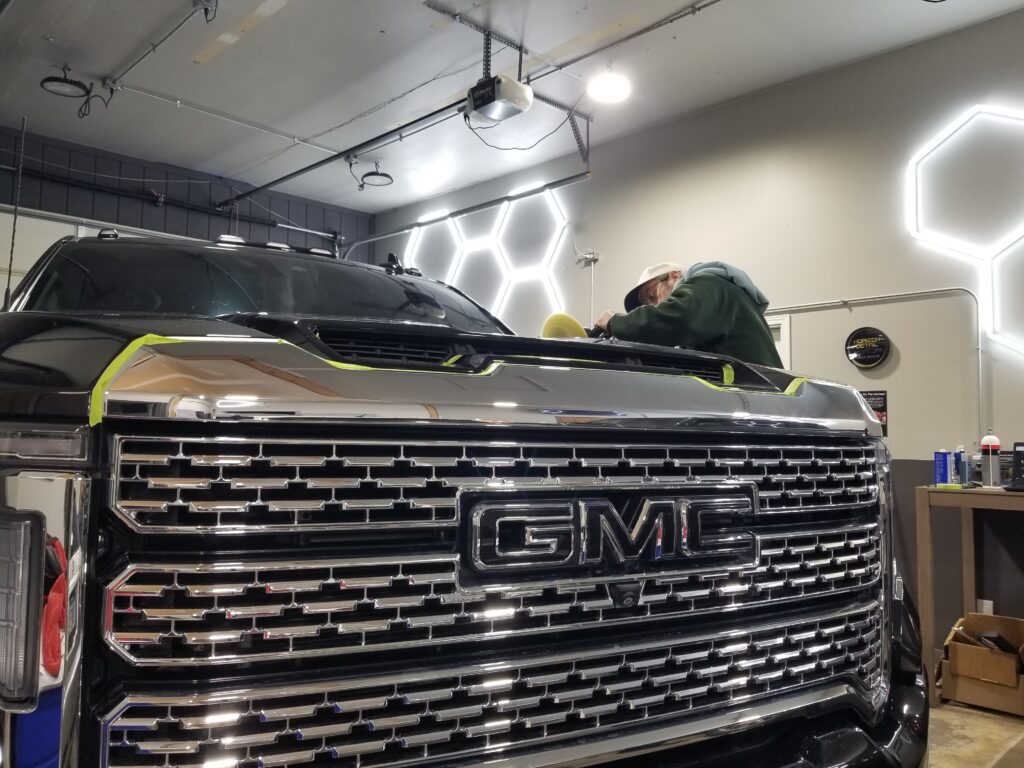
Finish Polishing Stage
Just about done with the pre-finishing steps, moving right into finish polishing from there.
Will have polishing and the HD Base Coat down today, tomorrow morning we'll wrap up with the HD Bond portion and begin installing Kenzo by IGL Coatings. Should have her done tomorrow. Stay tuned!
9:14am - Random update because Giant by The Chemical Brothers came on. Enjoy!
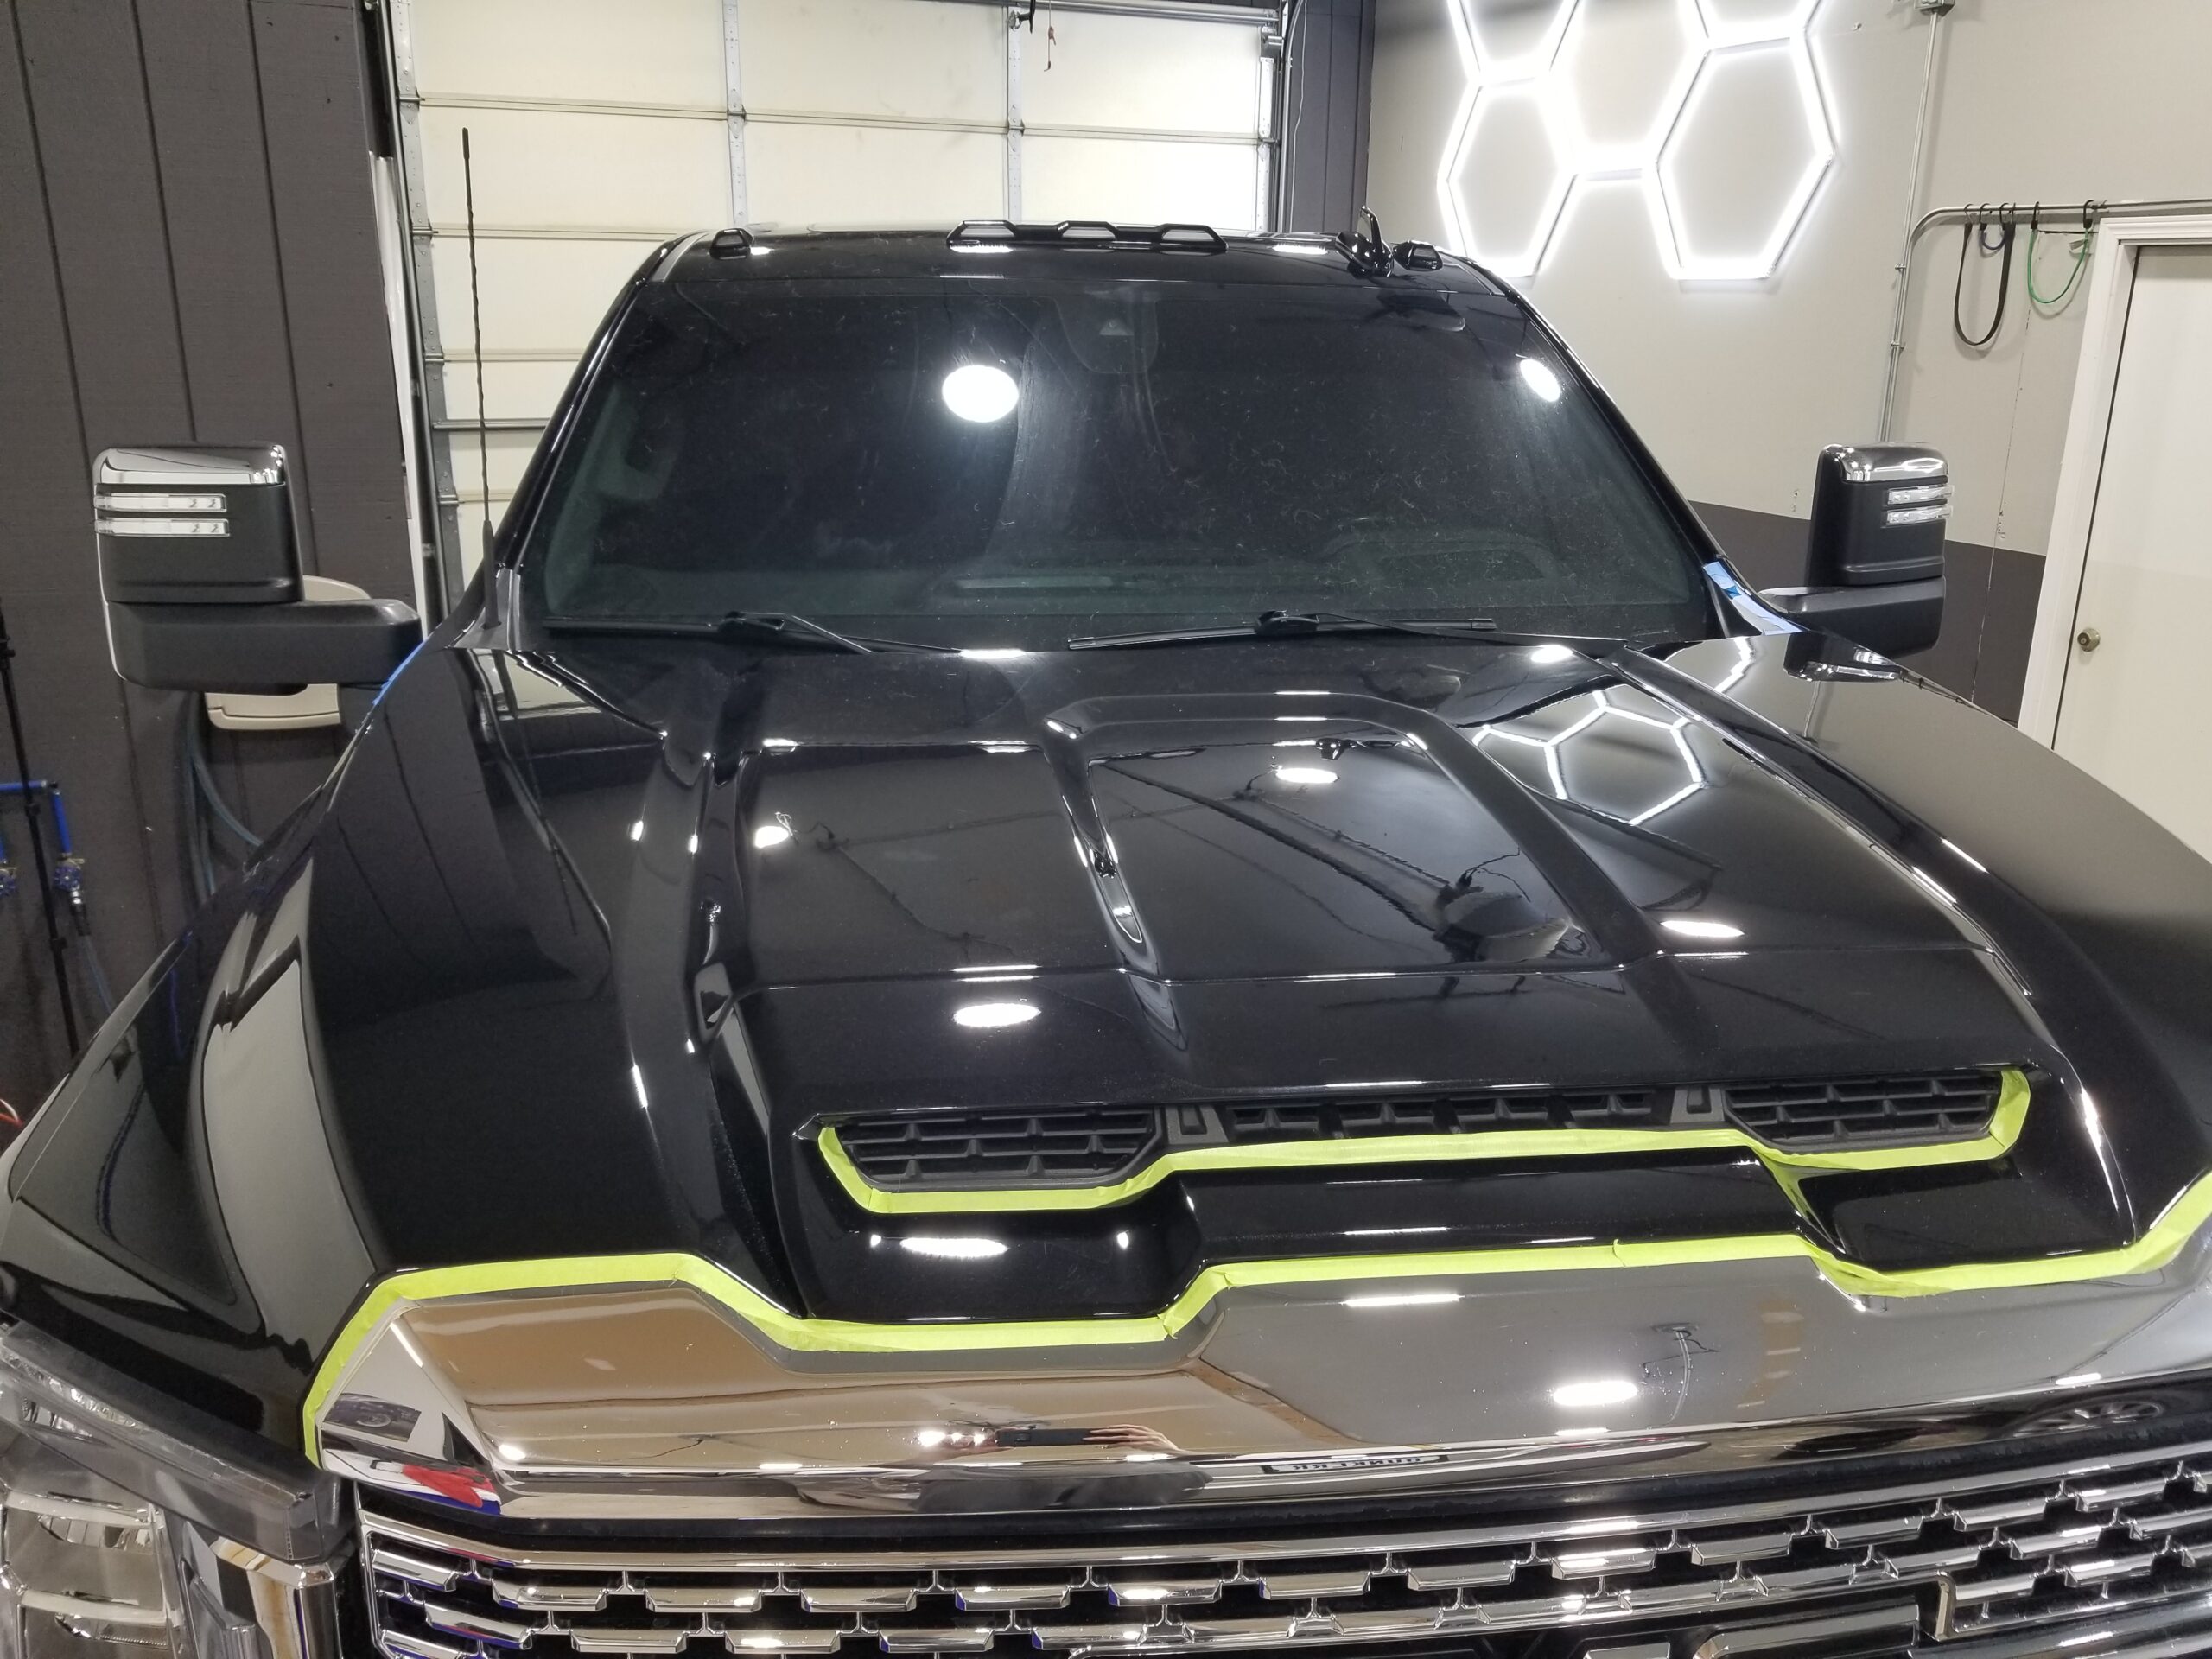
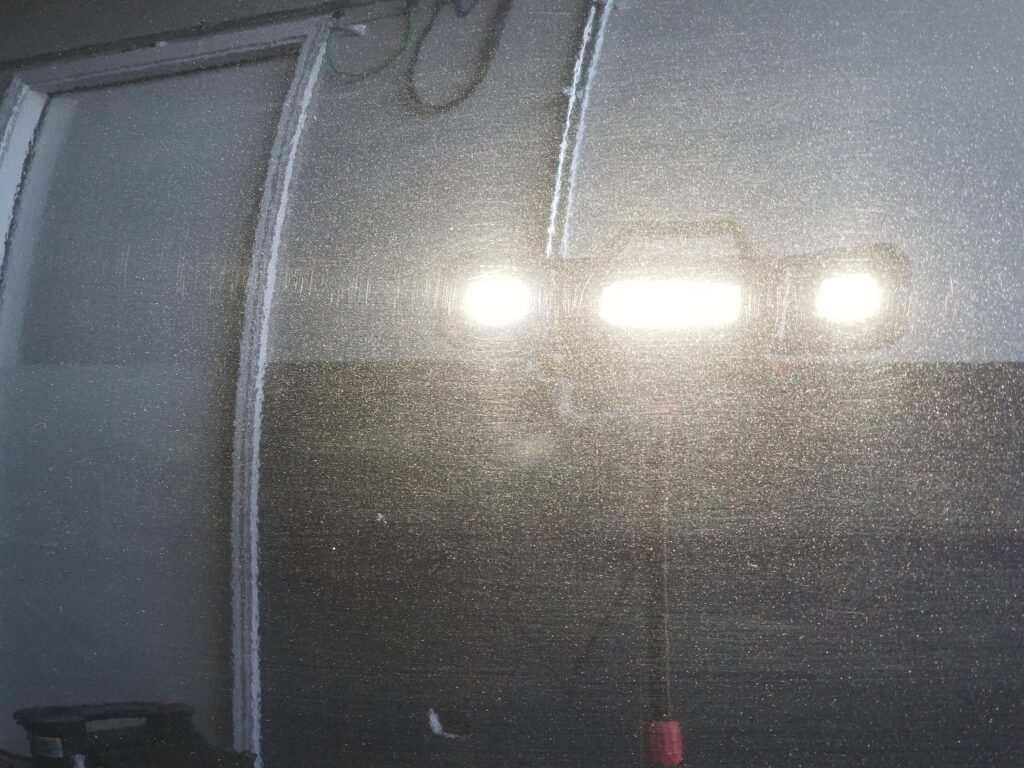
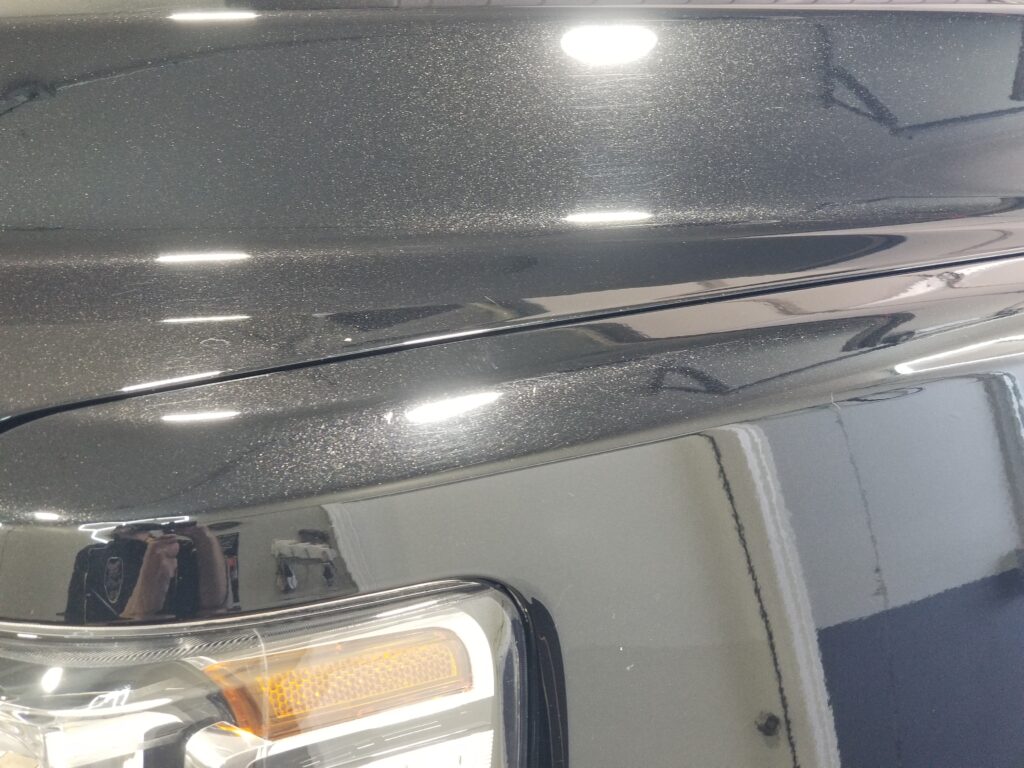
9:51am - Hood picture uploaded
10:20am - Created gallery. Remember! These pics are all pre-finish polish. There's still one more step to go!
2:31pm - Finish polishing step is underway!!! One amazing looking truck coming on up!
6:28pm - Finish polishing is completed. Wowzers.

Paint Correction - Wrapping Up

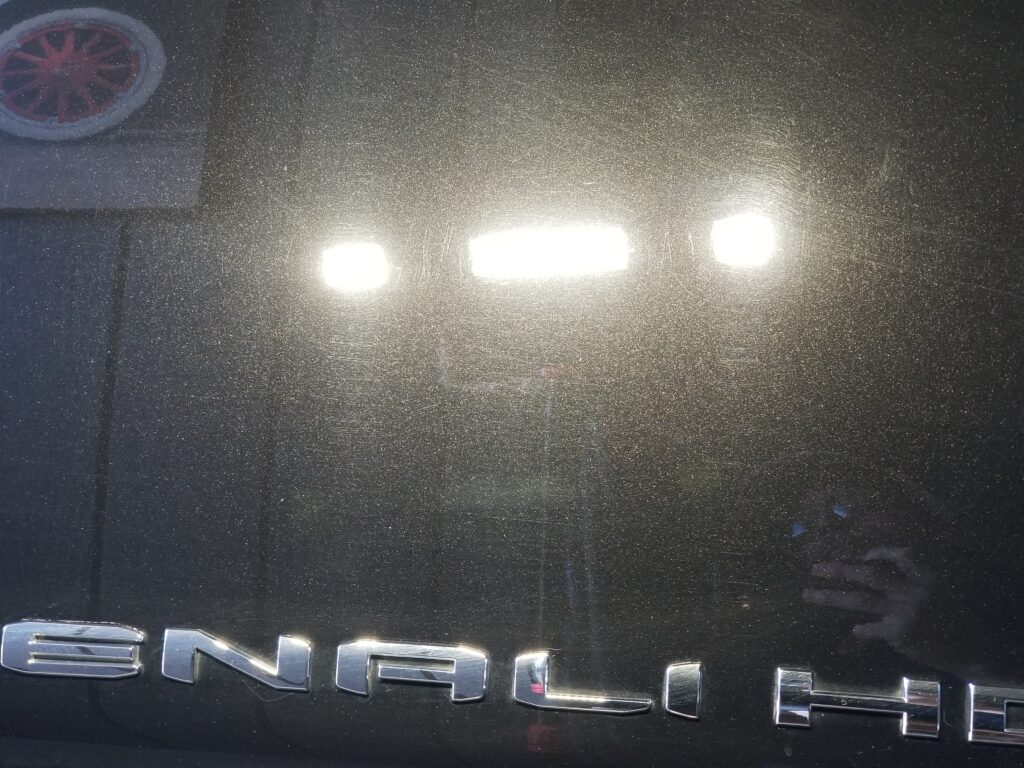
Completed all of the corrective compounding, very happy with the level of correction we're achieving.
Just over 2/3rds through the the pre-finish stage, very happy with the progression we're seeing.
I'll wrap up with the polishing tomorrow and prep the paint work for the coating installation.
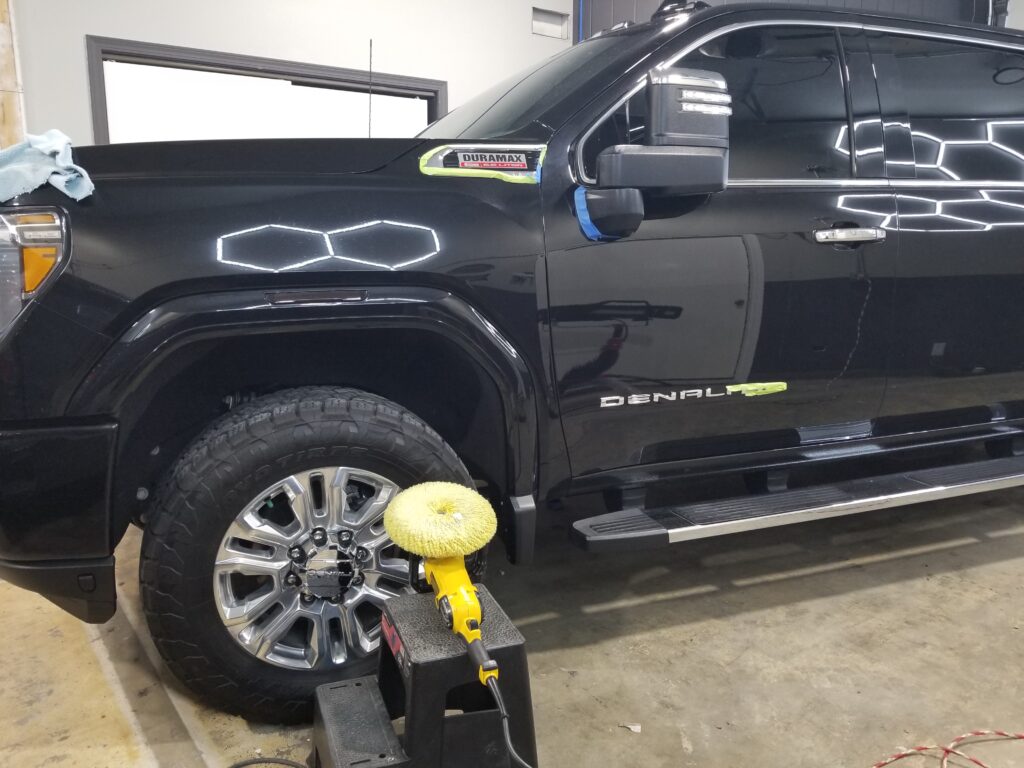
We're installing Kenzo by IGL Coatings, our 5 year ceramic coating backed by our HD Bond installation process. 4 individual "layers" go into this coating, doubling the standard Kenzo installation process
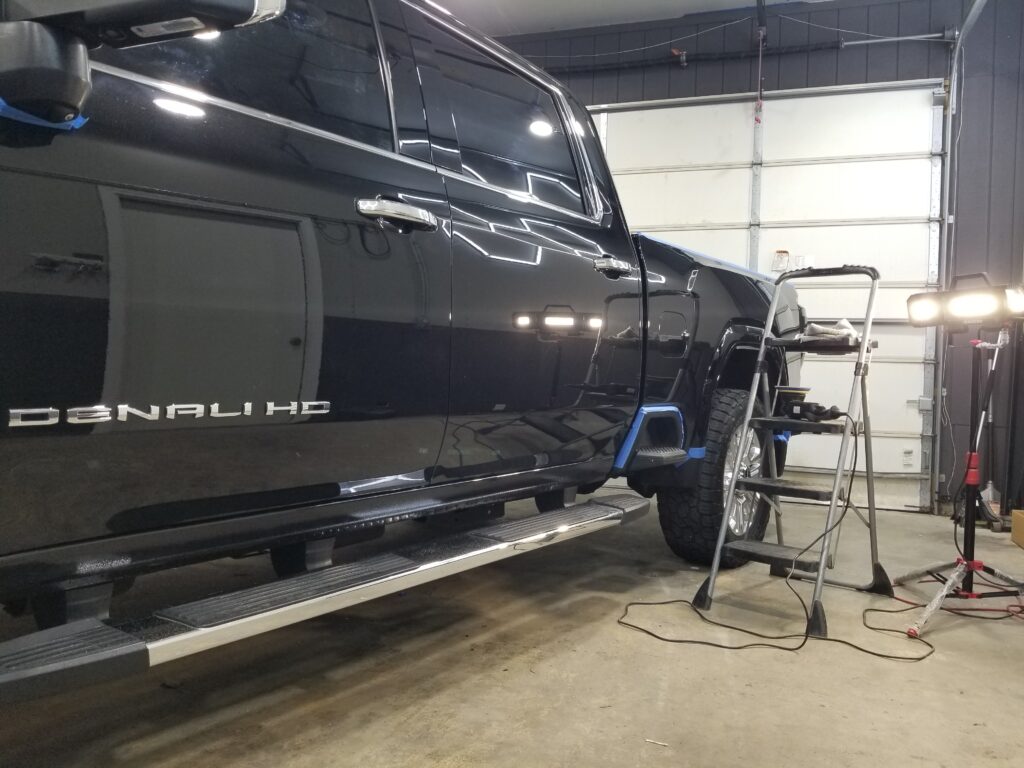
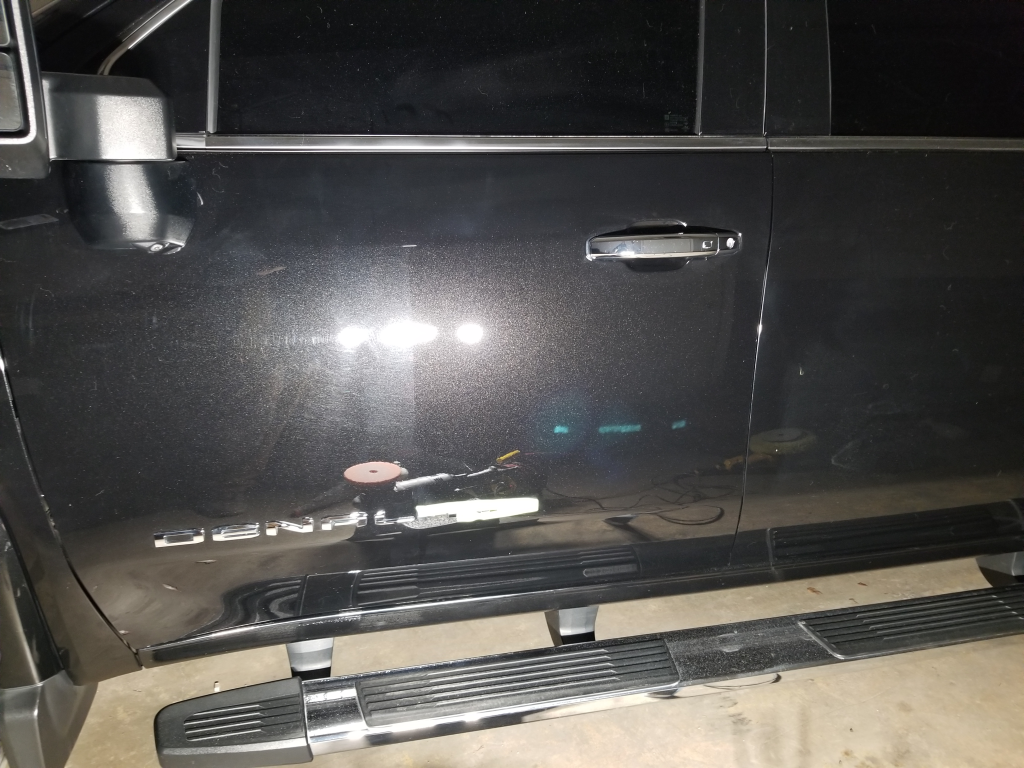
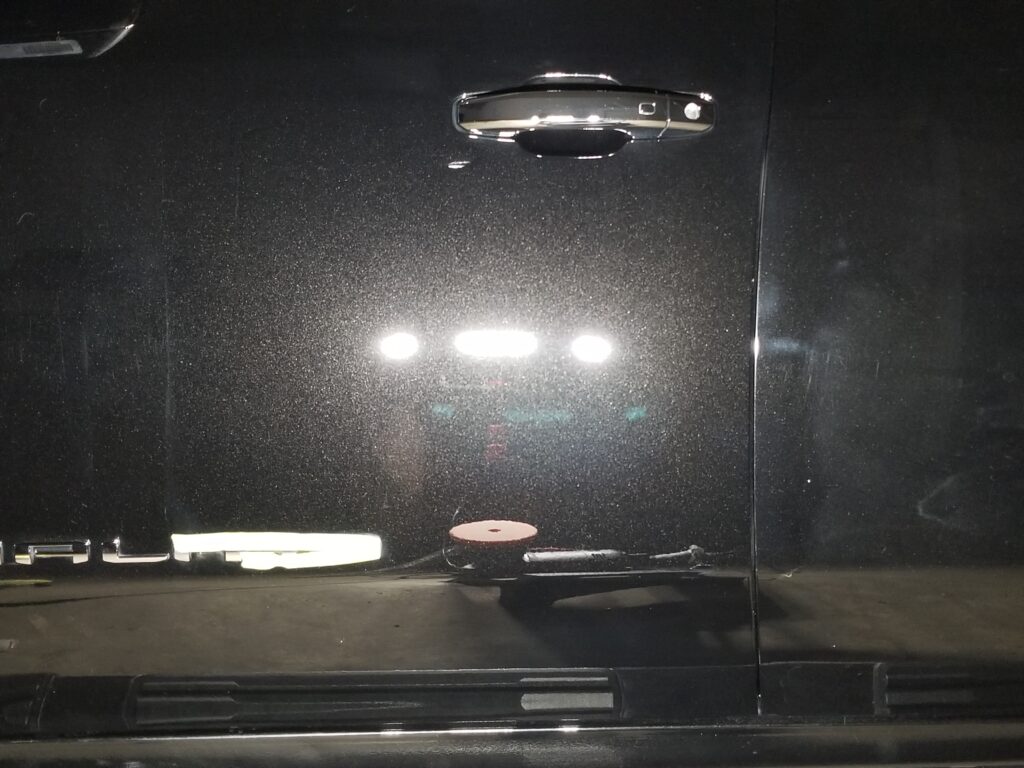
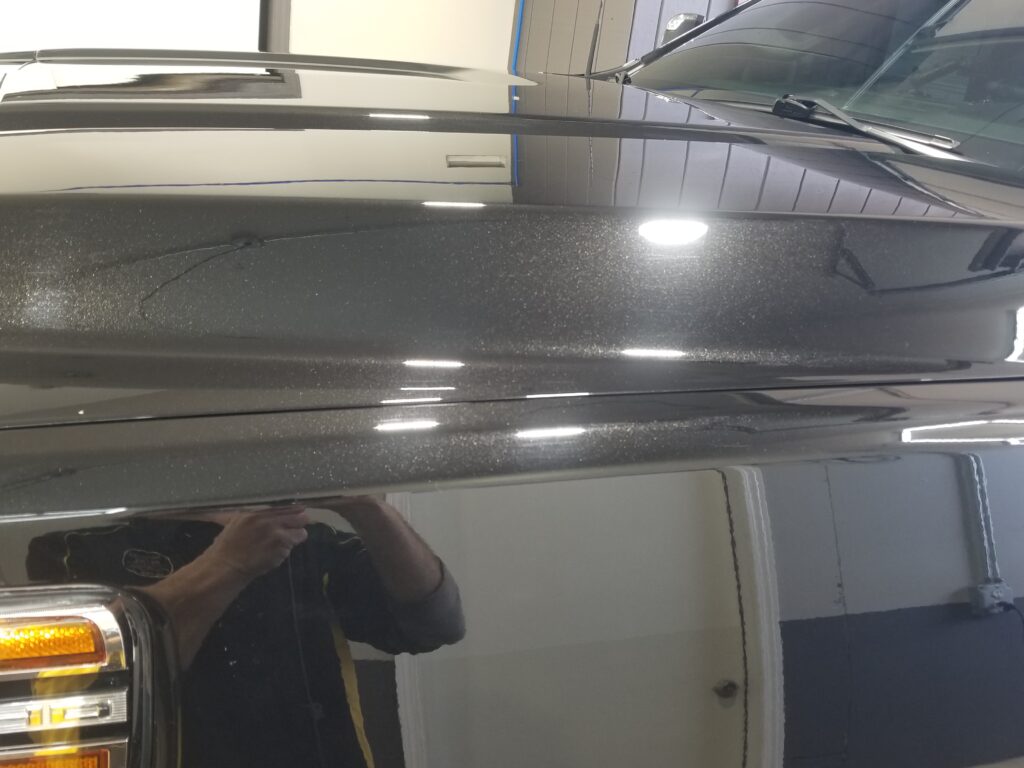
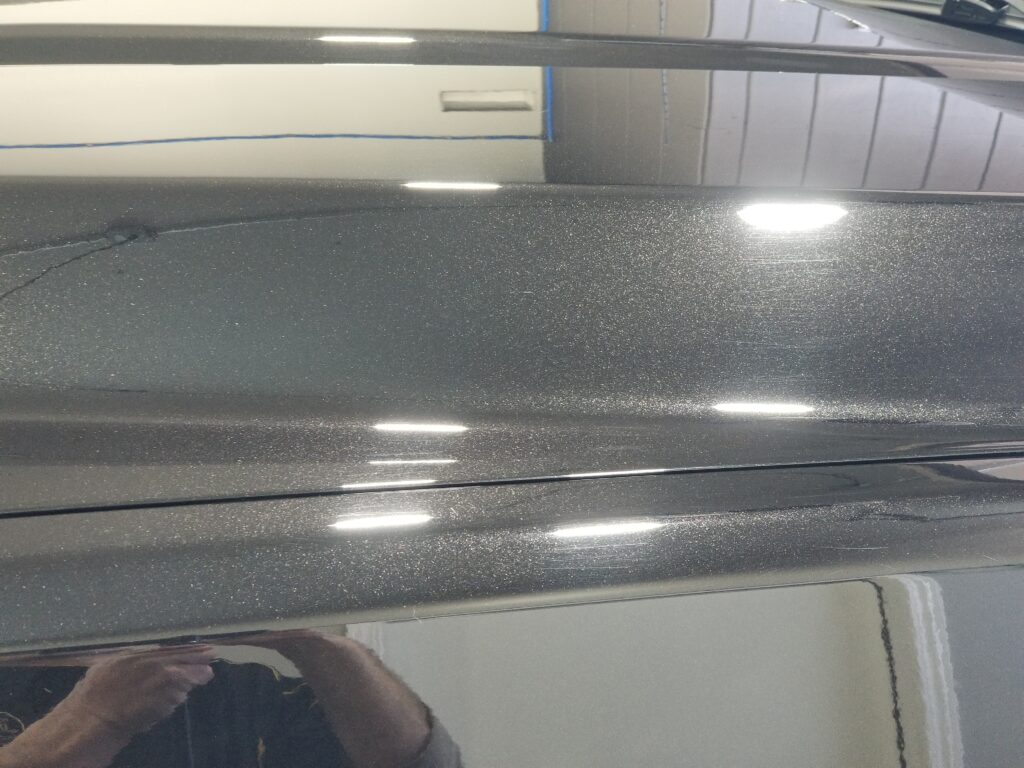
The photo of the front fender is how the rest of the truck is looking. This is all pre-finish polishing so it's going to get even better! It's coming along very nicely.
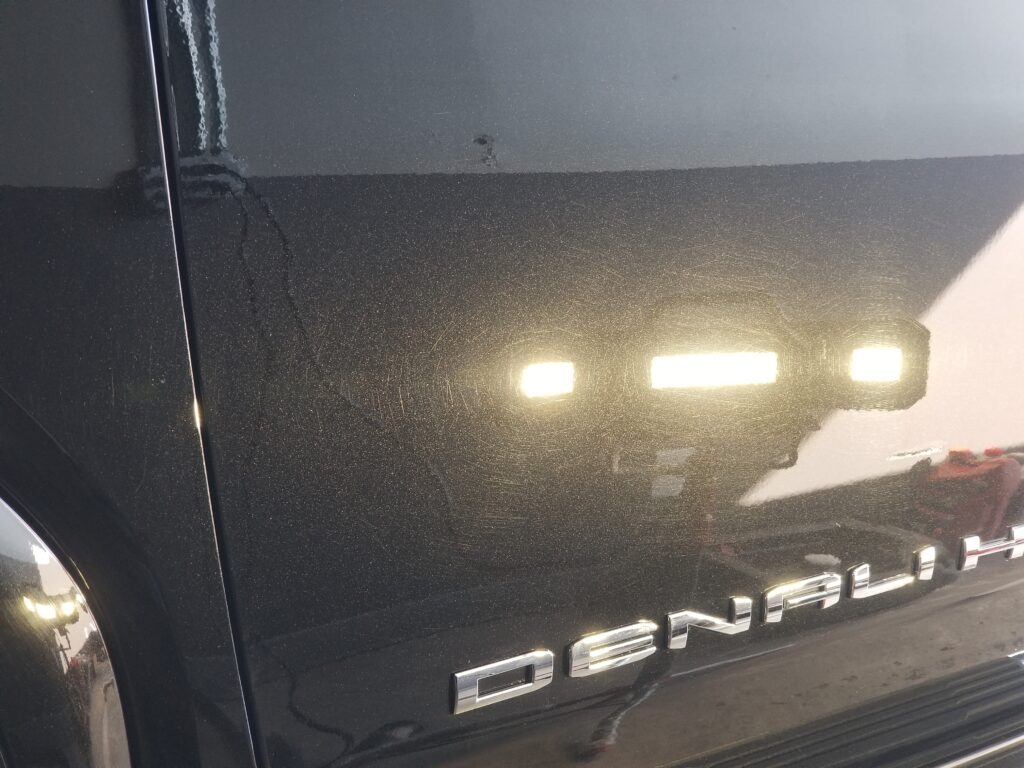
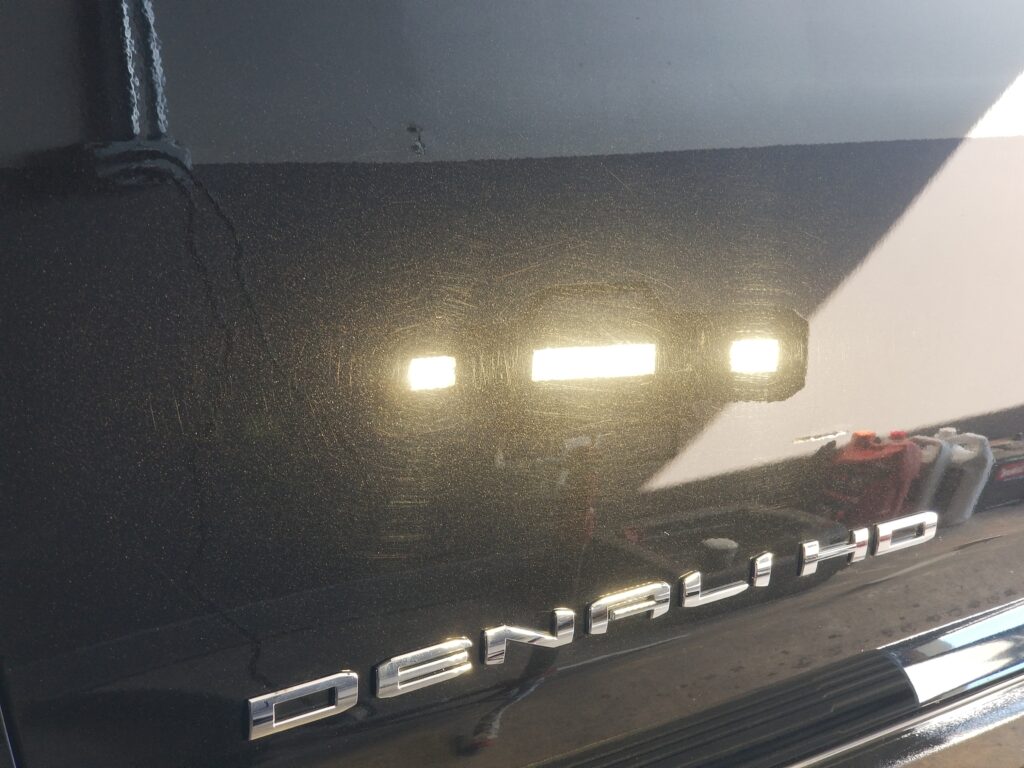
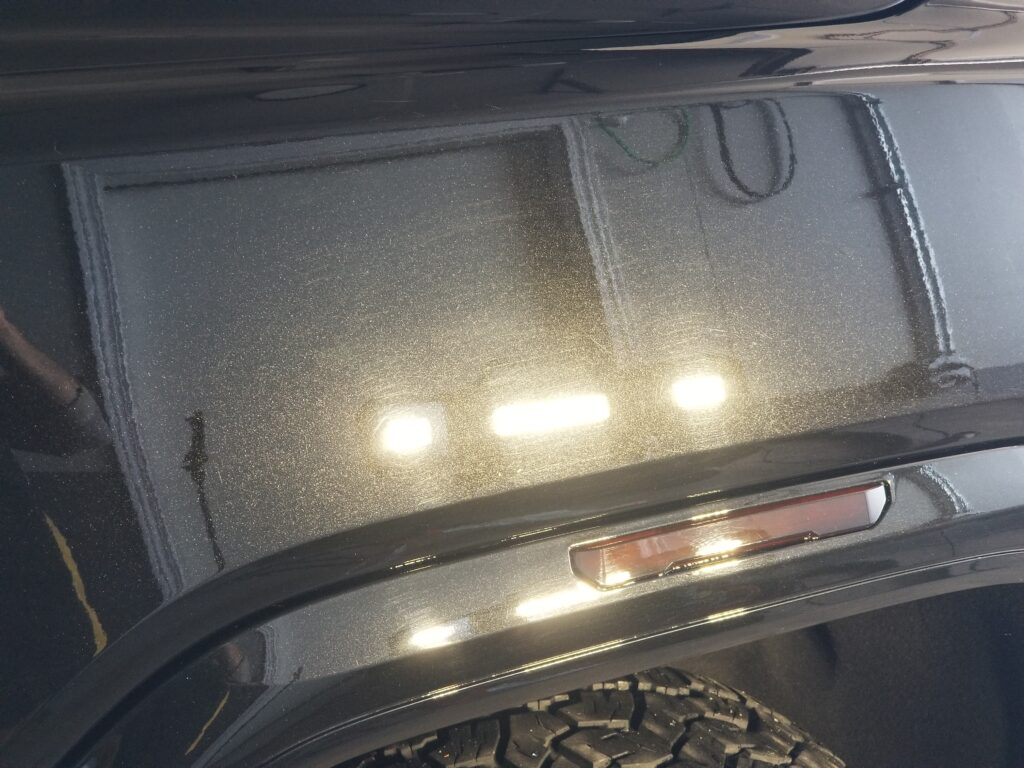
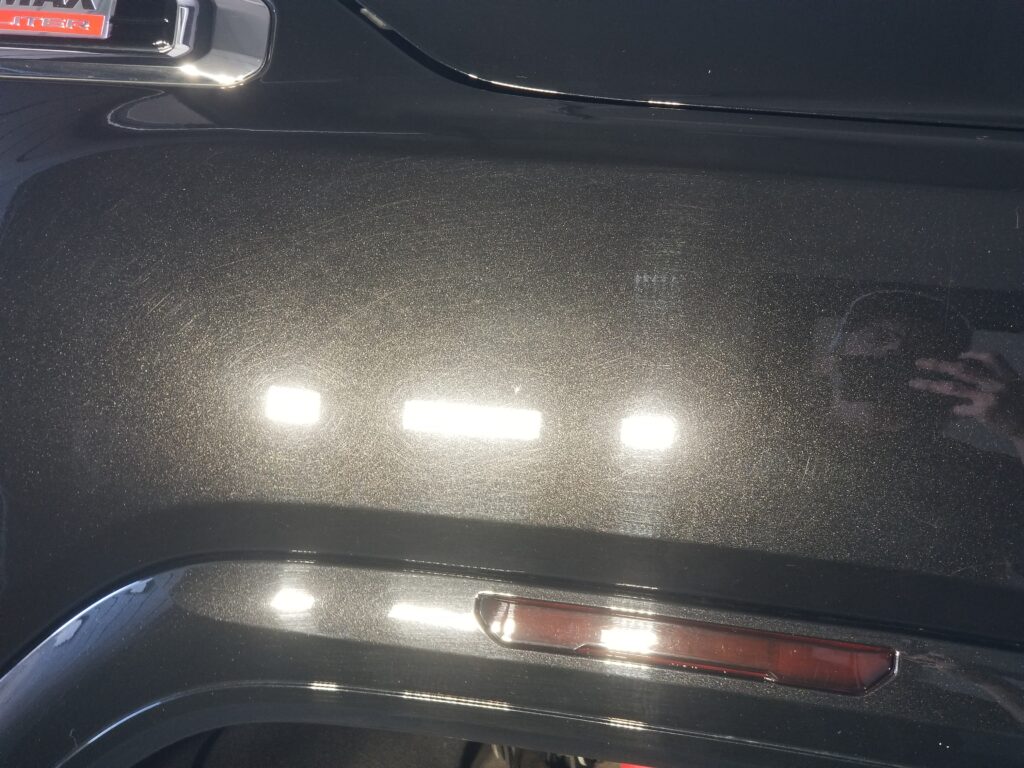
Update: Issue Found - Thin Spot Passenger Quarter
3/5/26: 9:59am
Quick Update - This is a cautionary alert for the record.
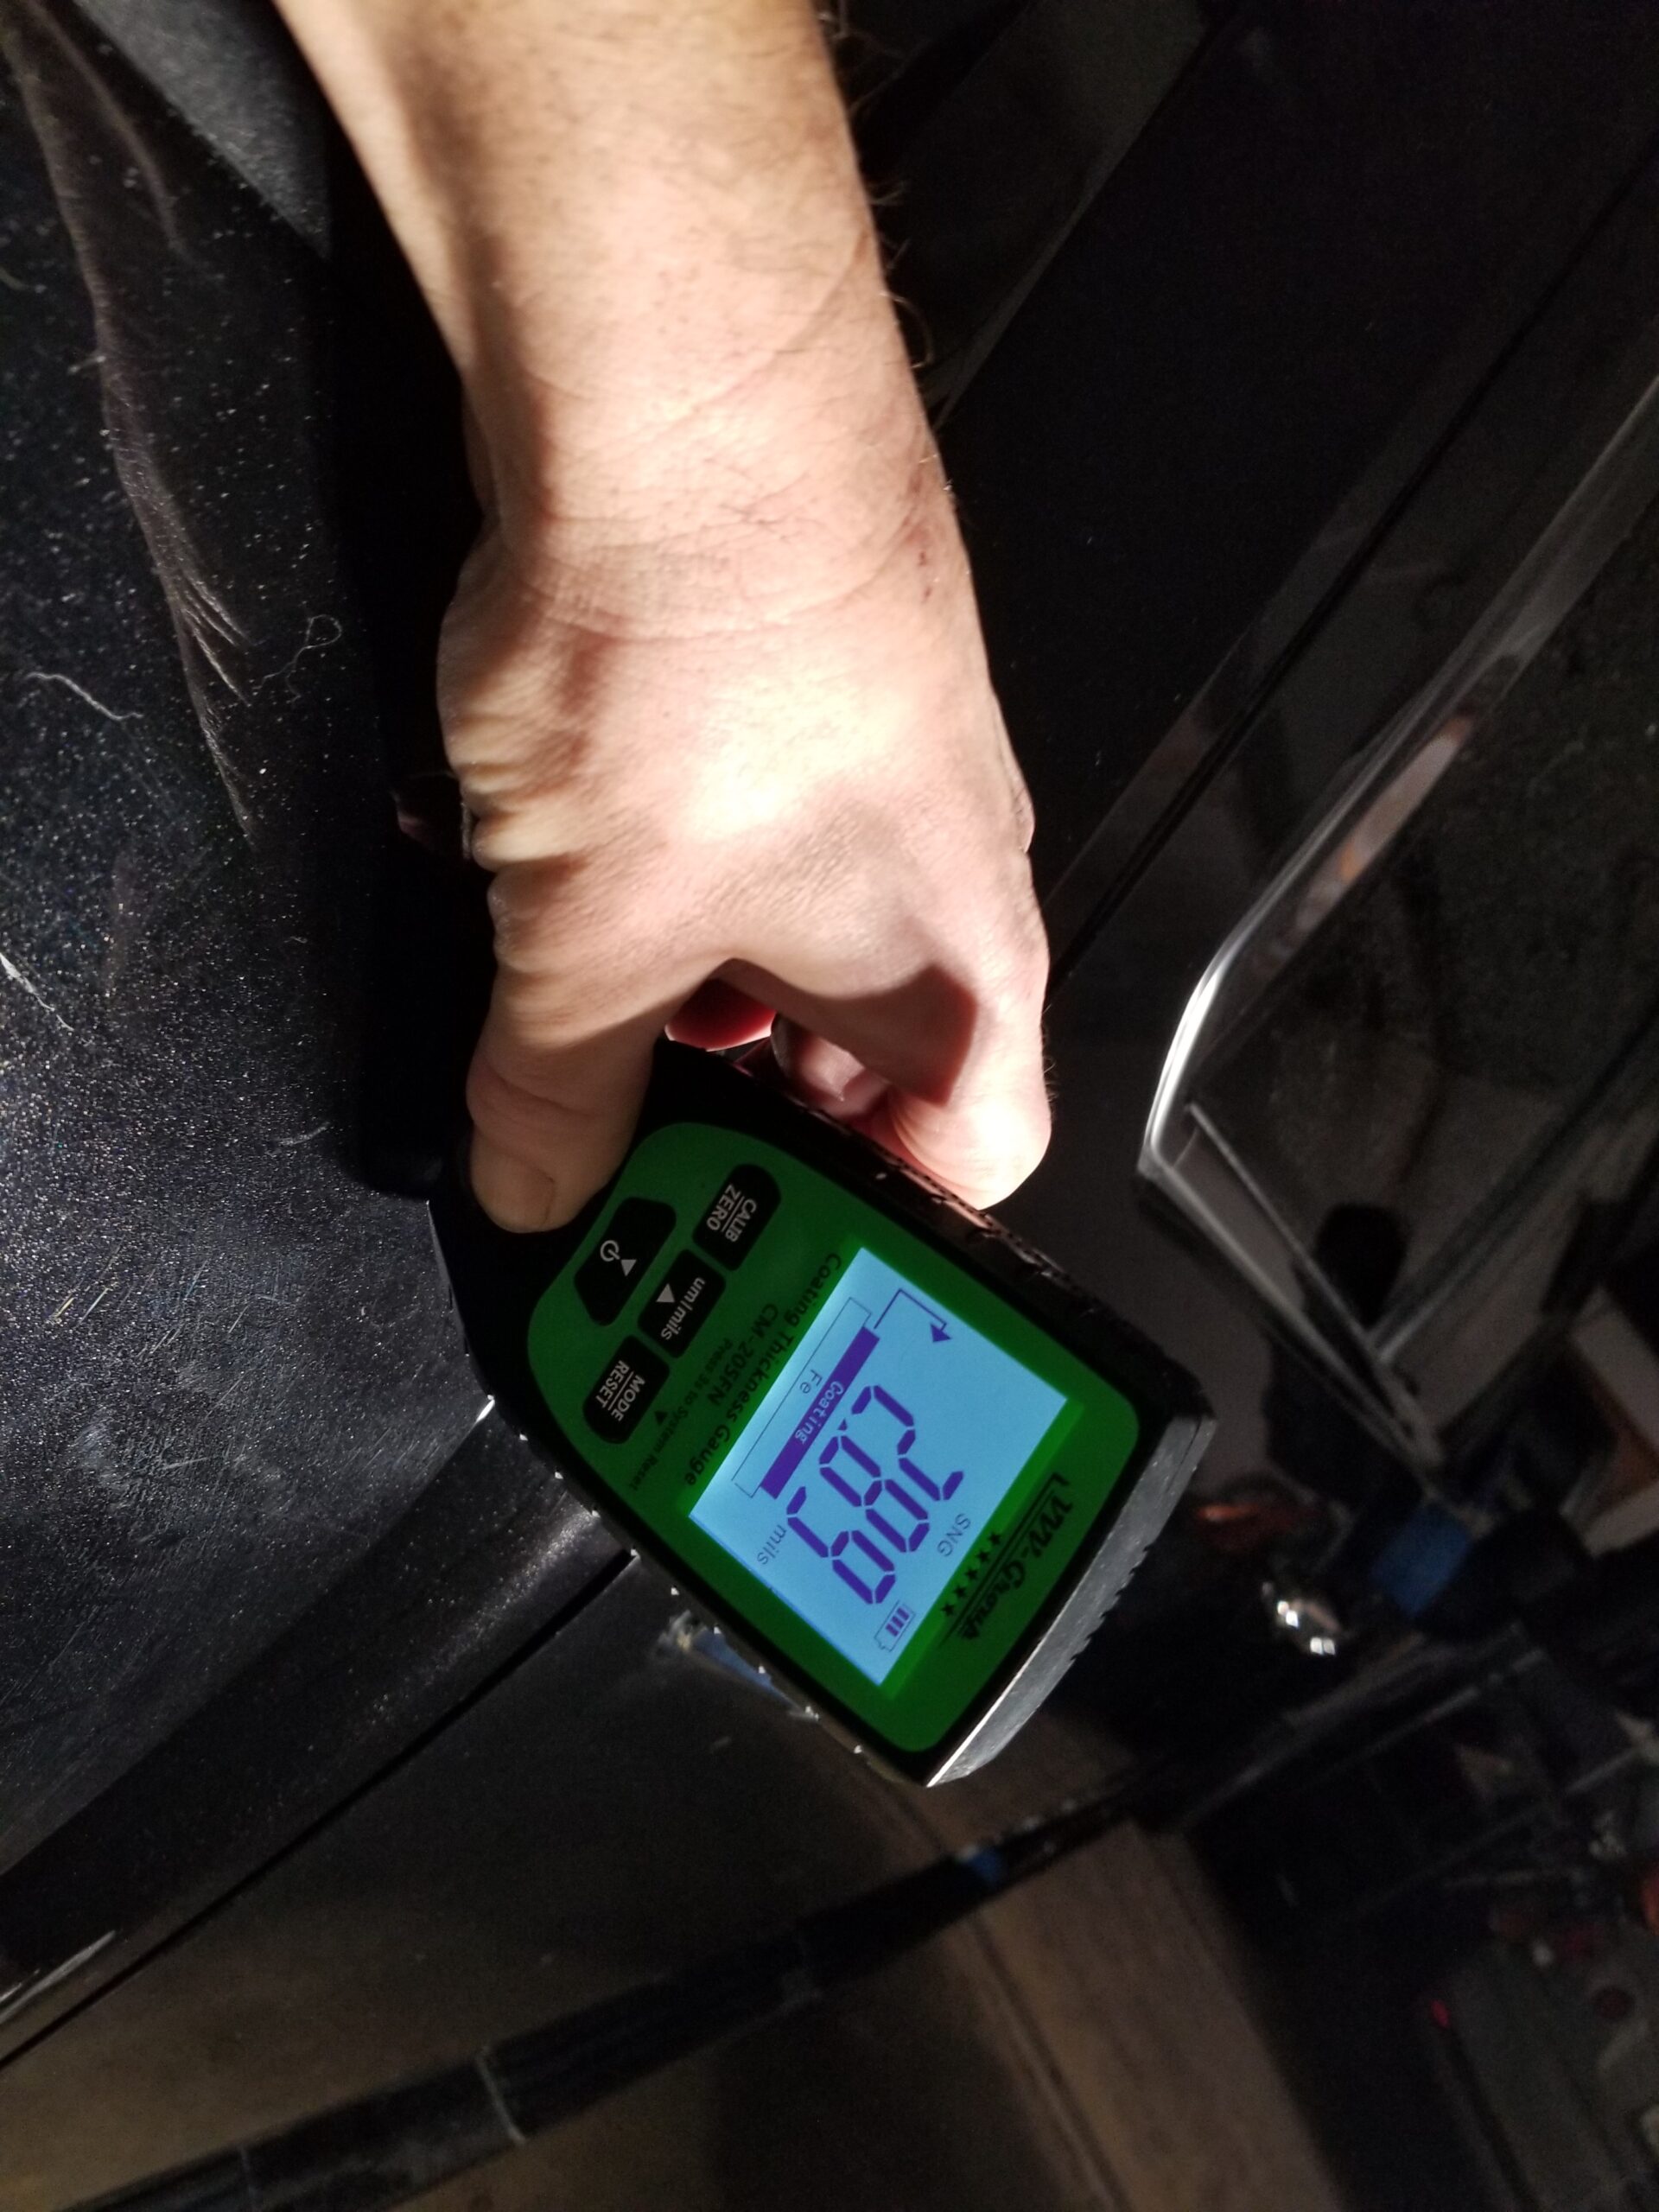
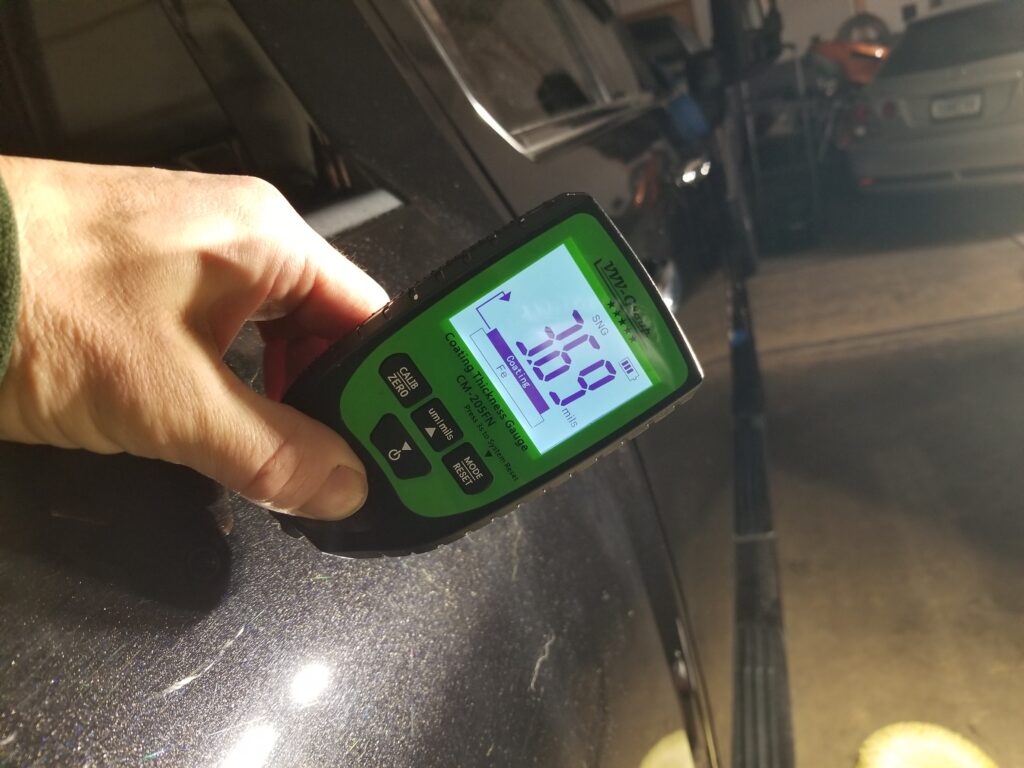
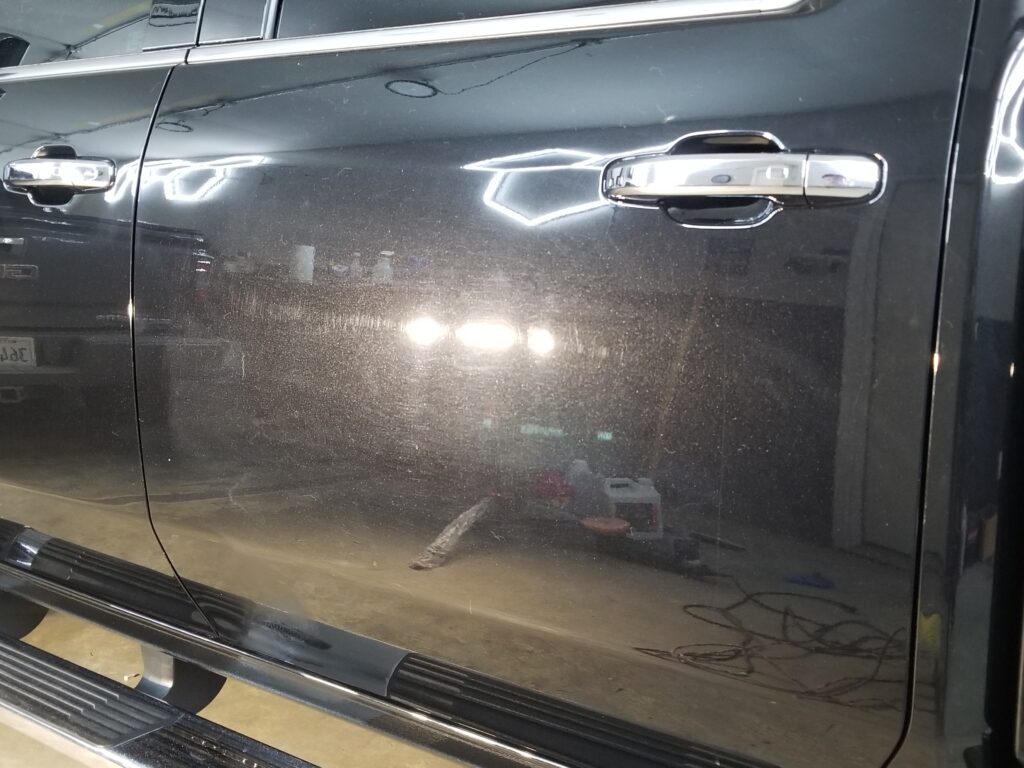
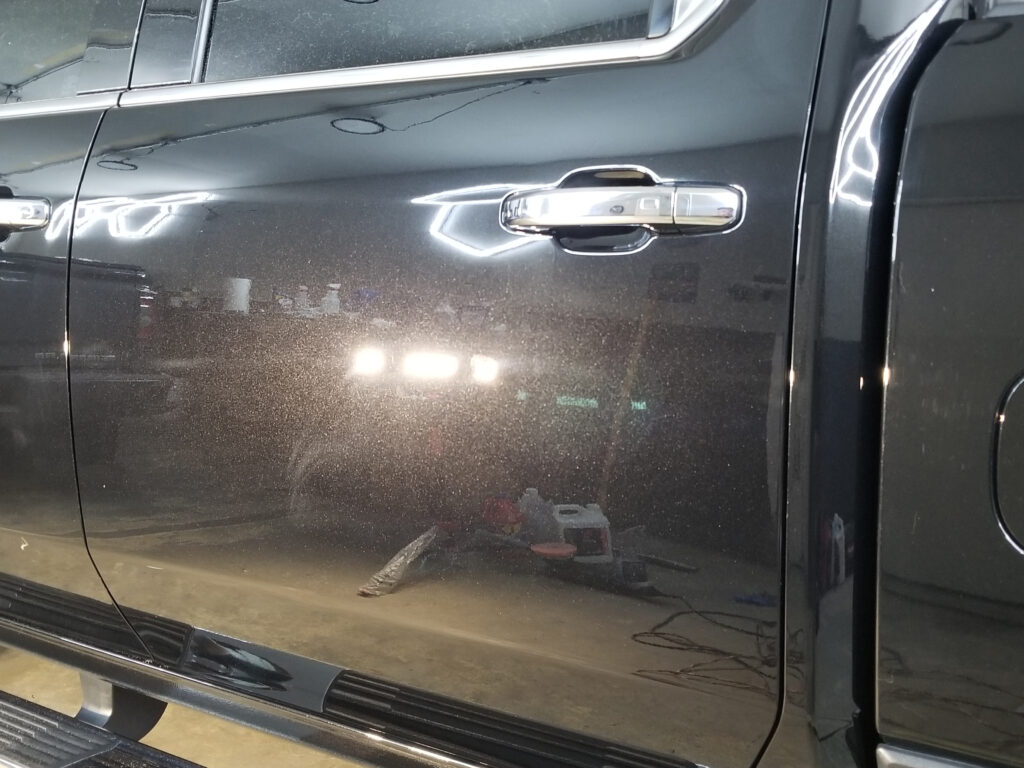
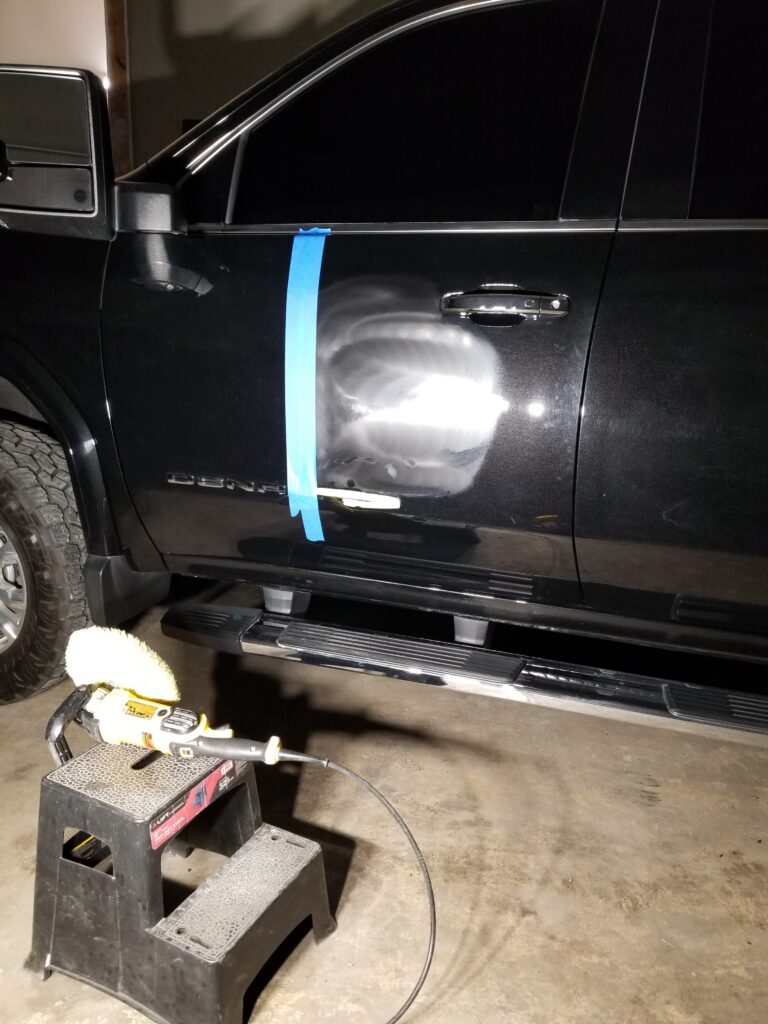
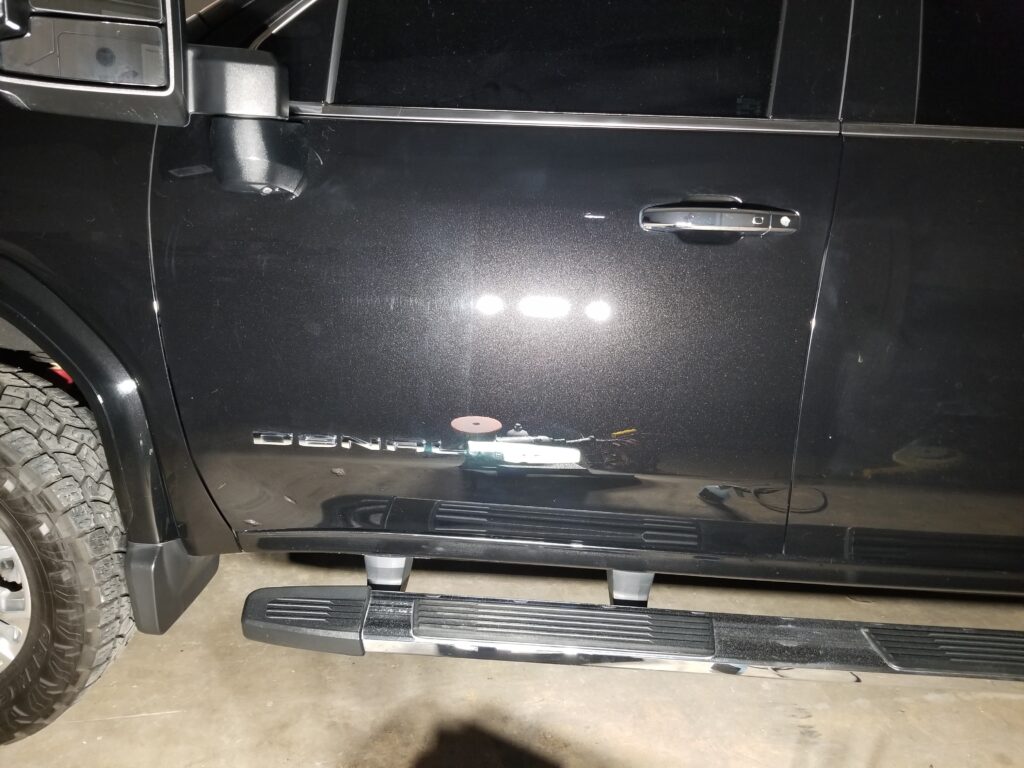
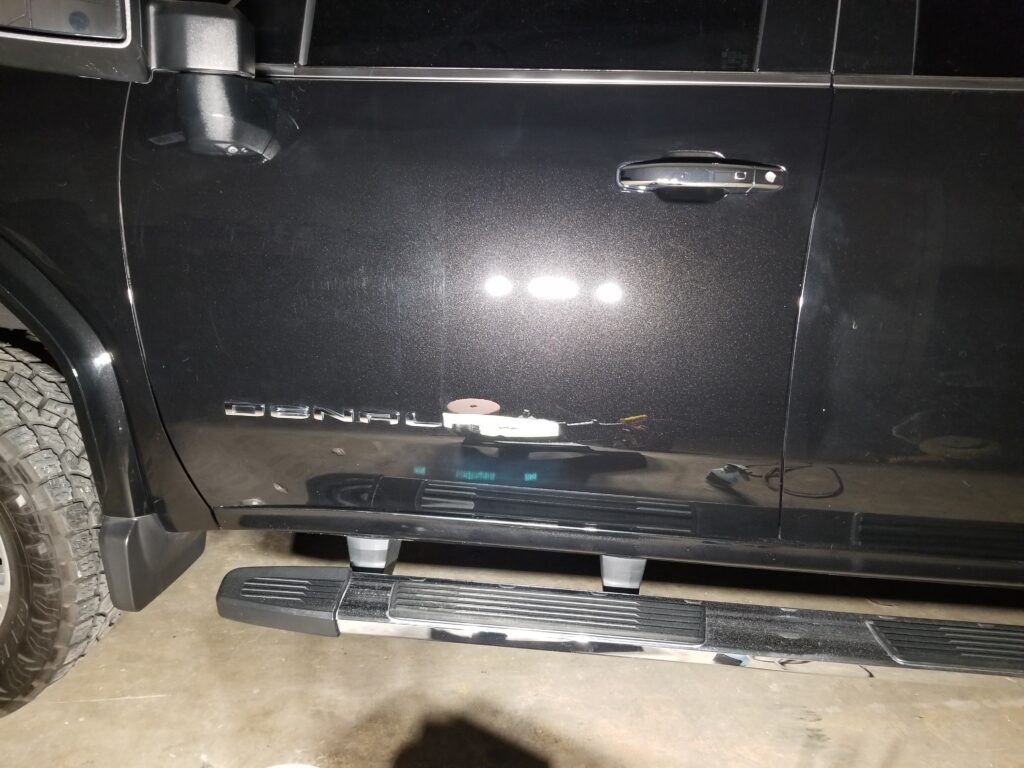
I identified a very thin spot on the rear passenger quarter panel. It's amazing how small this spot is. It's roughly 1in by 1in and reads as low as 2.82-2.89mils. This is significantly lower than the remaining vehicles average depth and needs to be avoided in future work for risk of going through it. The pictures highlight how difficult it is to identify these spots sometimes, as the readings on either side and within 4-6 inches of it are within the vehicle norms I've been seeing. Maybe a little on the thinner side in a couple of spots but within the range we're seeing.
On that note, I gently corrected the area again and have it taped off as a reminder and guide to avoid the spot. I've done a thorough reading on the panel and haven't found another thin spot as of yet. We're treating the panel as suspect and will hyper-measure the areas as we move through the panel.
For reference the low reading from the door jambs was 2.42mils.

Paint Correction - Pre Finishing Stages
3/5/26: 7:03am
On The Radio: Confusion the Waitress by Underworld (Listen Here)
Big Bear by Underworld (Listen Here)
Good morning, good morning, good morning!
Back at it, today's schedule is up in the air, cp schools are on fog delay for a few hours so I'm in early to get a jump before heading out to jump rope with that mess for bit.
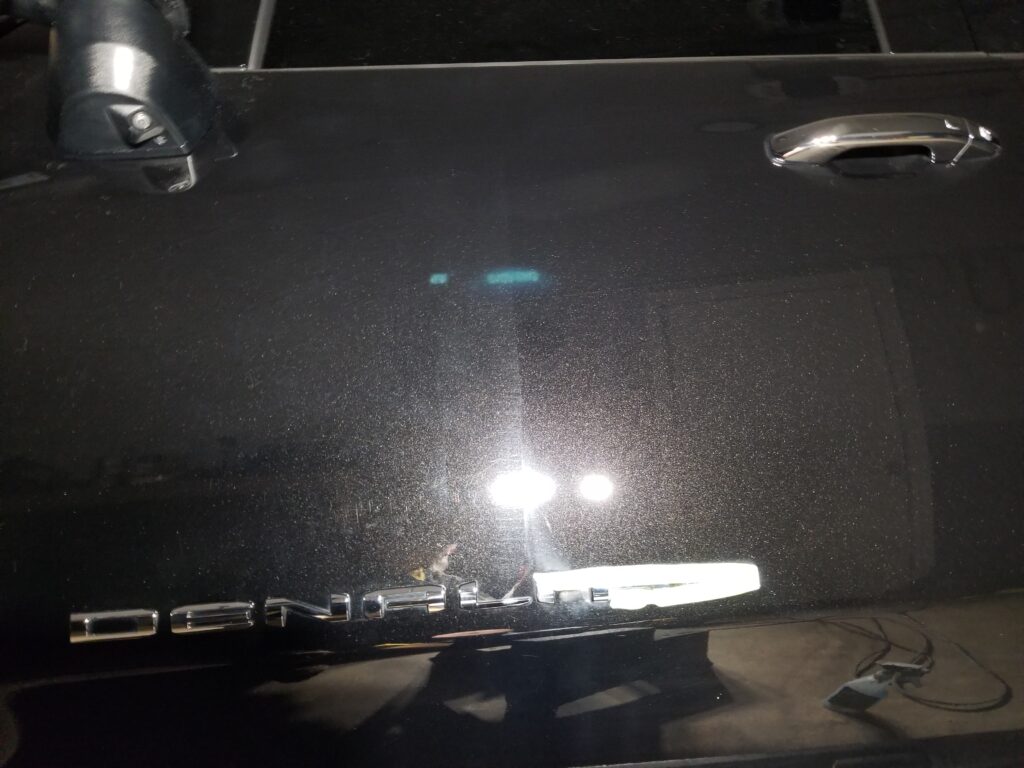
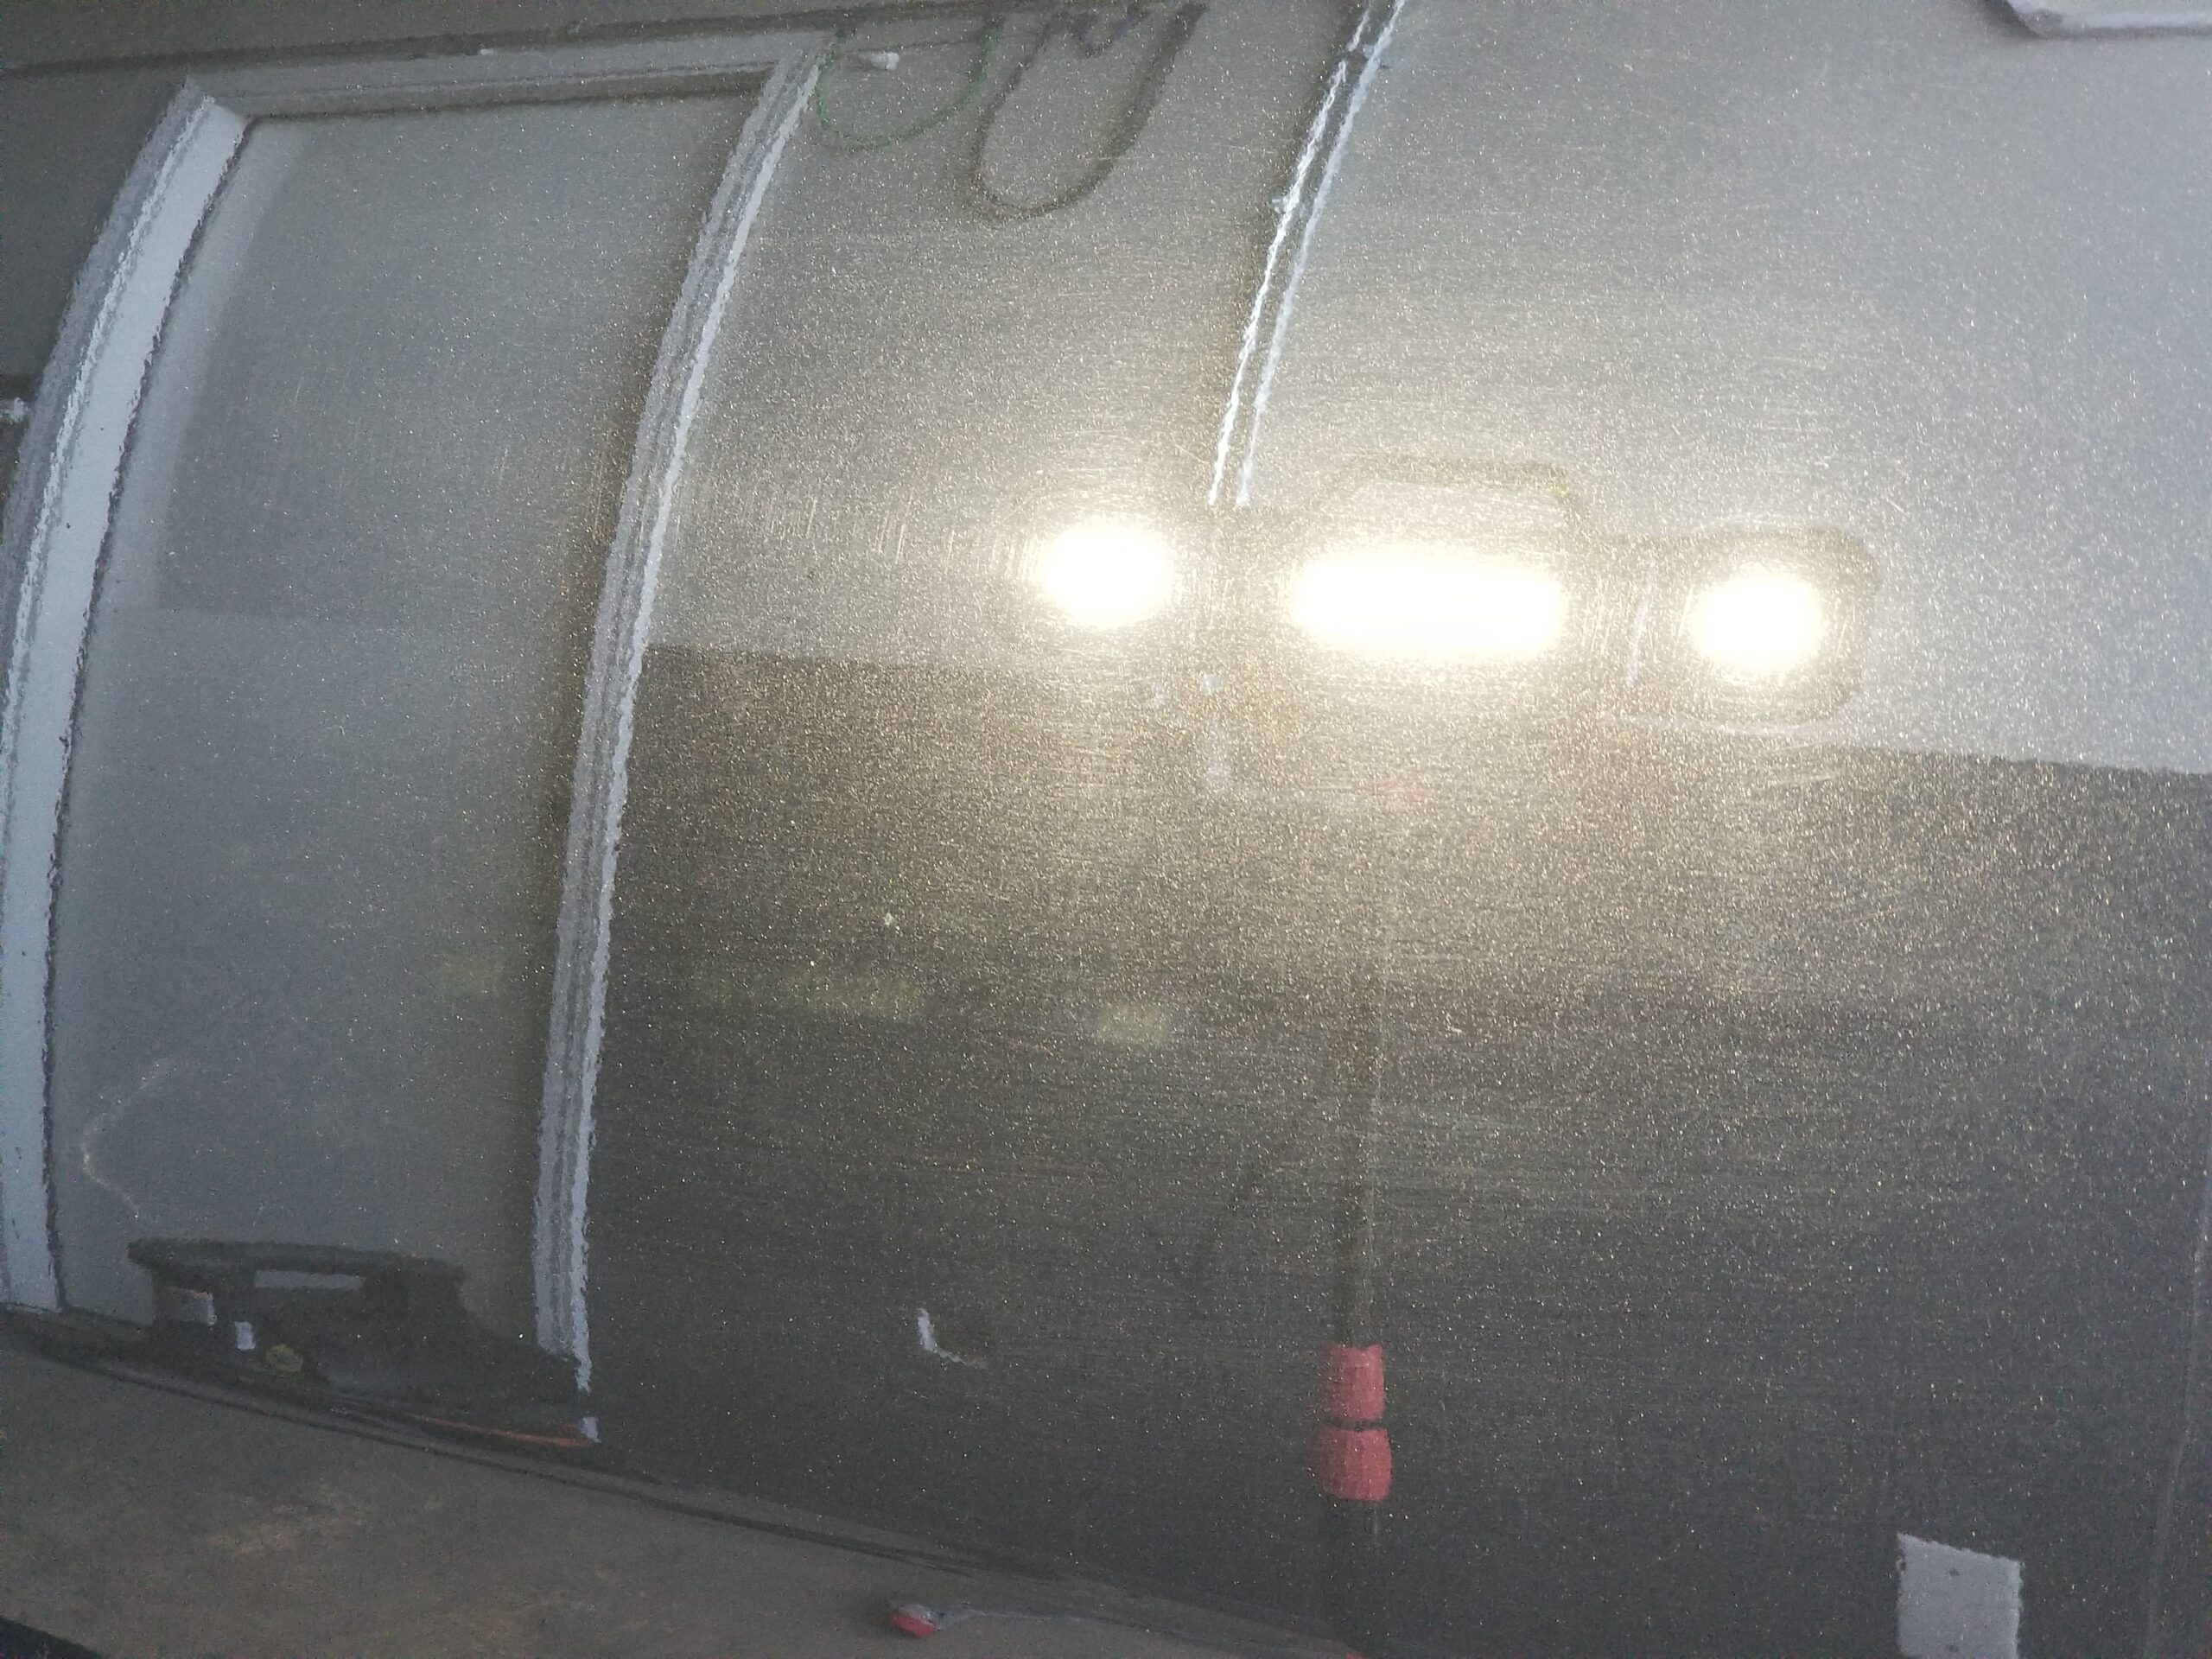
The truck is coming out really nice. I'm moving into the pre-finish polish stage, this is the clean up stage so to speak. I'm chasing out any deeper things that can be chased out and I'm cleaning up the finishing marks from the previous step. This is also where a TON of depth and gloss is going to be created and that "glow" really starts to take shape.
Stay tuned, we're rounding second base getting ready to be waved on home!
Paint Correction - Compounding Stage - Day 2

3/4/26: 8:19am
On The Radio: Watching Blue Mountain State on TV lol
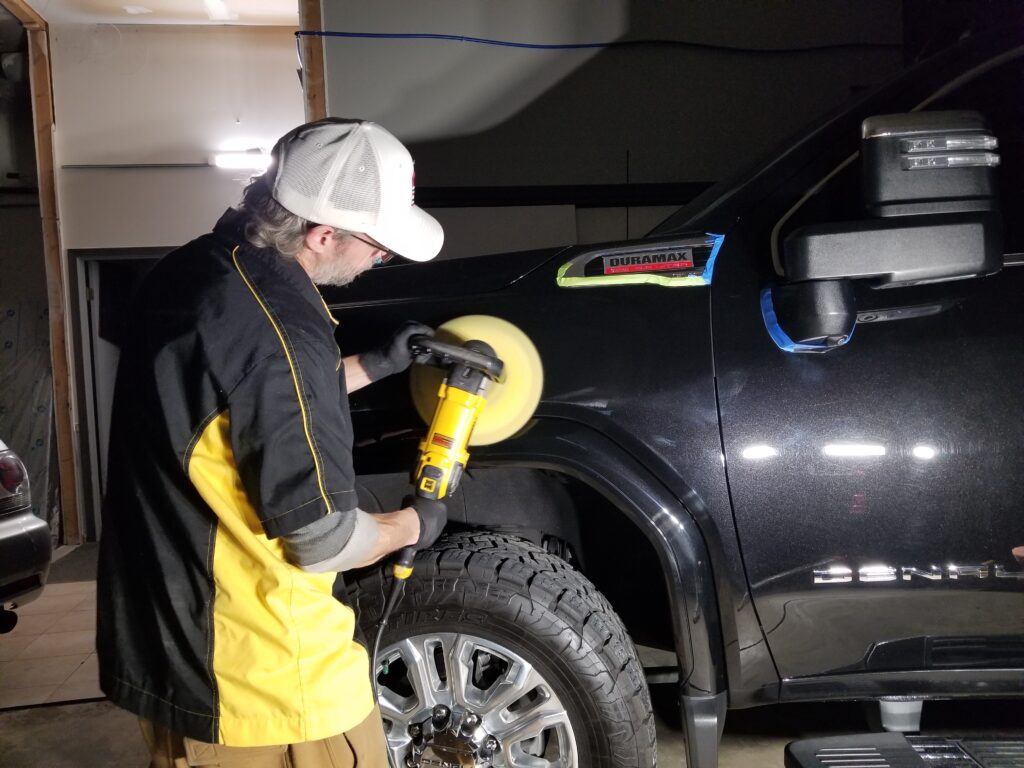
We're back at it this morning bright and early start to the day. I'll have some pictures uploaded a little later but making great progress with the correction, currently focused on the hood and front end. I'll move onto wrapping up the driver side, and then get the passenger side and gate dialed in. Should wrap up compounding today, early tomorrow at the latest.
Also, I'm finding pretty minor paint chips around the vehicle. Nothing crazy just making a note of it because I'm filling them in with GM 8555 which is the GM Gloss Black. It's not a perfect match but it's the base color of this paint system minus the flake\pearl. The chips I've found are so minor it won't be noticed, and even if so, it's far less noticeable than the white primer currently showing in the chips. Also, we can update them later if needed.
9:58am - Updated with a few pictures. Making my way down the driver side, currently on the rear driver door making my way into the quarter.
Currently listening to Vapours by Hot Since 82 (Check it out)
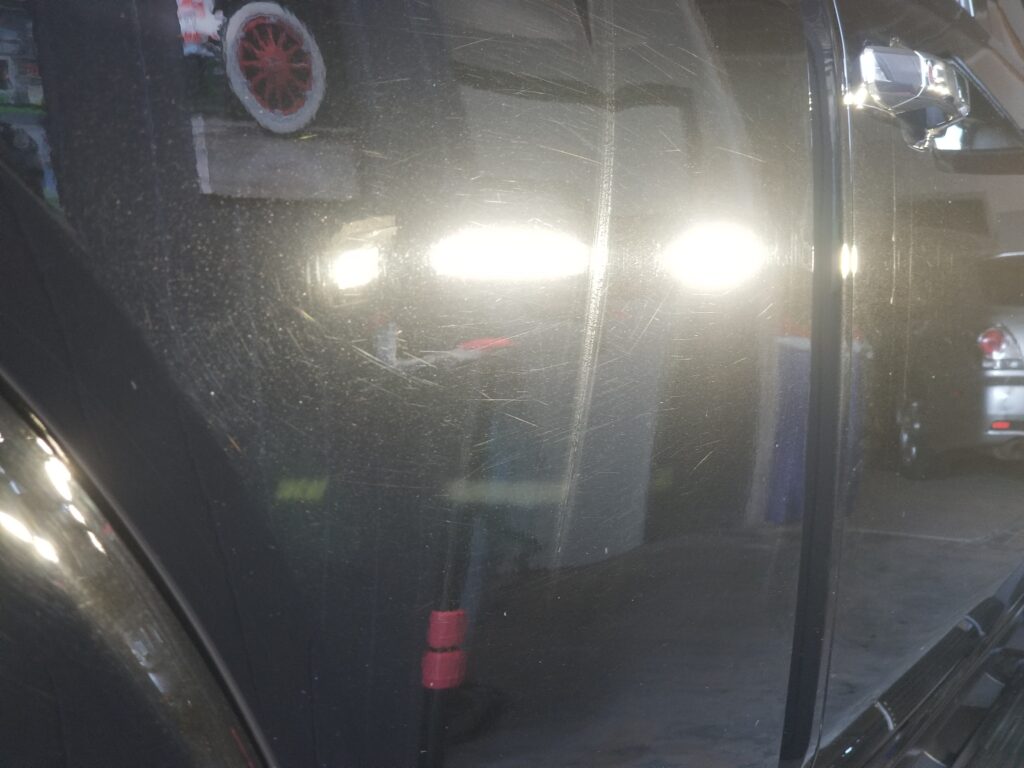
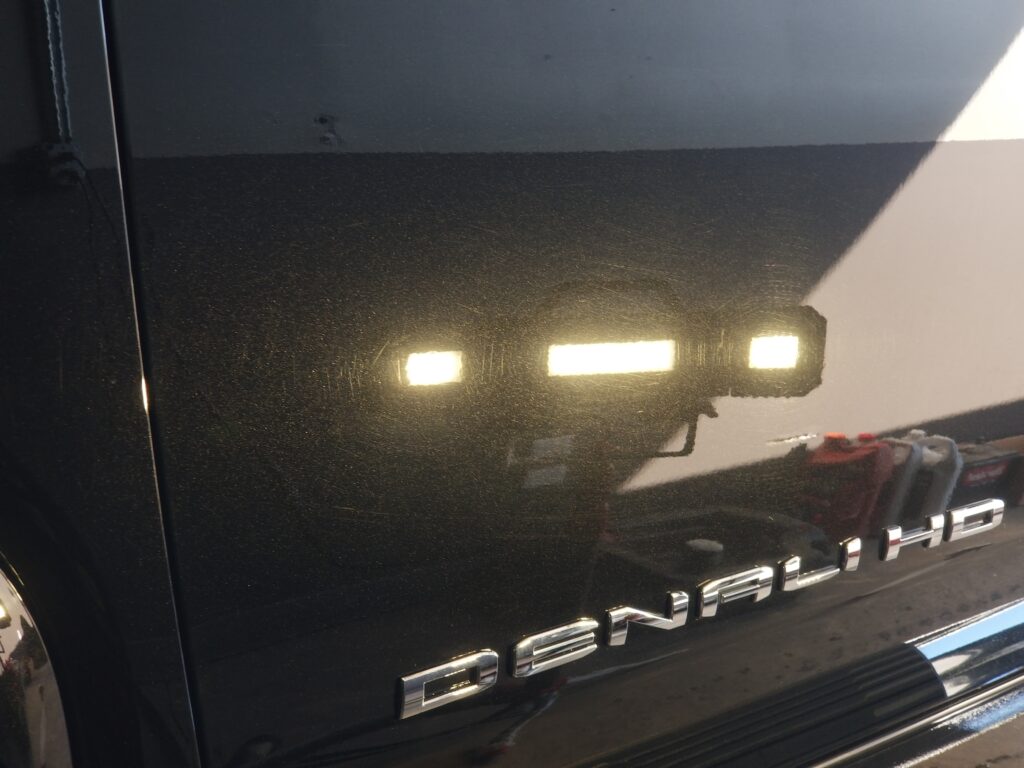
10:48am - Uploaded a few more pictures. A couple of 50/50 side by side panels and a before and after*
*All pictures in the tracker are considered in-progress pictures until the words FINAL or FINNISHED start showing up with them. Even the AFTER pictures contained are AFTER compounding so some hazing and finishing marks are expected and a part of the process. We'll get those massaged out in the next couple of steps, stay tuned!!
Currently listening to Yelling Things into Existence by Spunkshine (Check it out)


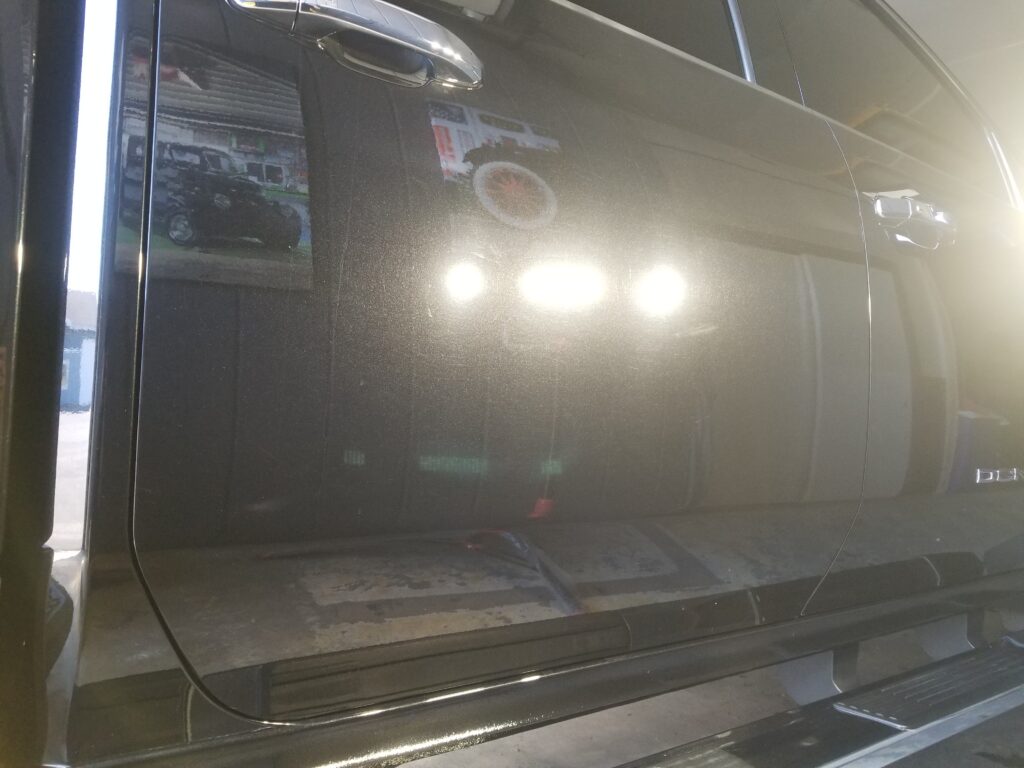
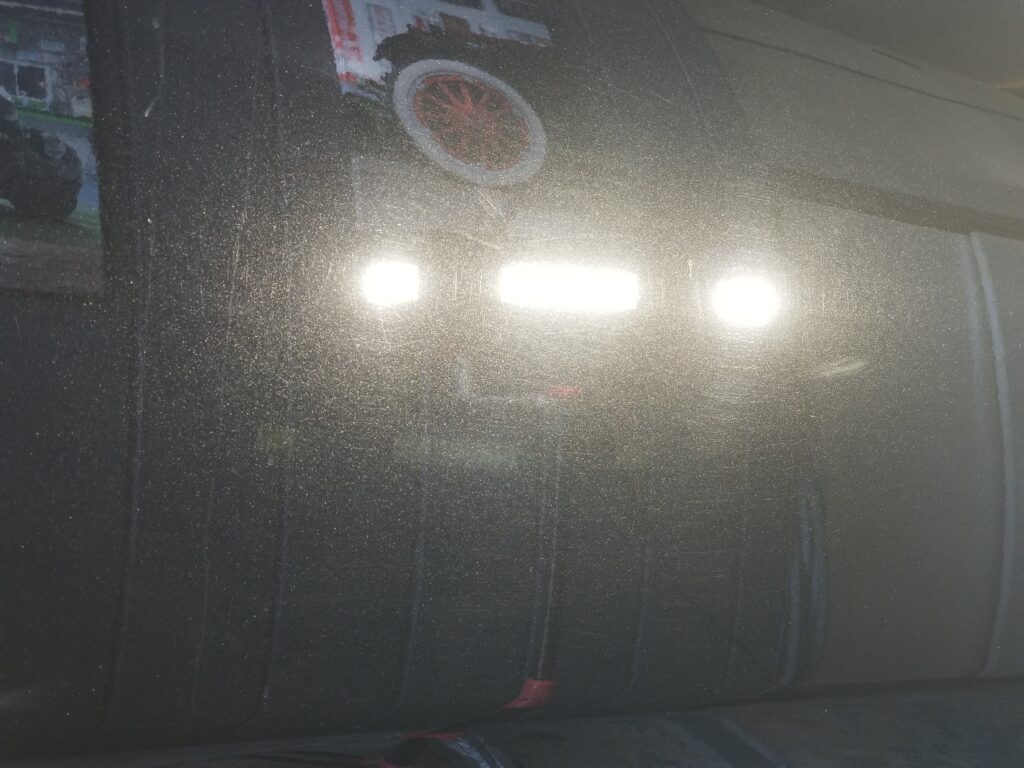
Paint Correction - Compounding Stage
We're performing a multi-step paint correction to ensure we're getting to as close to flawless a finish as possible. Our first pass goes deep to remove the deeper flaws created by the automated washes, but that leaves us with deep finishing marks, so our next step refines those finishing marks and also cleans up any remnants from the previous step. We repeat that process until we achieve an incredibly vibrant and brilliant shine and unsurpassed depth and gloss. Giddy up buddy, she's going to come out great!
3/3/2026 7:00am - Test spot is completed, pictures uploaded.
3/3/26 7:17am - Find a lot of isolated deeper scratches that are far deeper than the swirl marks. Suspect this is also caused by the automated washes, rocks, salt, hardened schmutz on the brushes\spinning "towels" gets dragged against the paint and causes these types of scratches. She's needing every bit of this correction and rebounding very well!


Paint Work Inspection
We closely inspect the paint work prior to correction to gauge the project and plan for the appropriate approach. With Danny's truck we've found a moderately heavy amount of damage from automated touch-washes and we'll be approaching it with a multi-step approach. Rather than the basic two-step correction you read so much about, we're going to utilize 3-5 separate steps to eliminate the damage as much as possible and then refine the paintwork to as close to flawless as we can get prior to installing our ceramic coatings.
A couple of other things to note. There are faded plastics along the bed that we'll also be scrubbing the plastics clean until they are free of any and all contaminants and then we'll be dying and ceramic coating as well to bring back the like-new factor.
4:15pm - Paint correction will get started tomorrow morning bright and early!
Note: Need to talk to Danny about the automated washes causing all this damage.
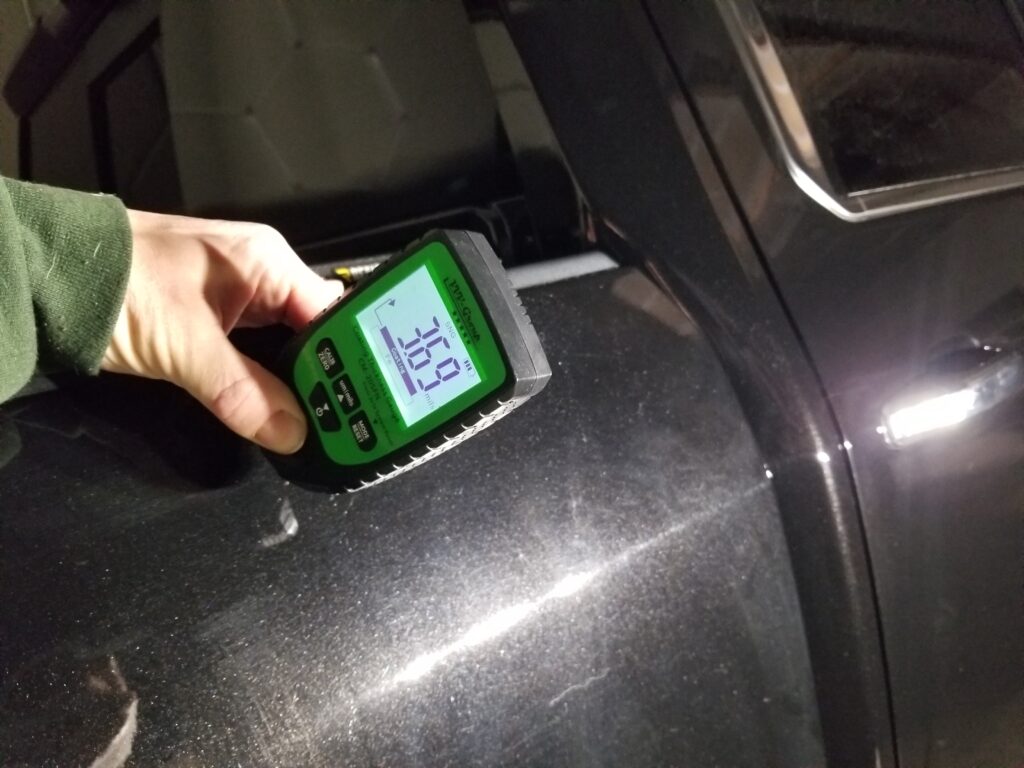
Updated 3/5/2026 - Paint Depth Readings
Average 3.7mils
High 4.19
Low 2.89
Effective 2.9mils

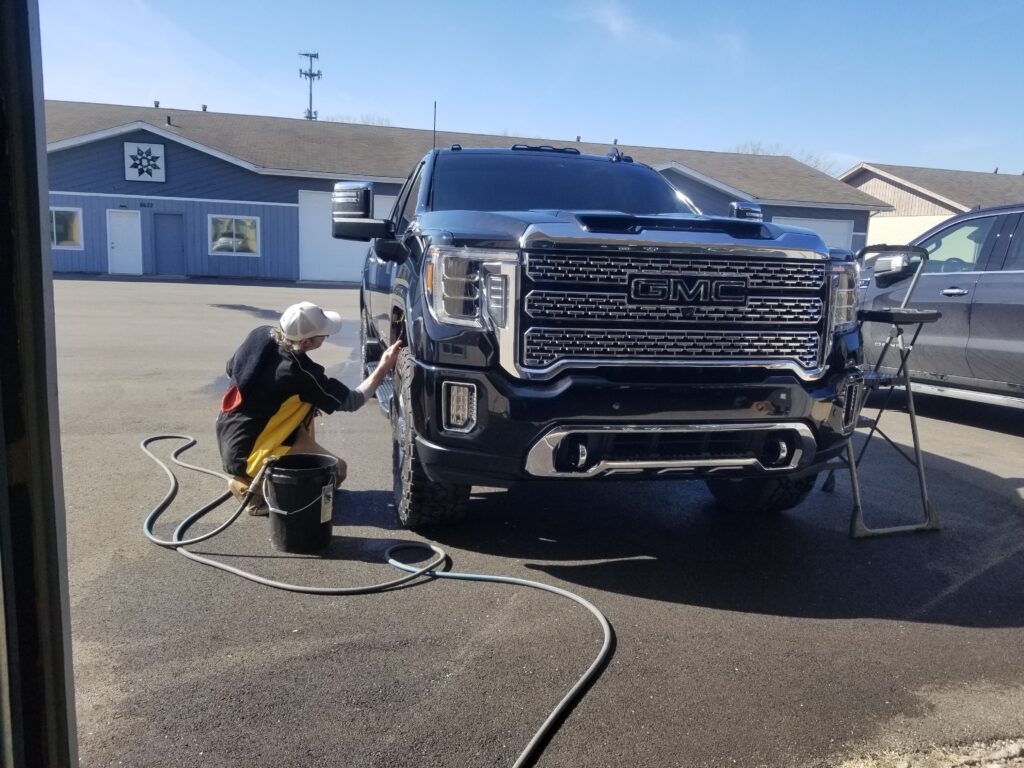
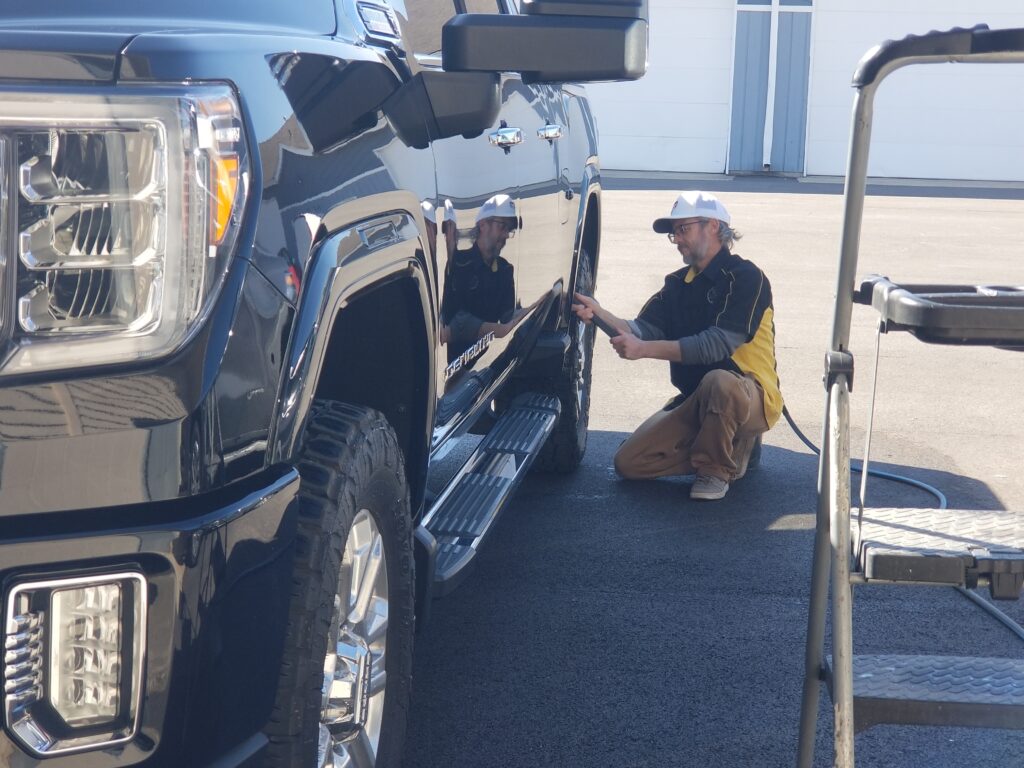
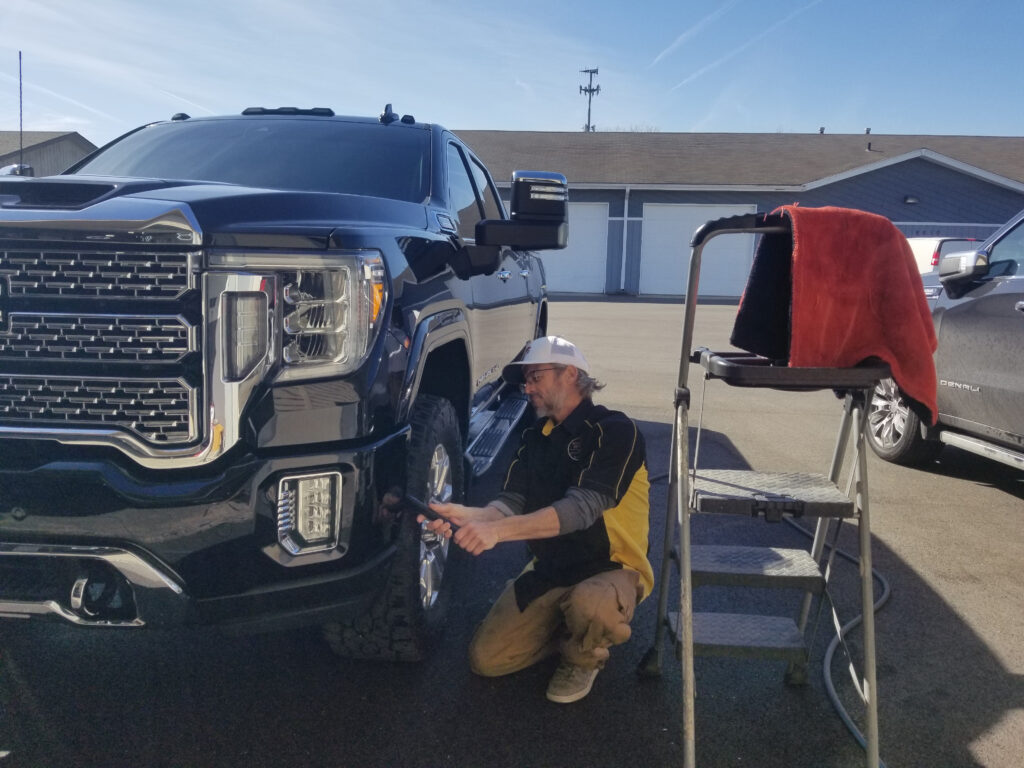
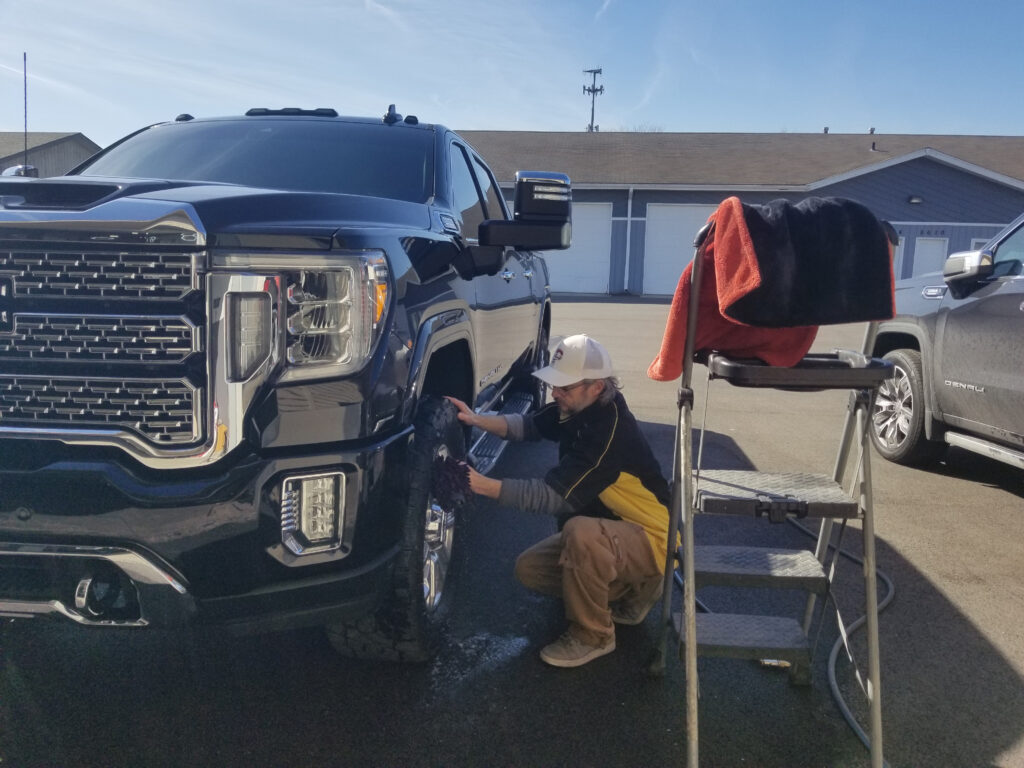
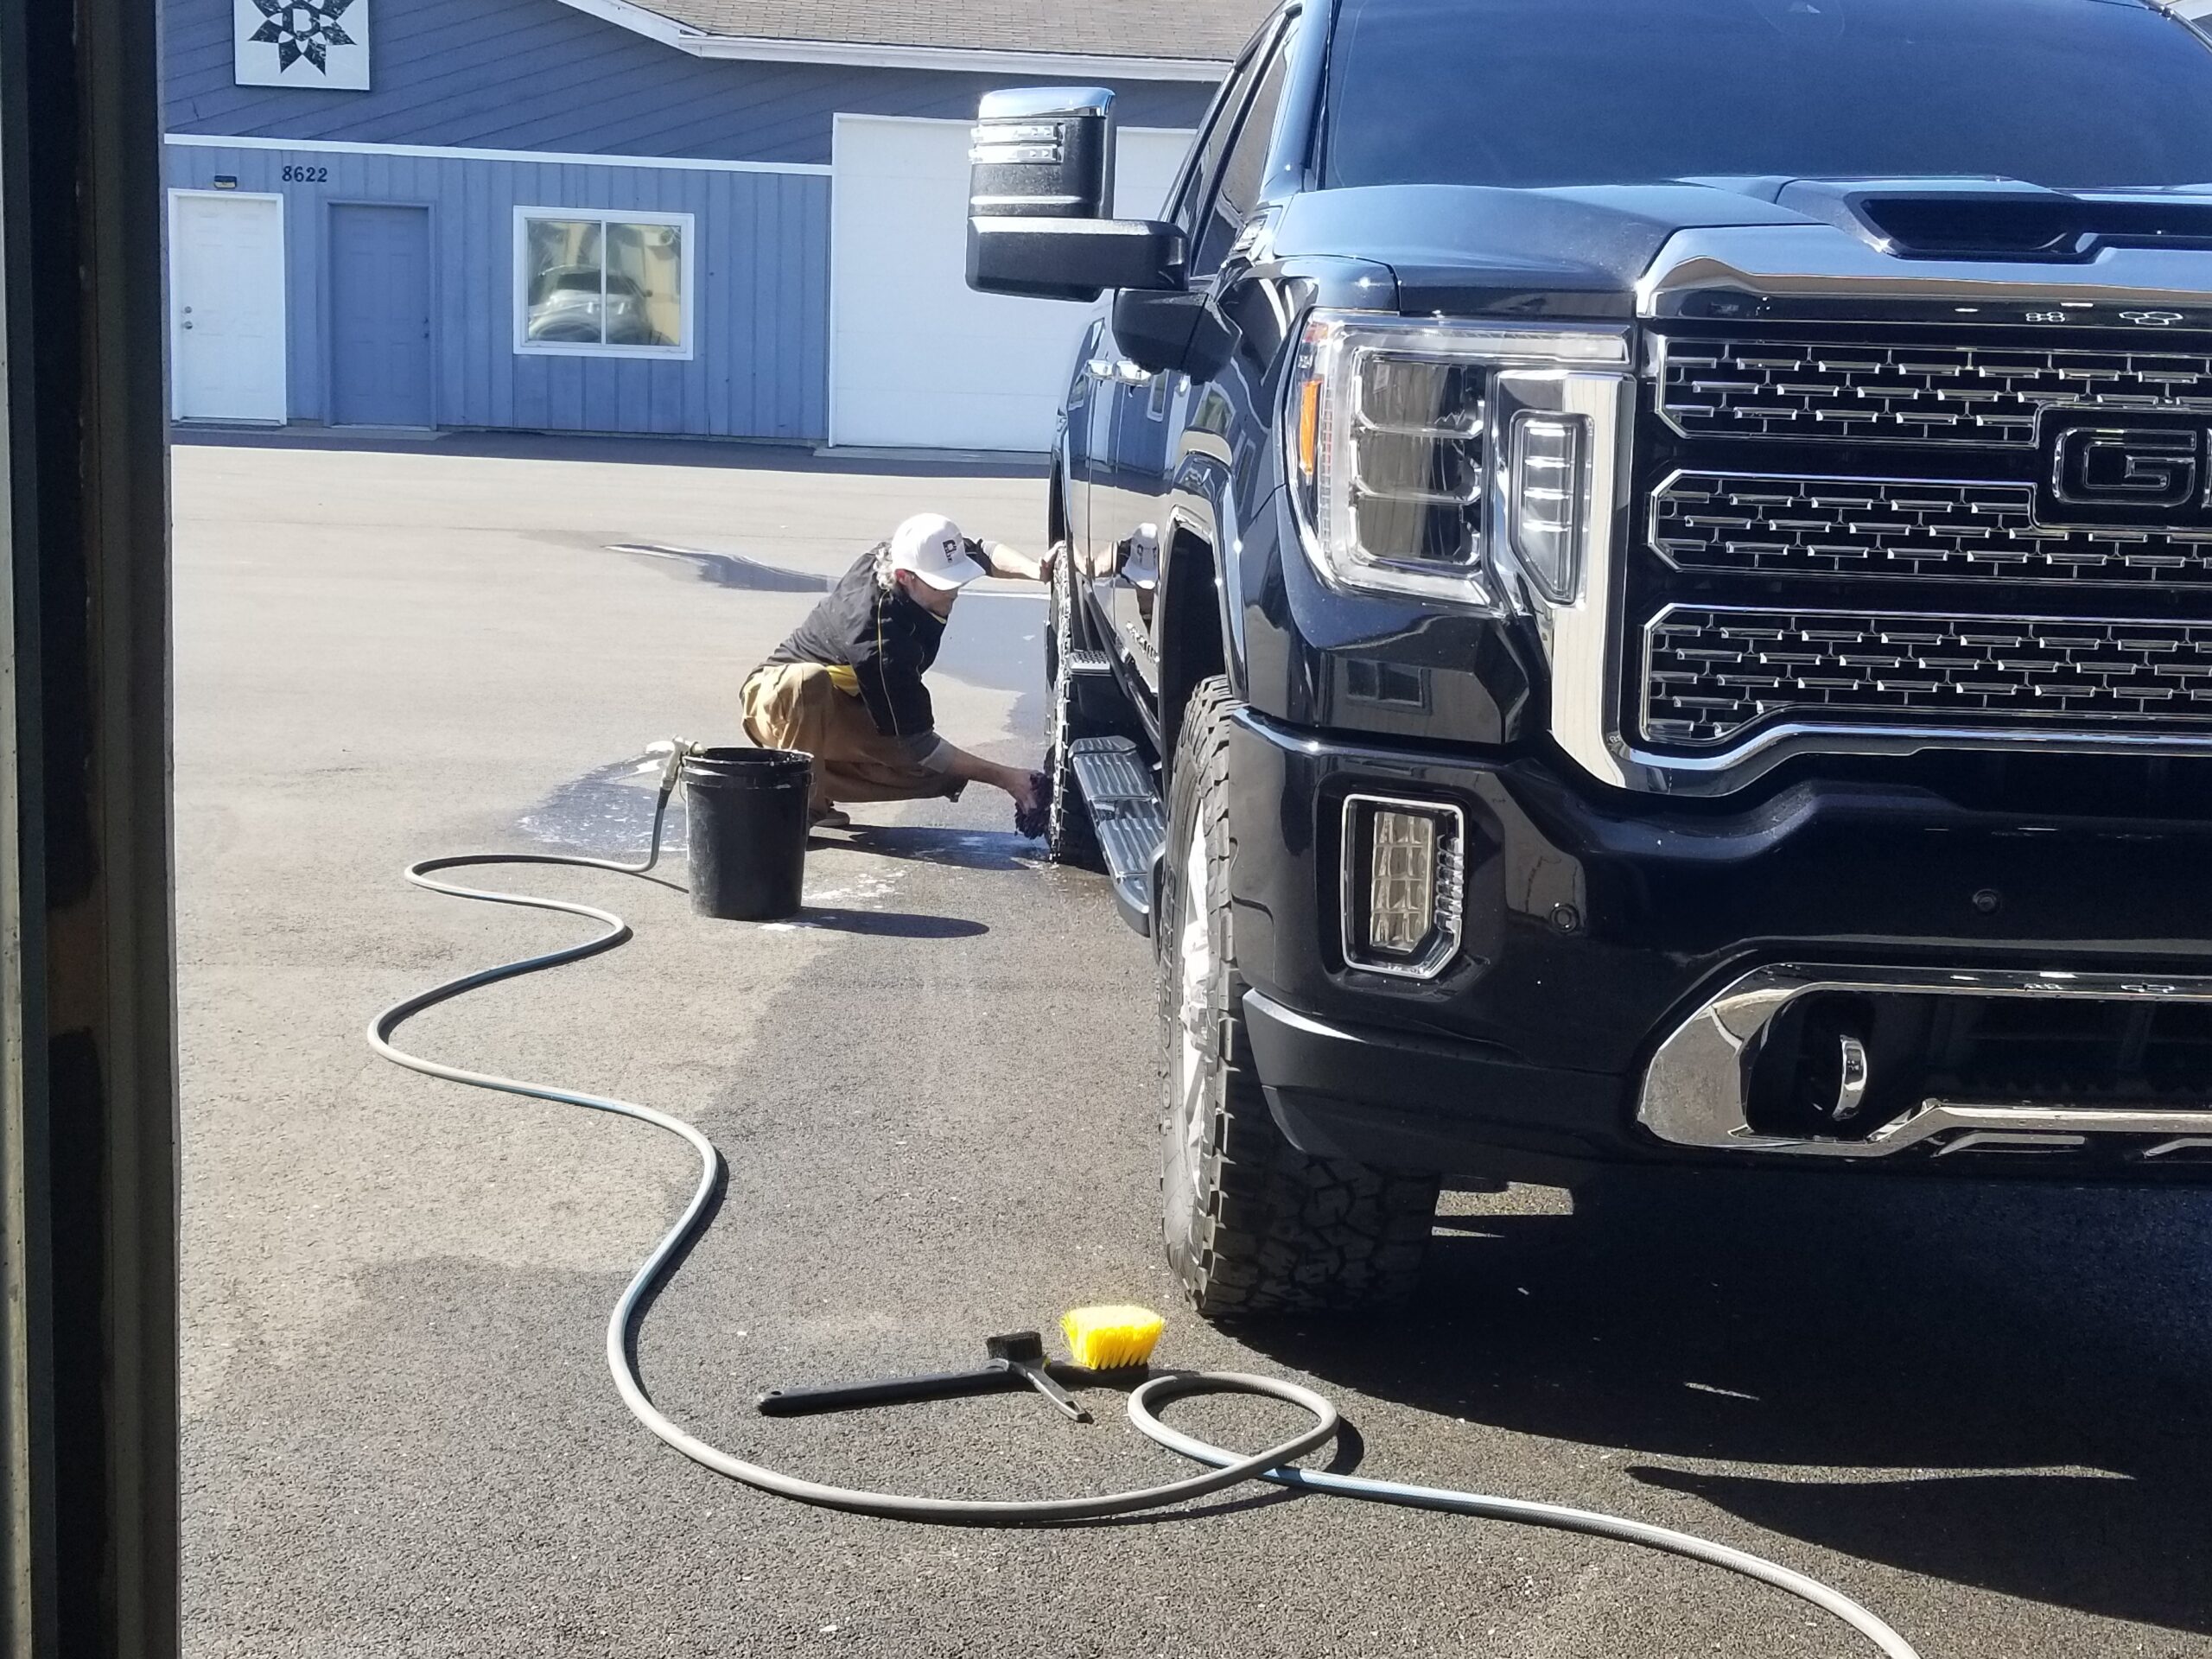
Wash and Decontamination Stage
This is where everything starts to ensure we're starting with as clean as slate as possible. During this stage we use some high powered soaps and detergents along with a variety of automotive clays to ensure we erase all the dirt and grime and we follow all of that up with a nice solvent bath to ensure things like tar, sap, minerals, fallout, etc are all dealt with as well prior to our paint correction work.