HD Ceramic Coating Project Tracker
Omar's Silverado
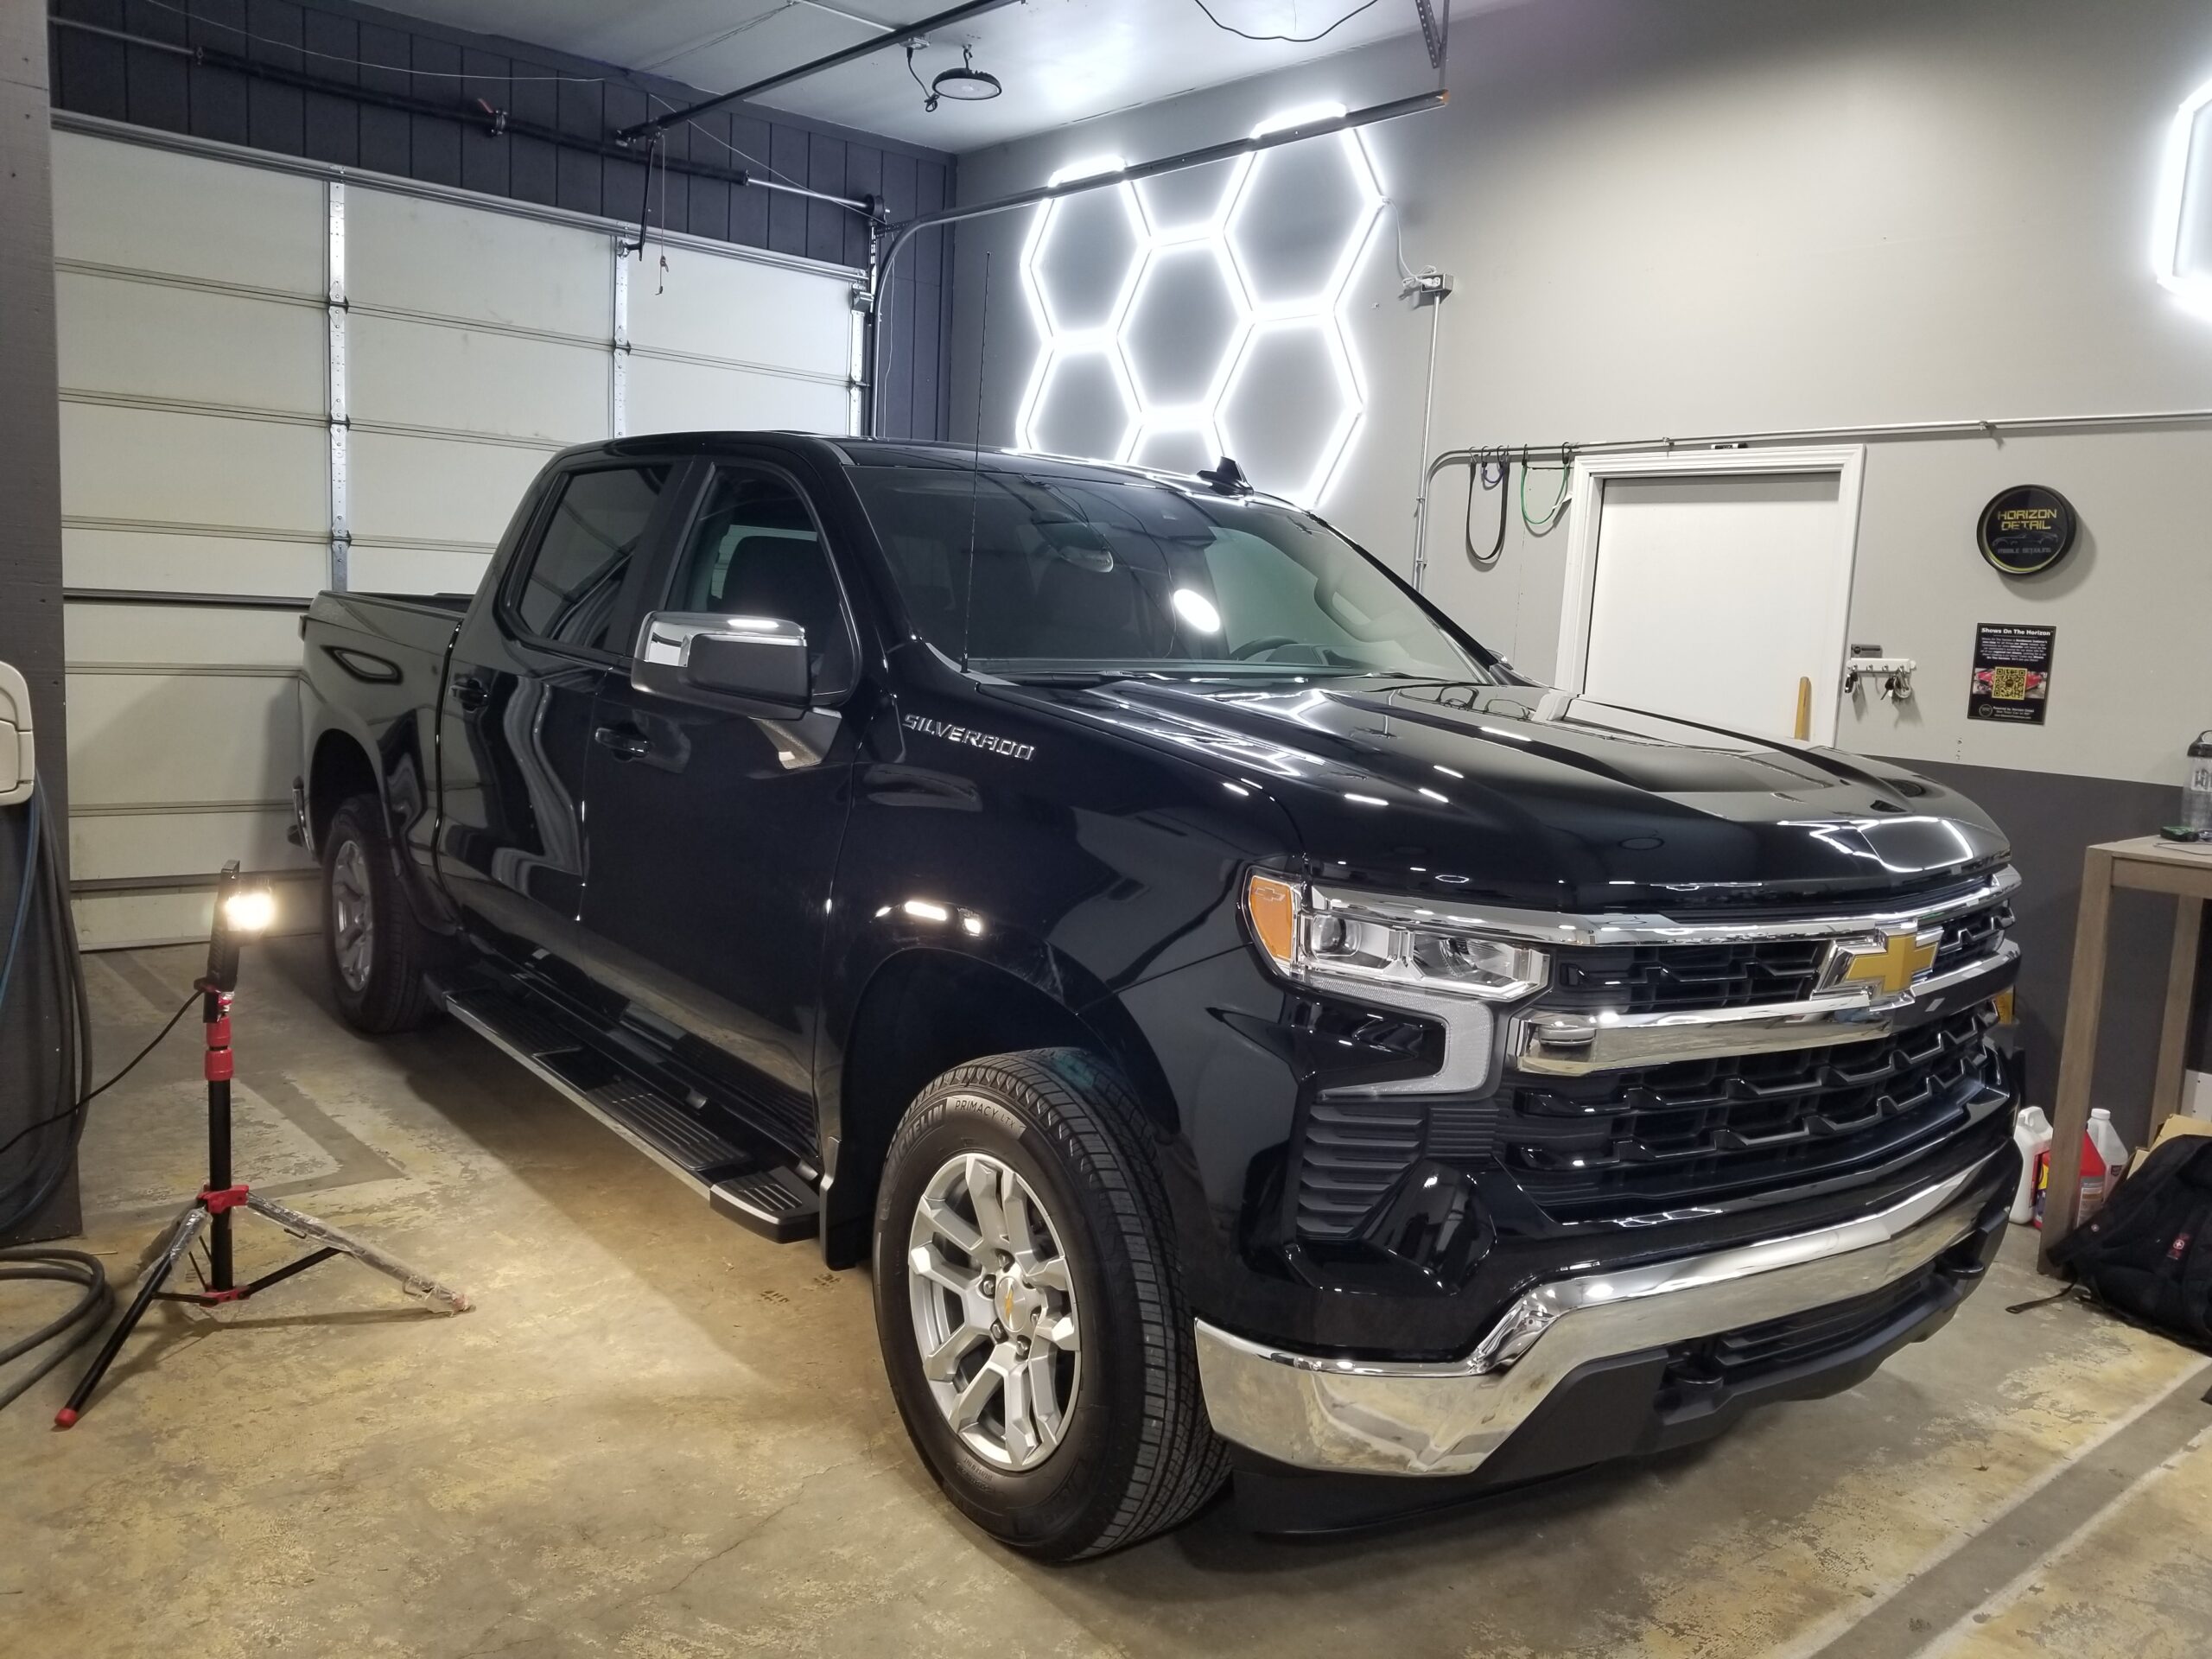
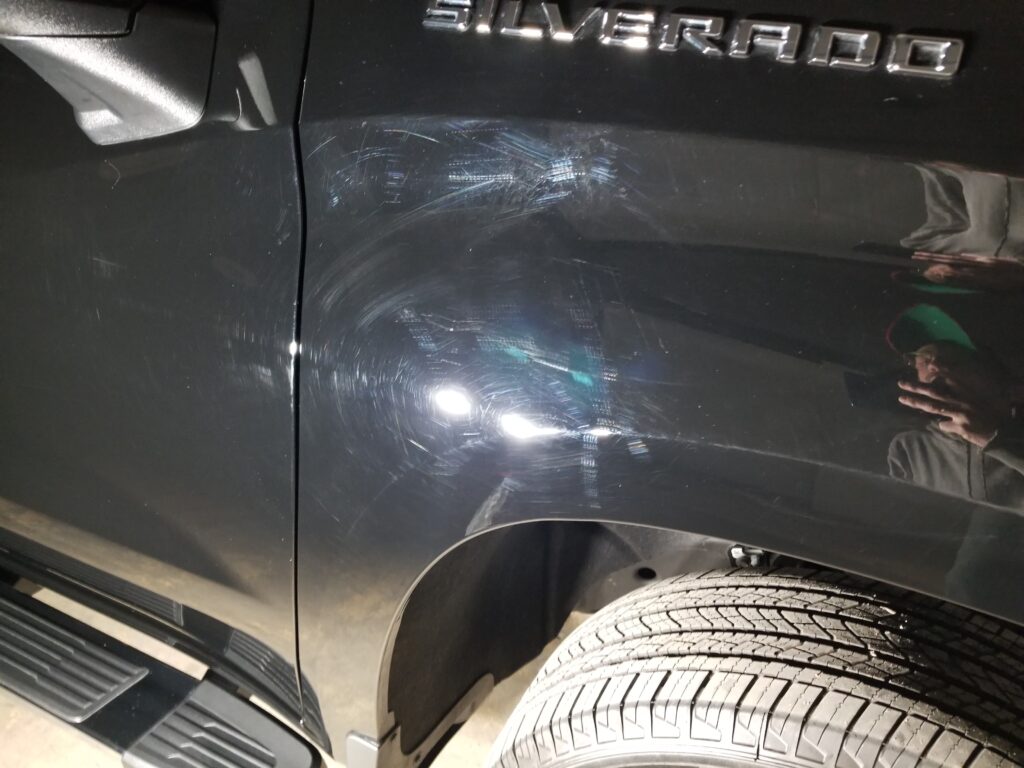
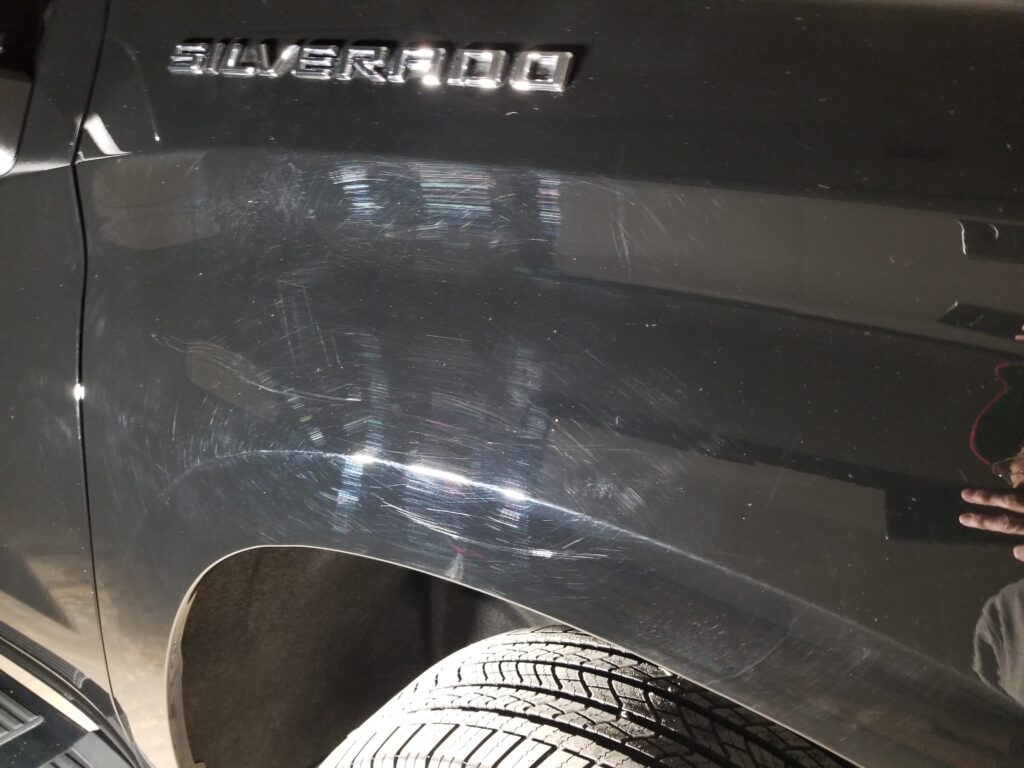
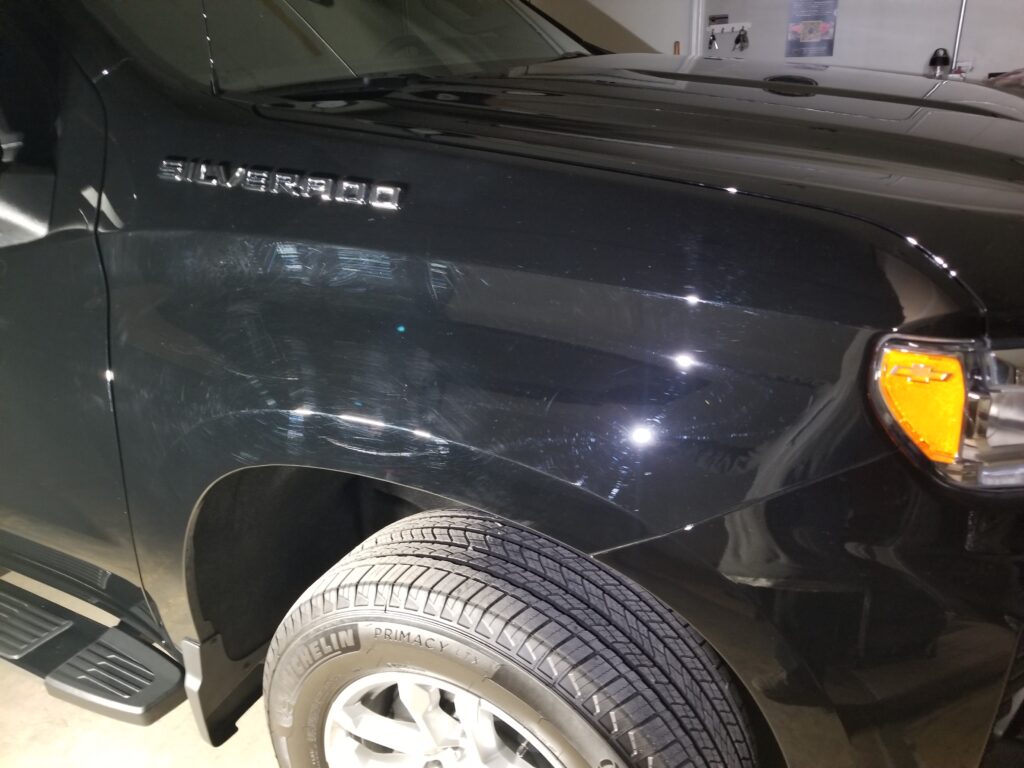
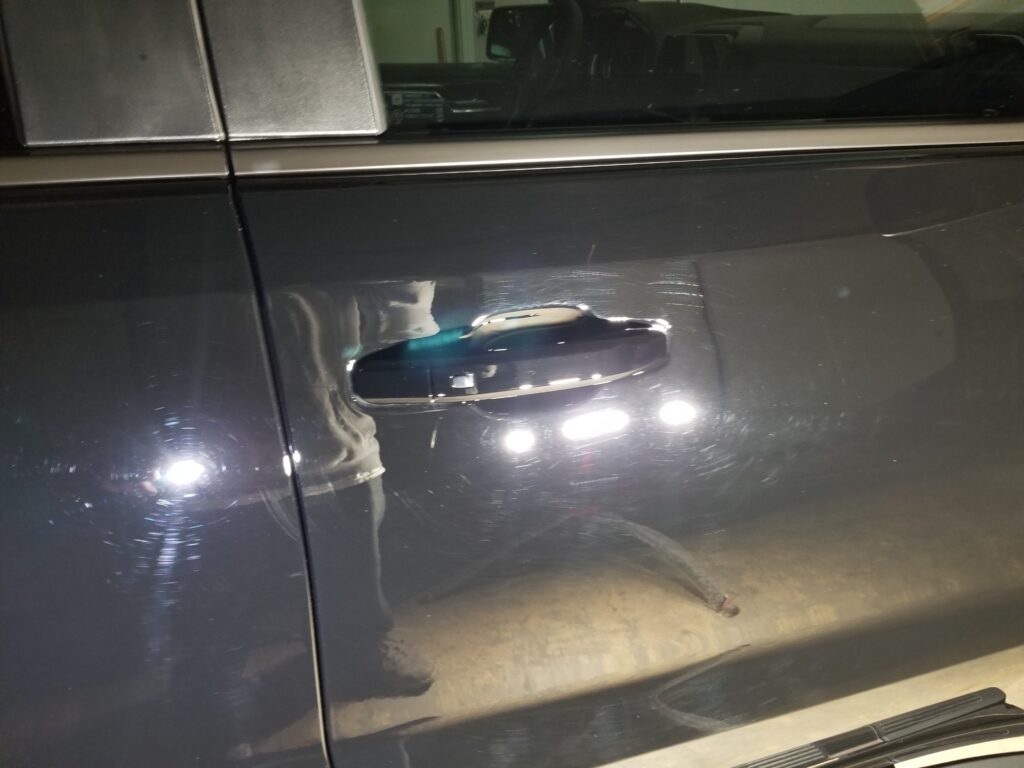
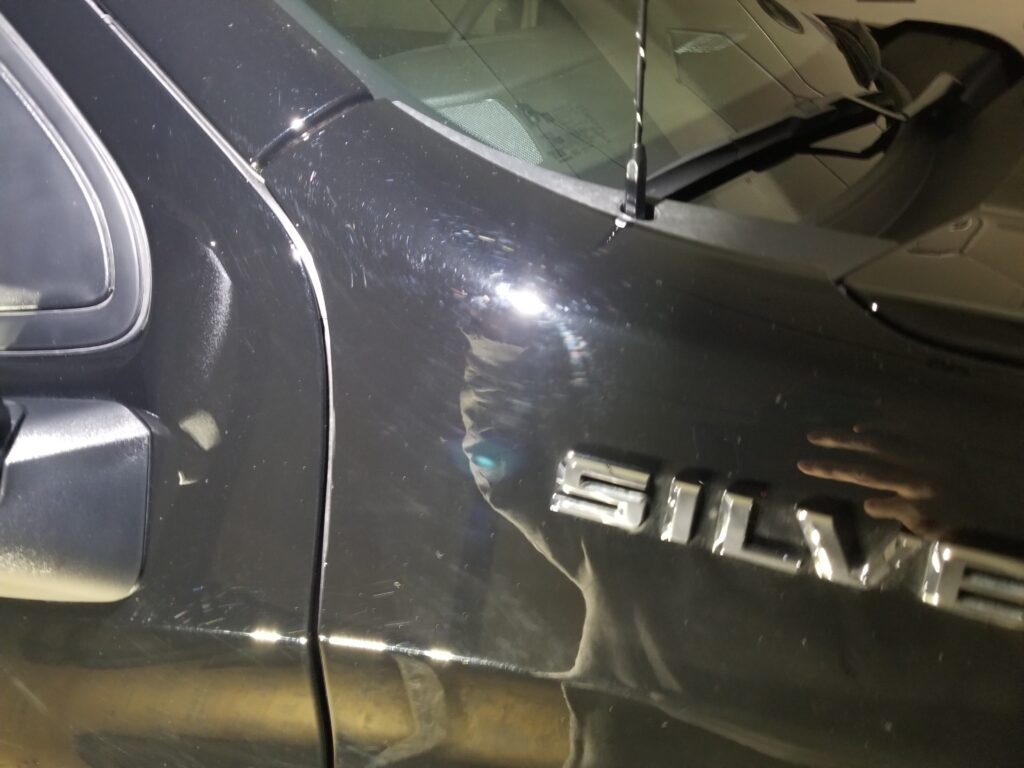
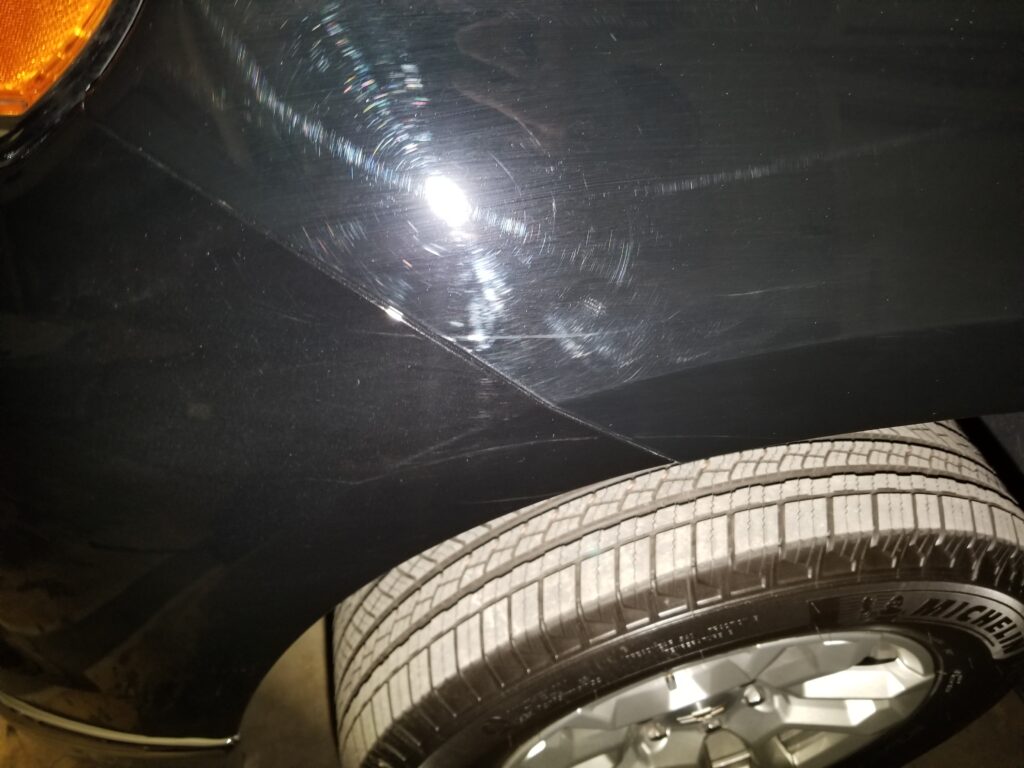
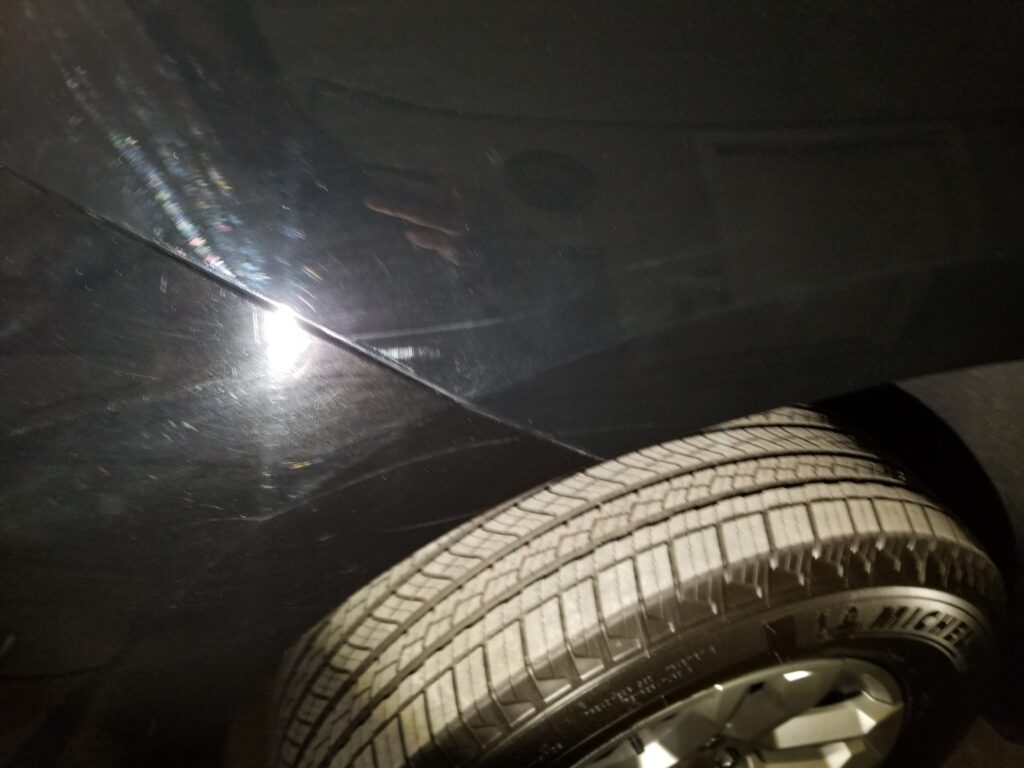
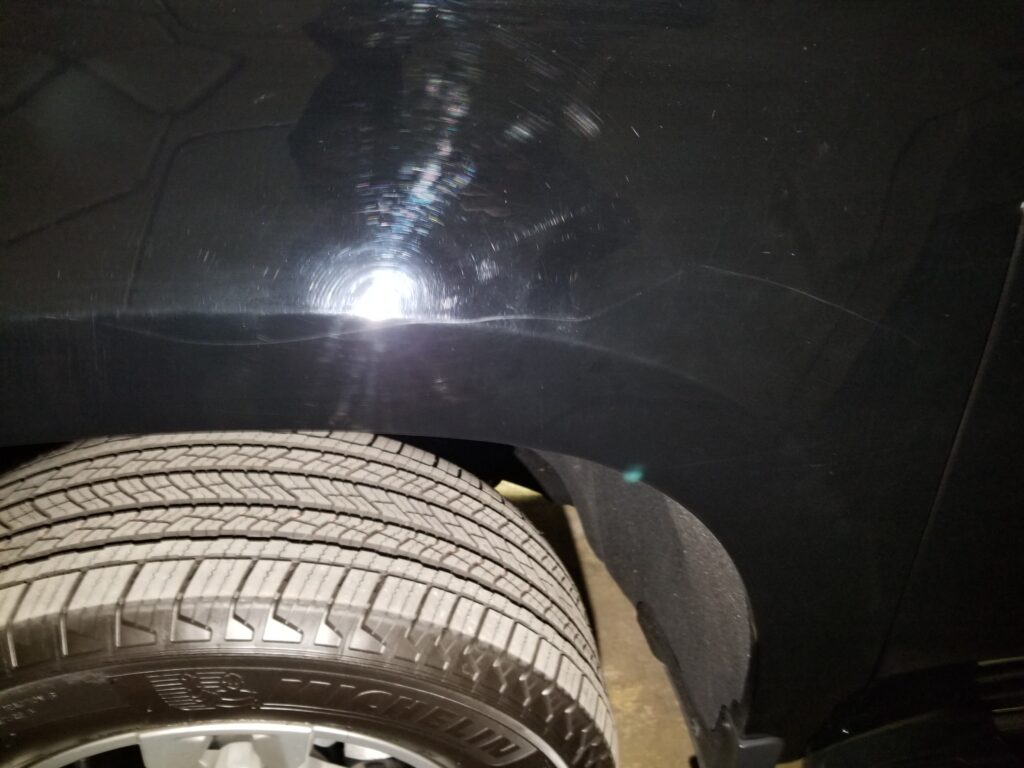
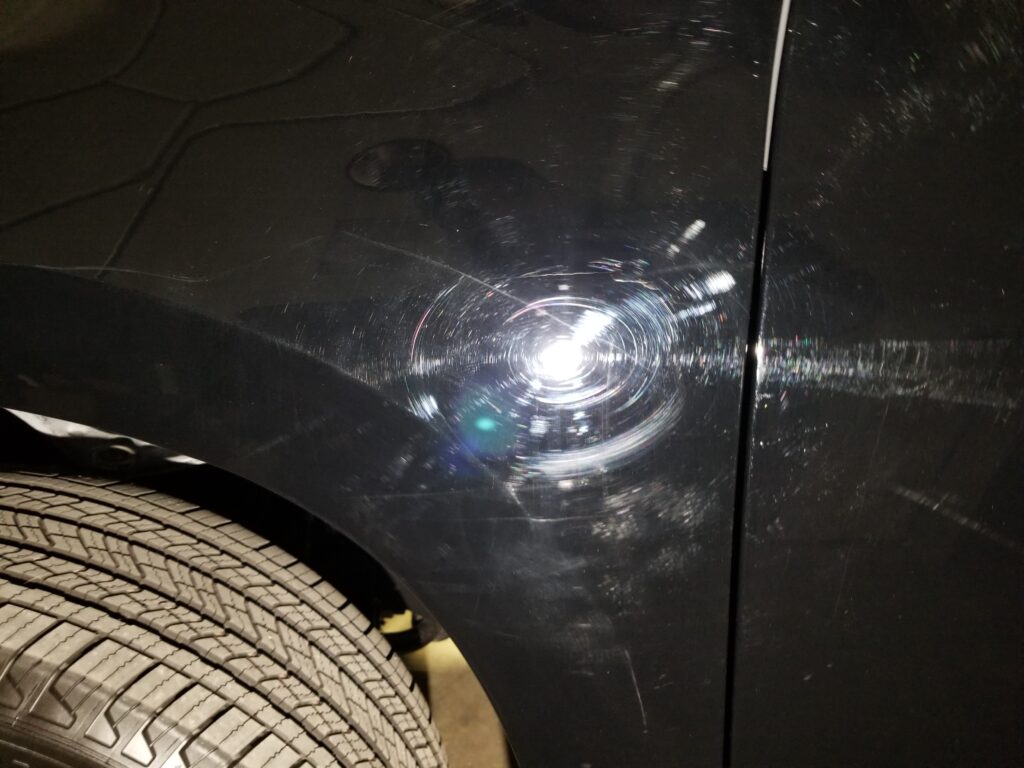
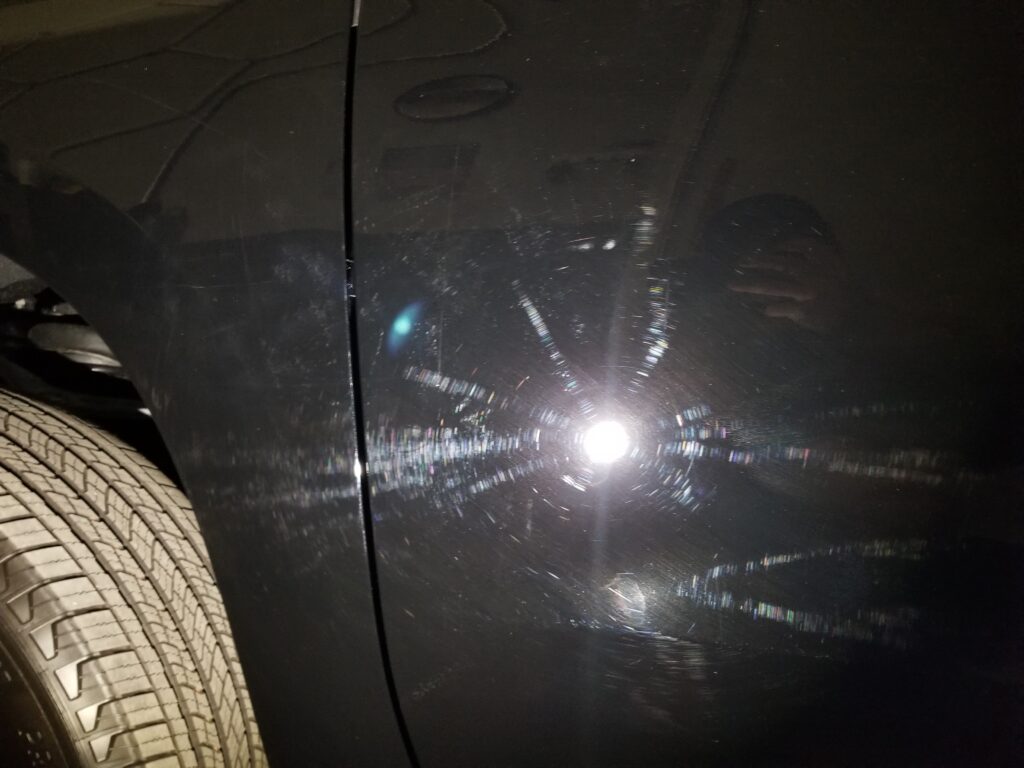
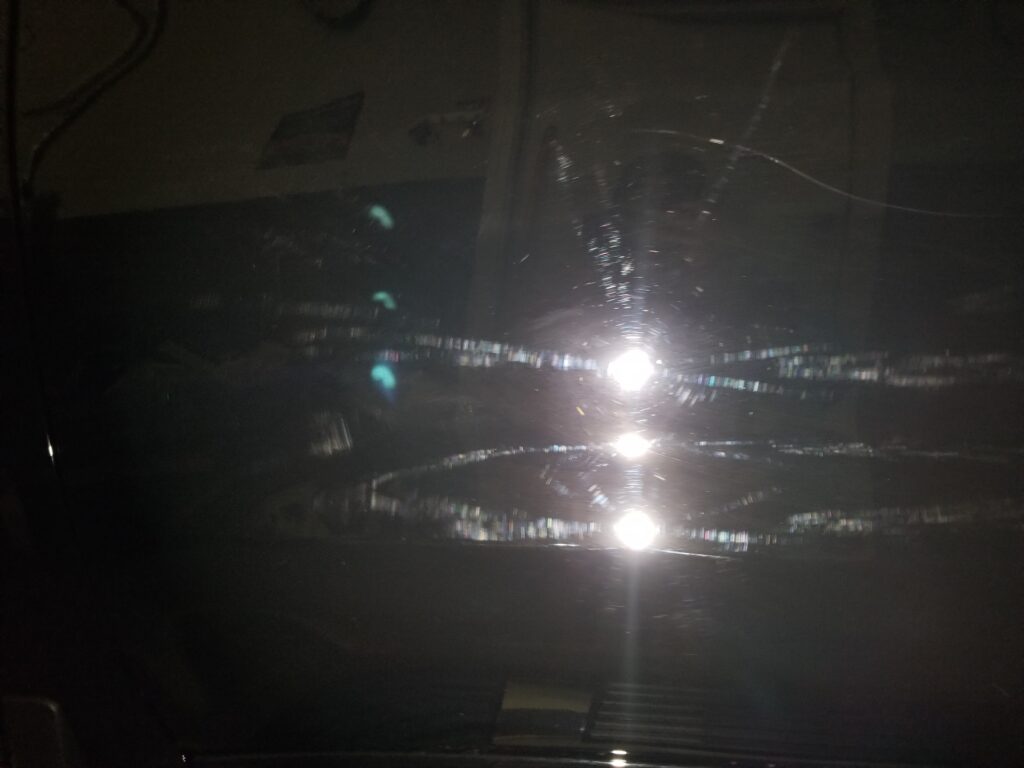
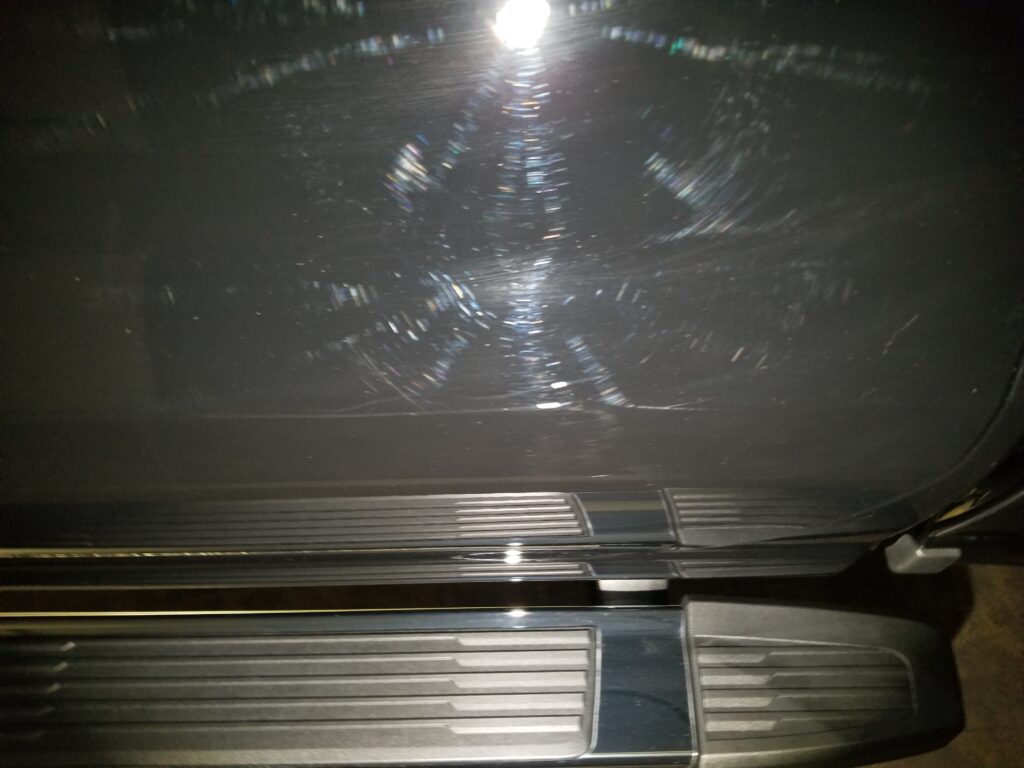
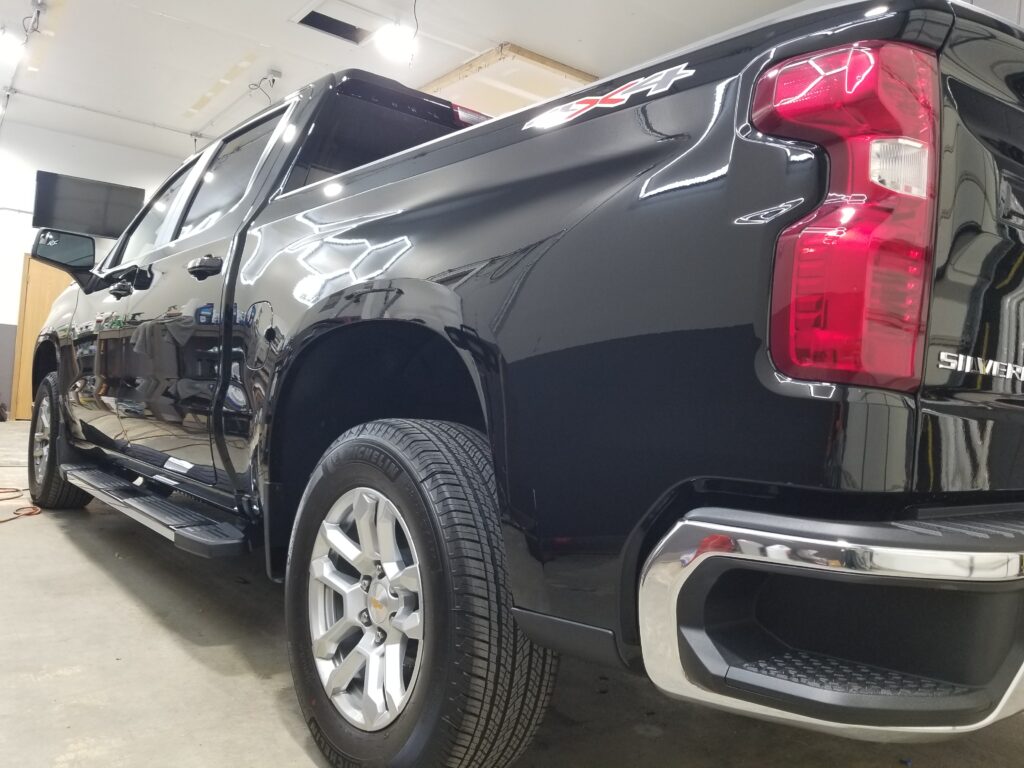
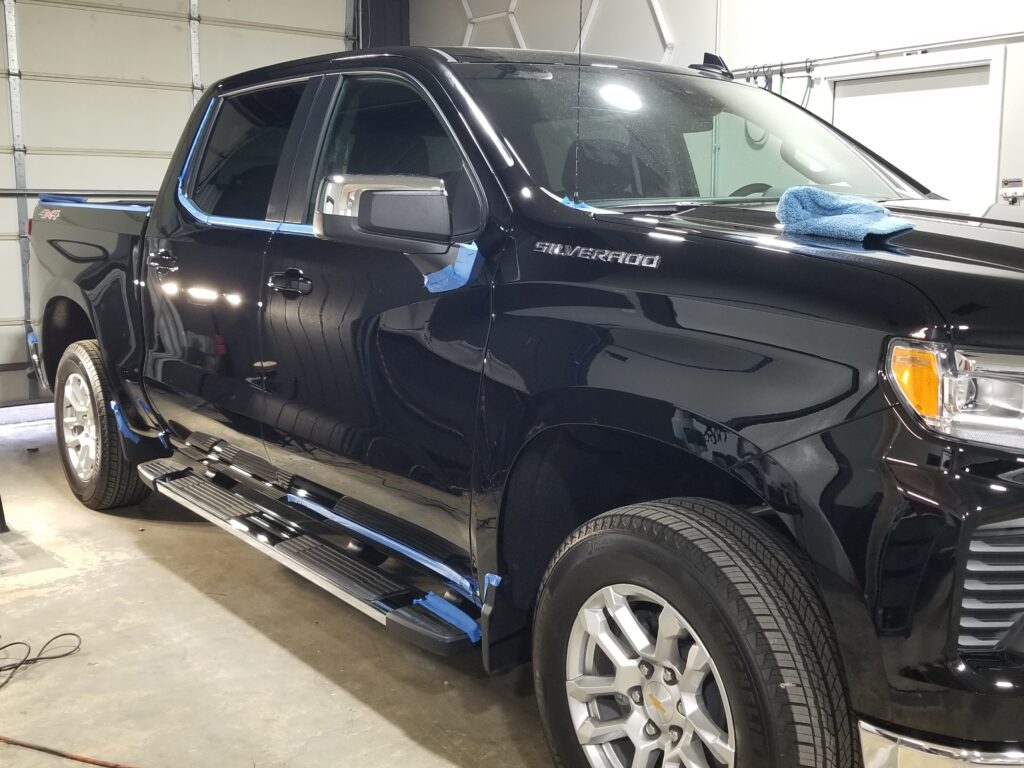
Omar brought us his brand new Silverado for our 5 Year Coating Package. Unfortunately there is a lot of damage in the paint work, and despite the fact that there is only 119 miles on her and it being picked up as new just a couple of days ago, we have to do a full corrective polish service to bring it back to a like new appearance.
Wheel Coating Application
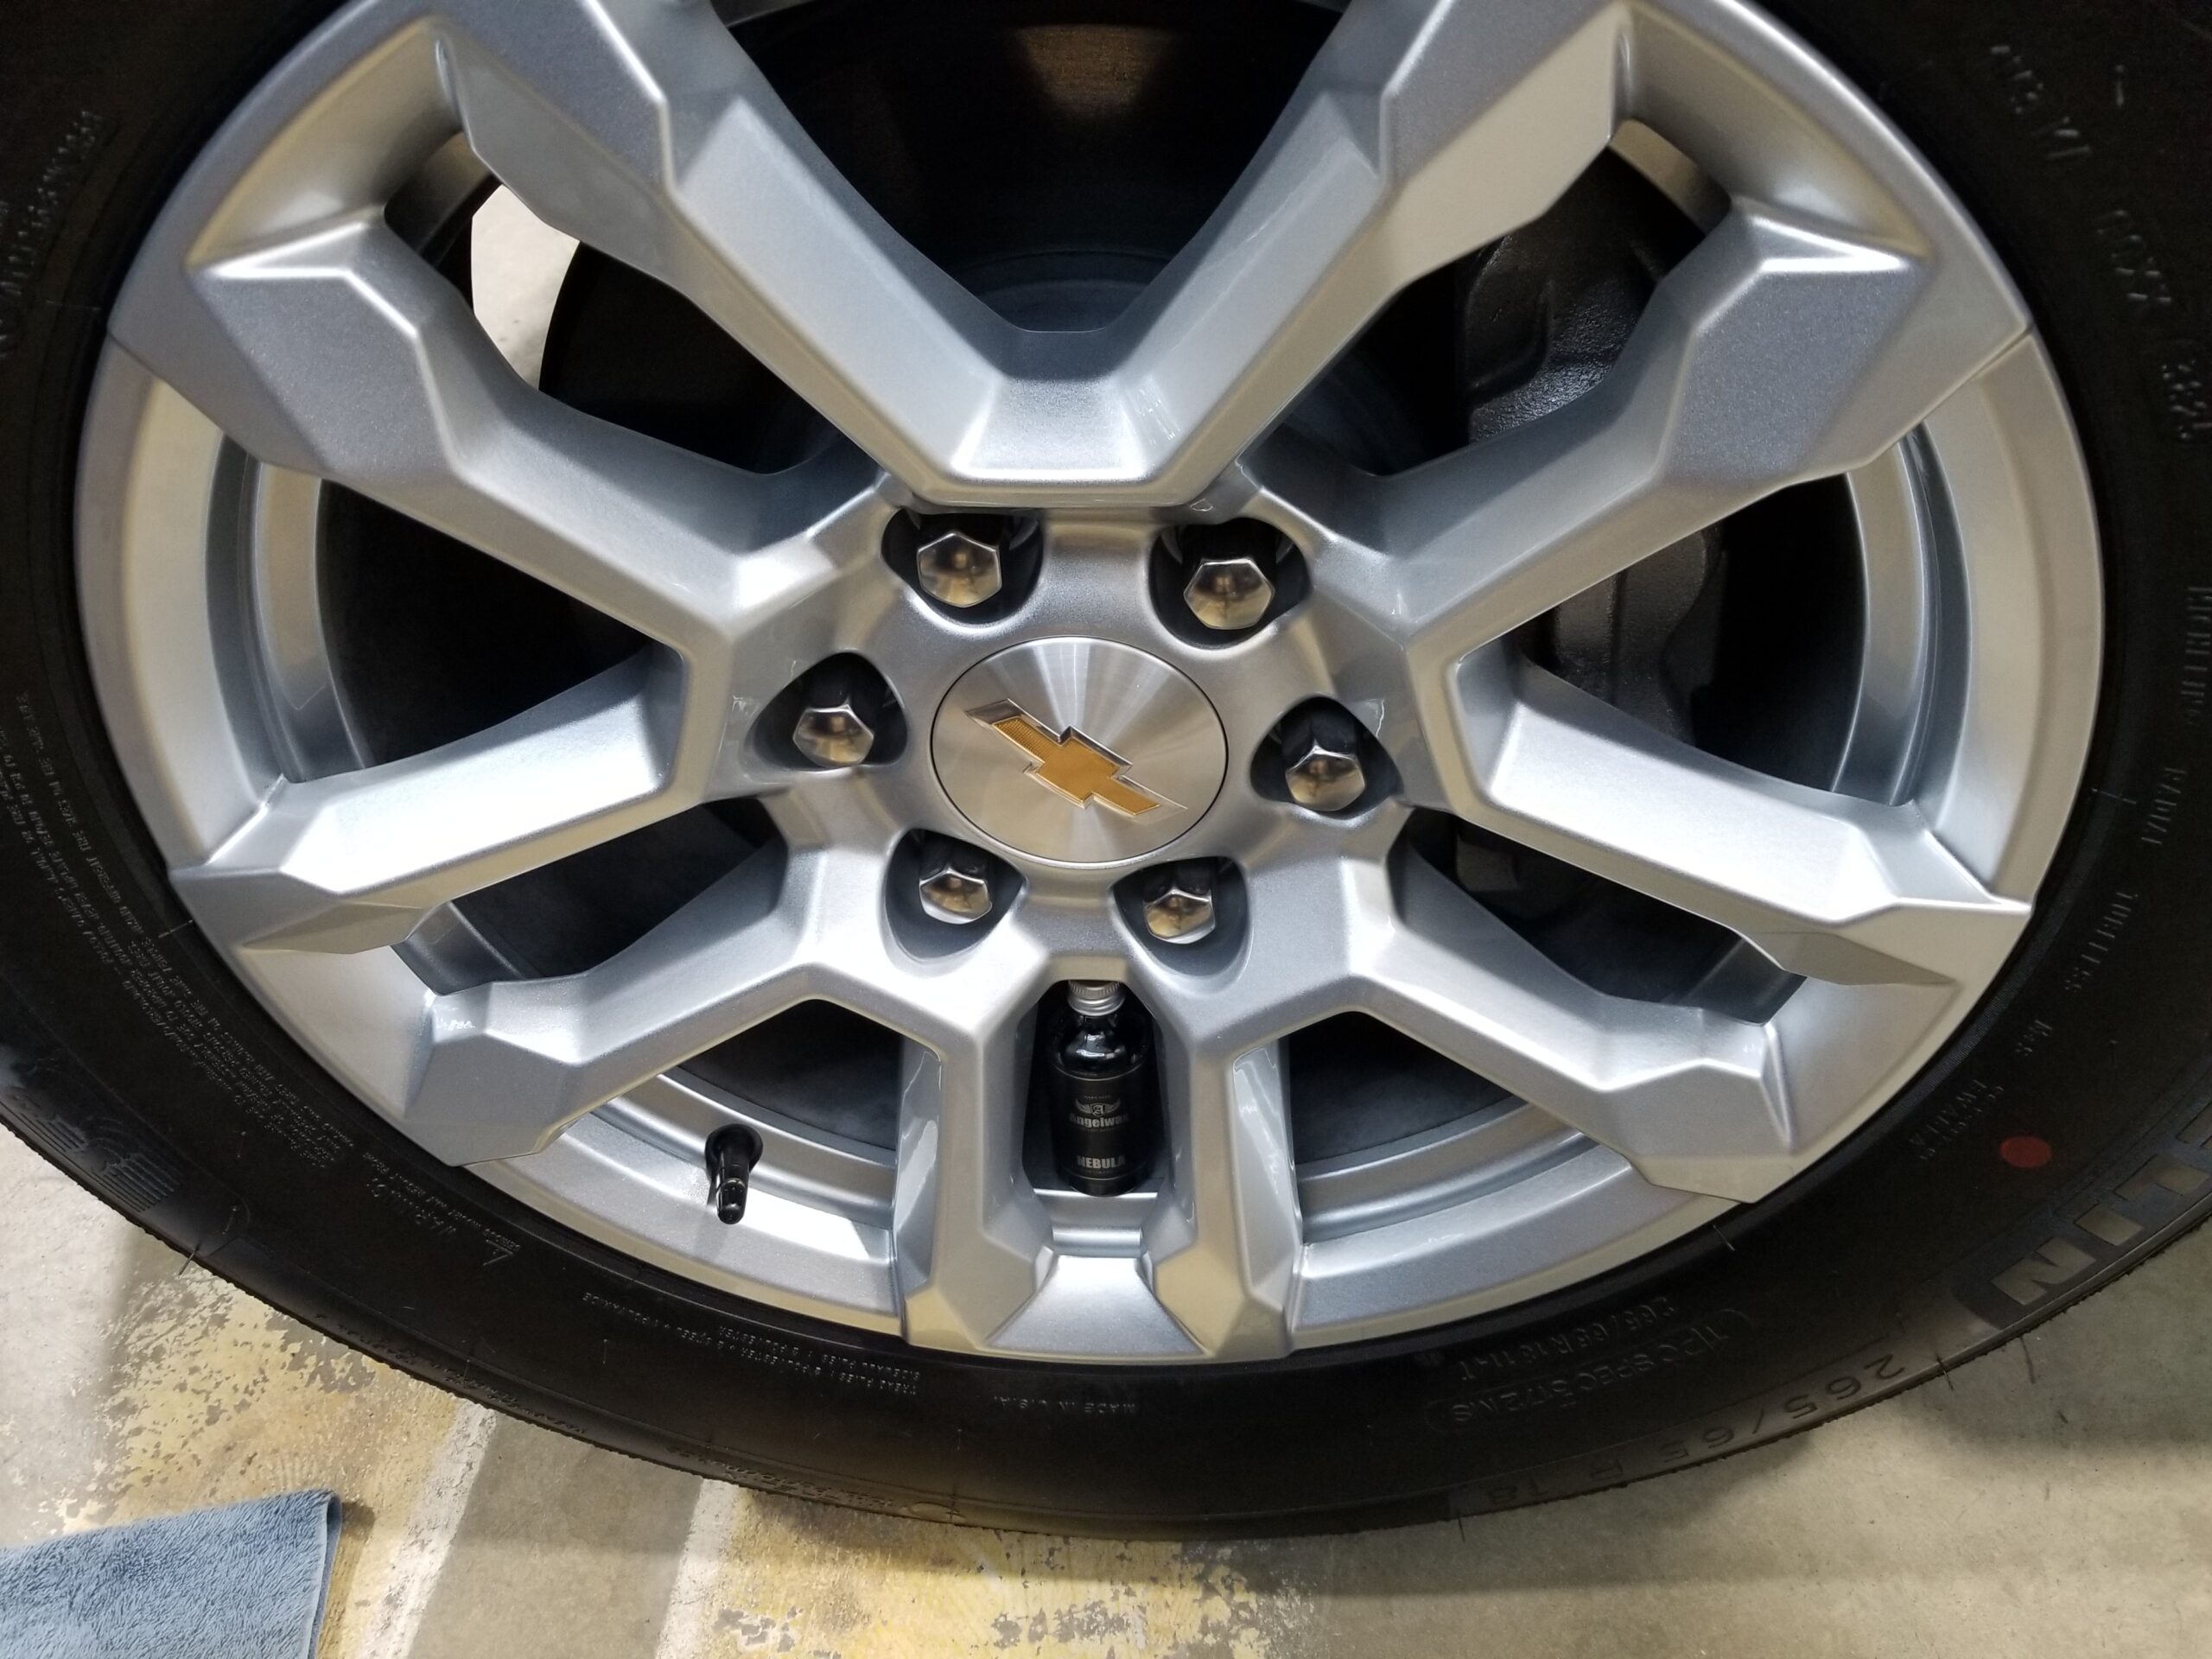
For our wheel coatings we meticulously clean and prep the wheel faces before applying a 5 year graphene re-enforced ceramic coating that's proven to stand up to some pretty harsh environments. I like using this coating on the wheels because it's durable and slick. It looks great too!
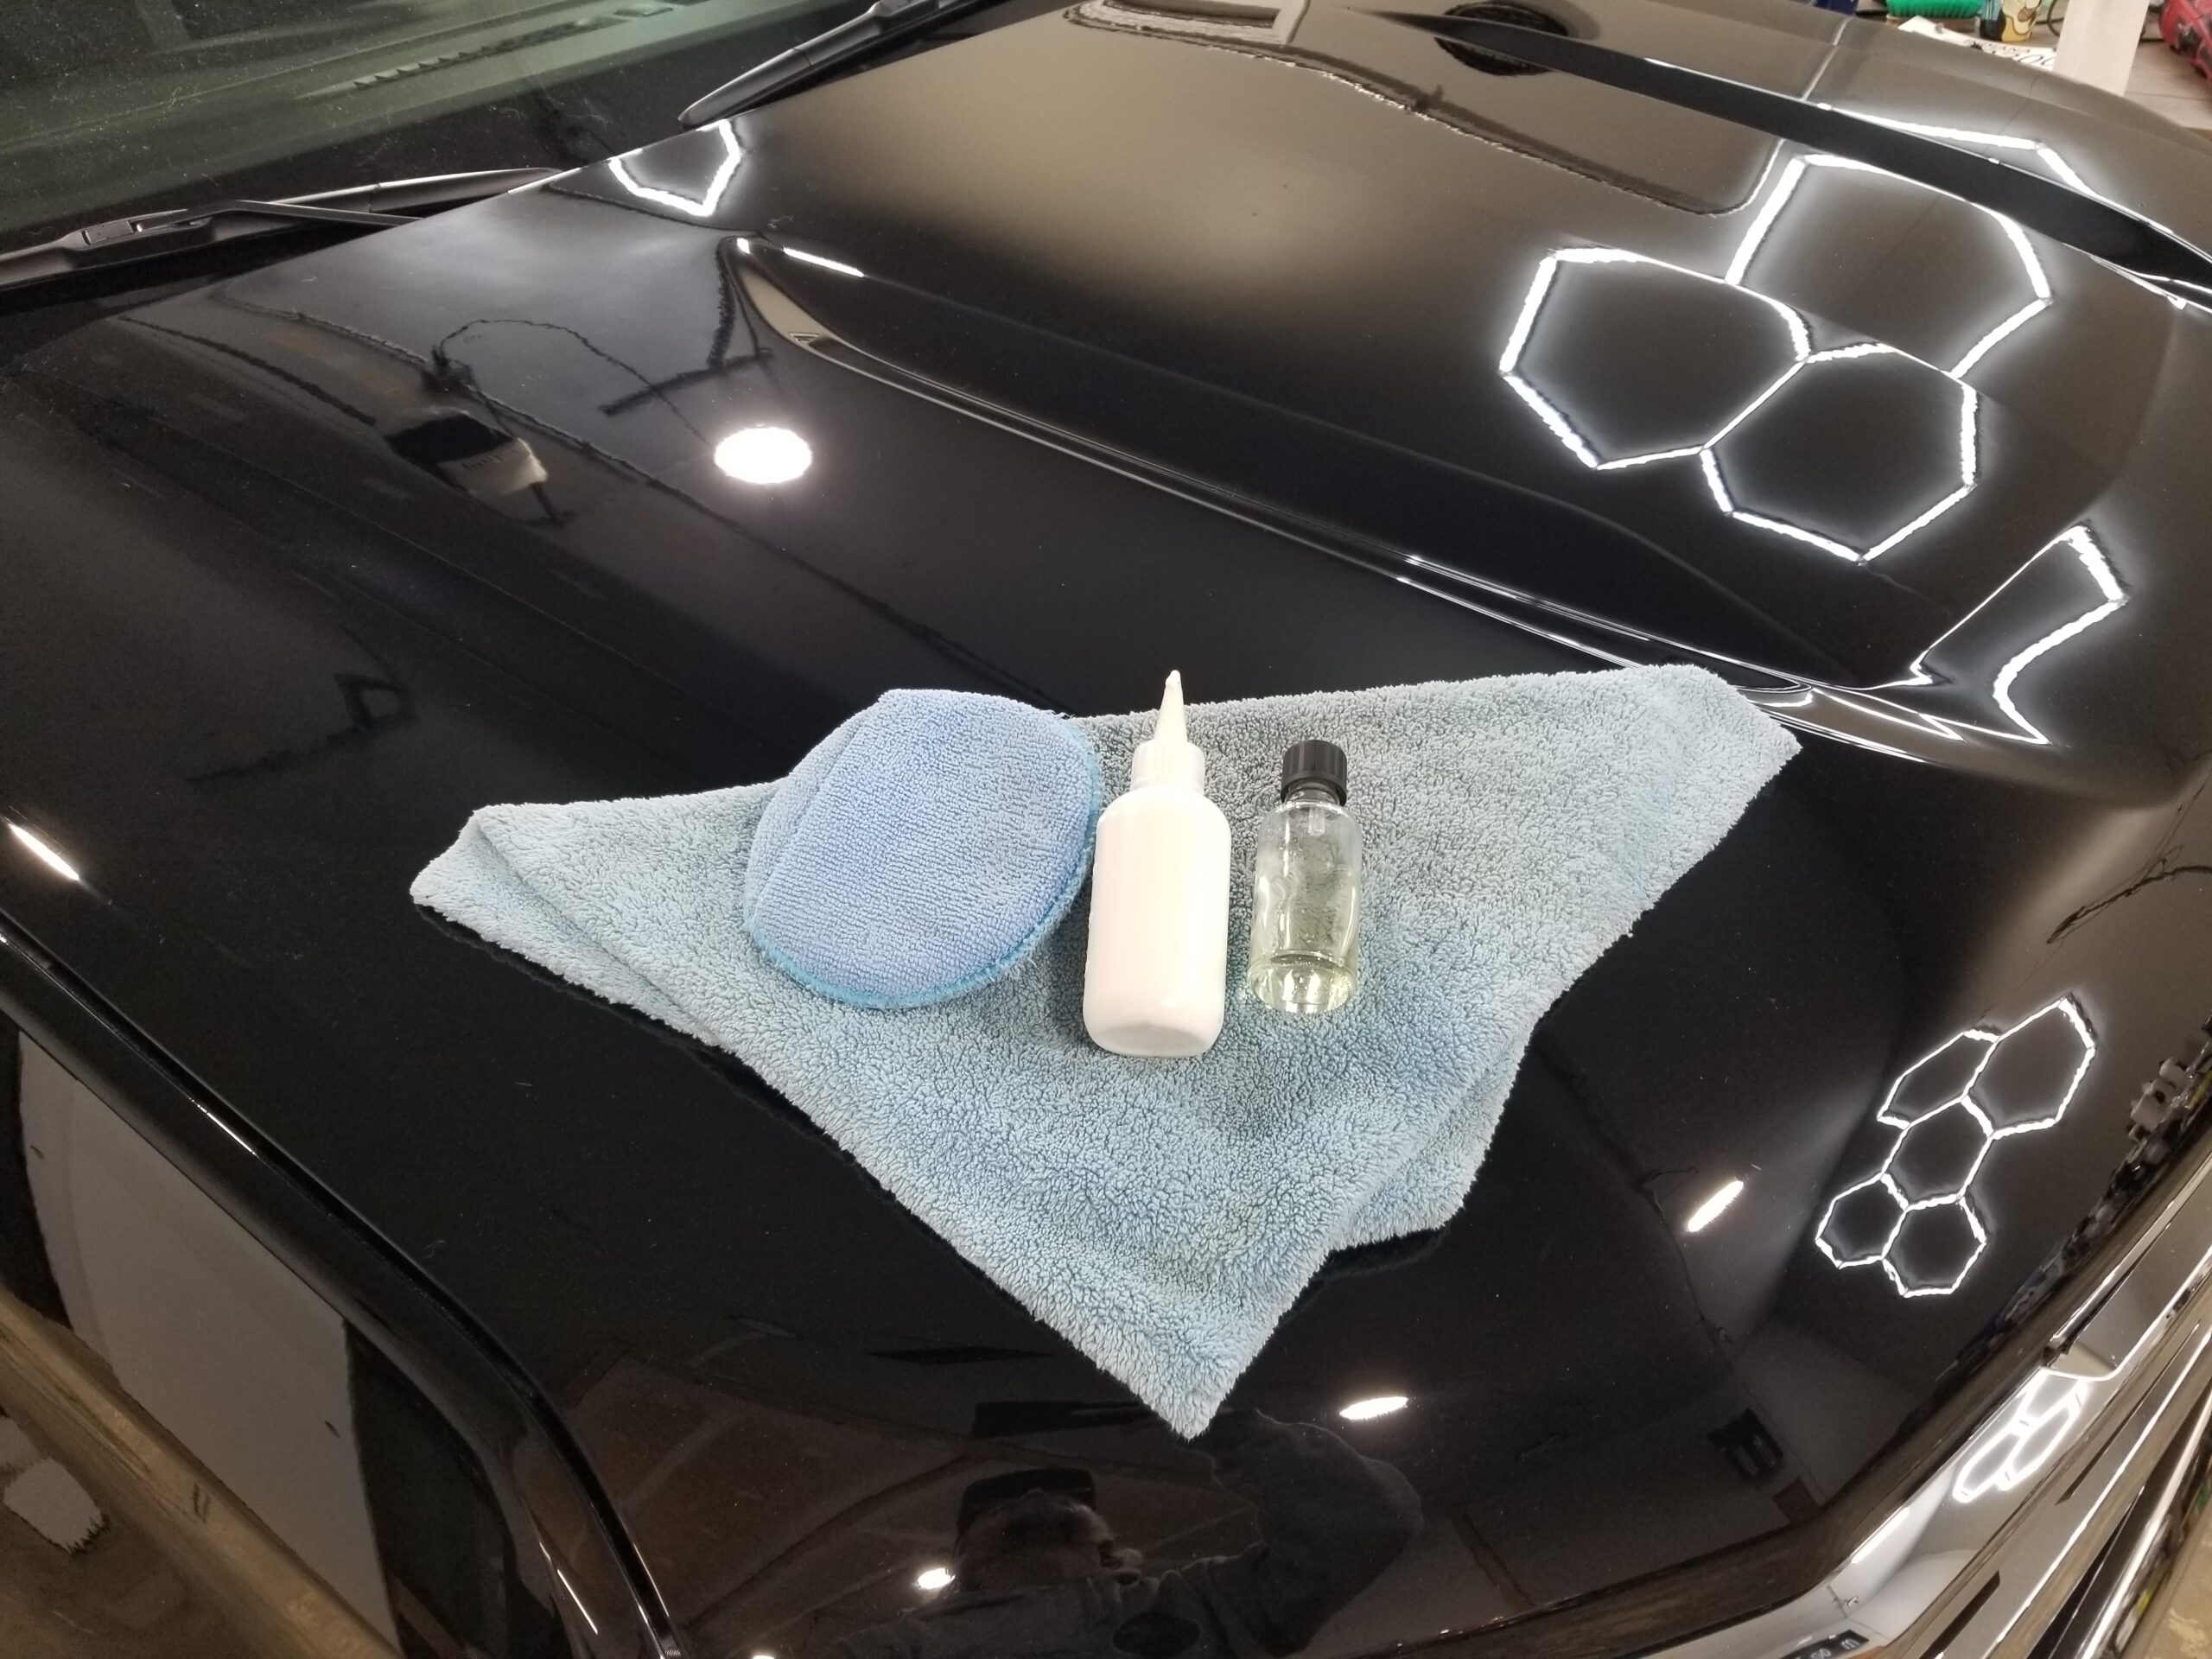
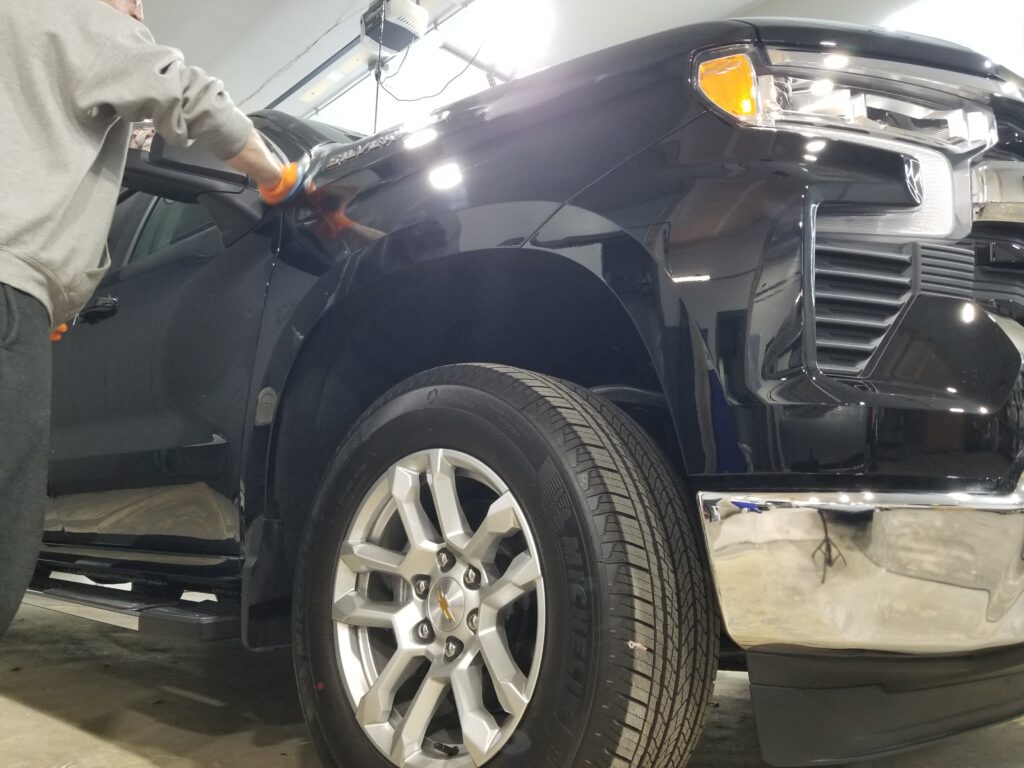
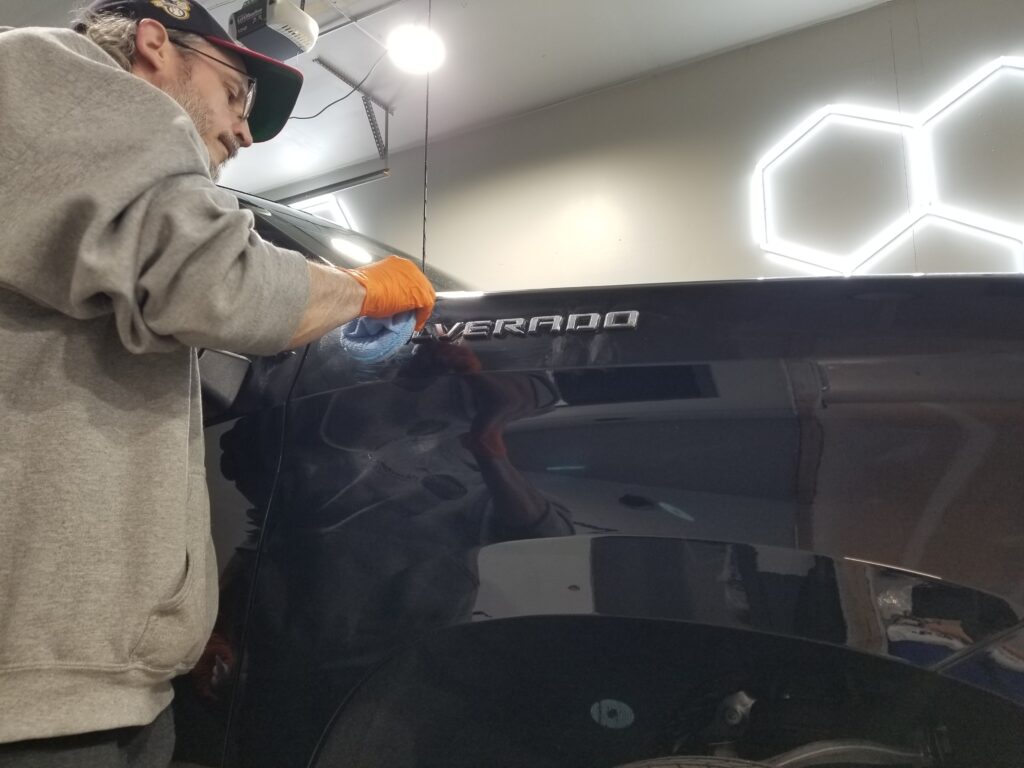
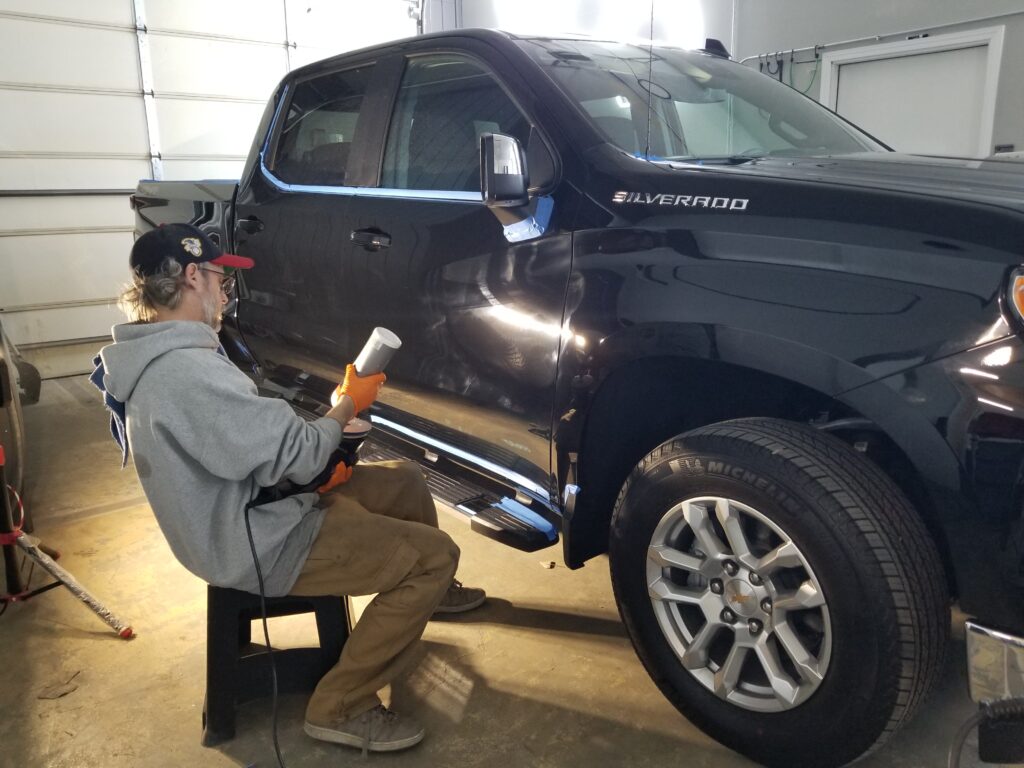
HD Bond Coat™ Application
3/17/26: 07:33am
On The Radio: Cowgirl by Underworld
Moving right along, we're onto the HD Bond Coat. We're introducing gloss enhancers, bonding agents, and additional raw materials with part A. Part B will interact with part A and create an amazing environment for our ceramic coatings to bond to. This develops a denser base which contributes to a much better ceramic coating experience!
12:12pm update - 2/3rds thru with the bond coat. The truck is starting feel different. It's starting to "stand tall" so to speak.
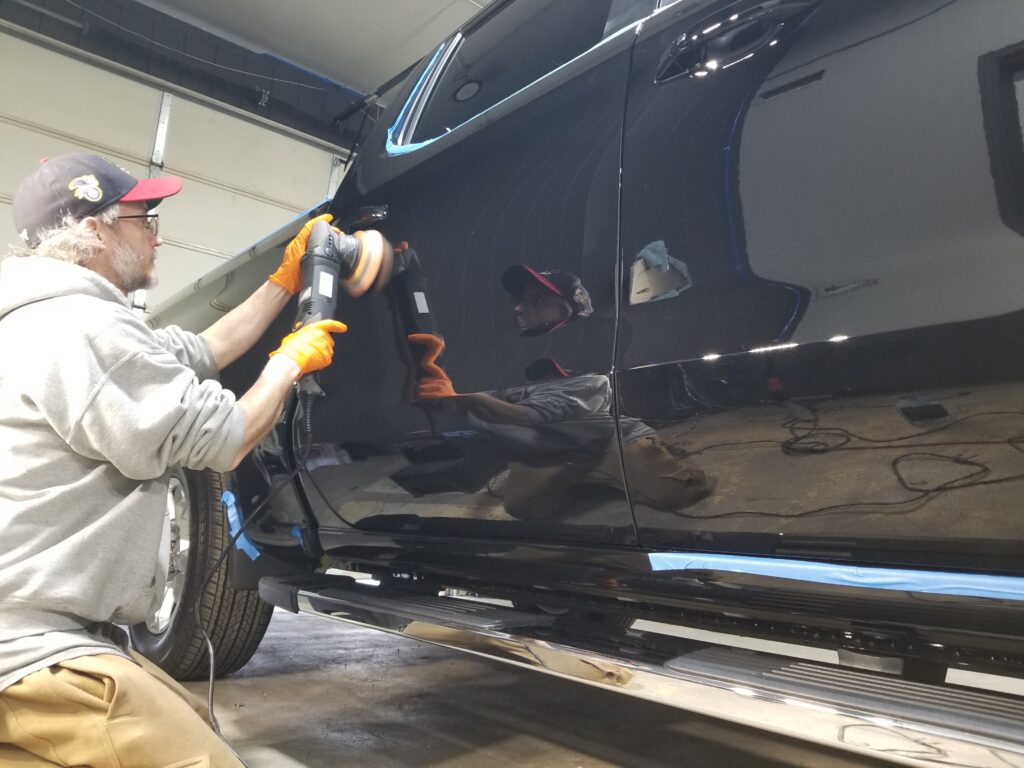
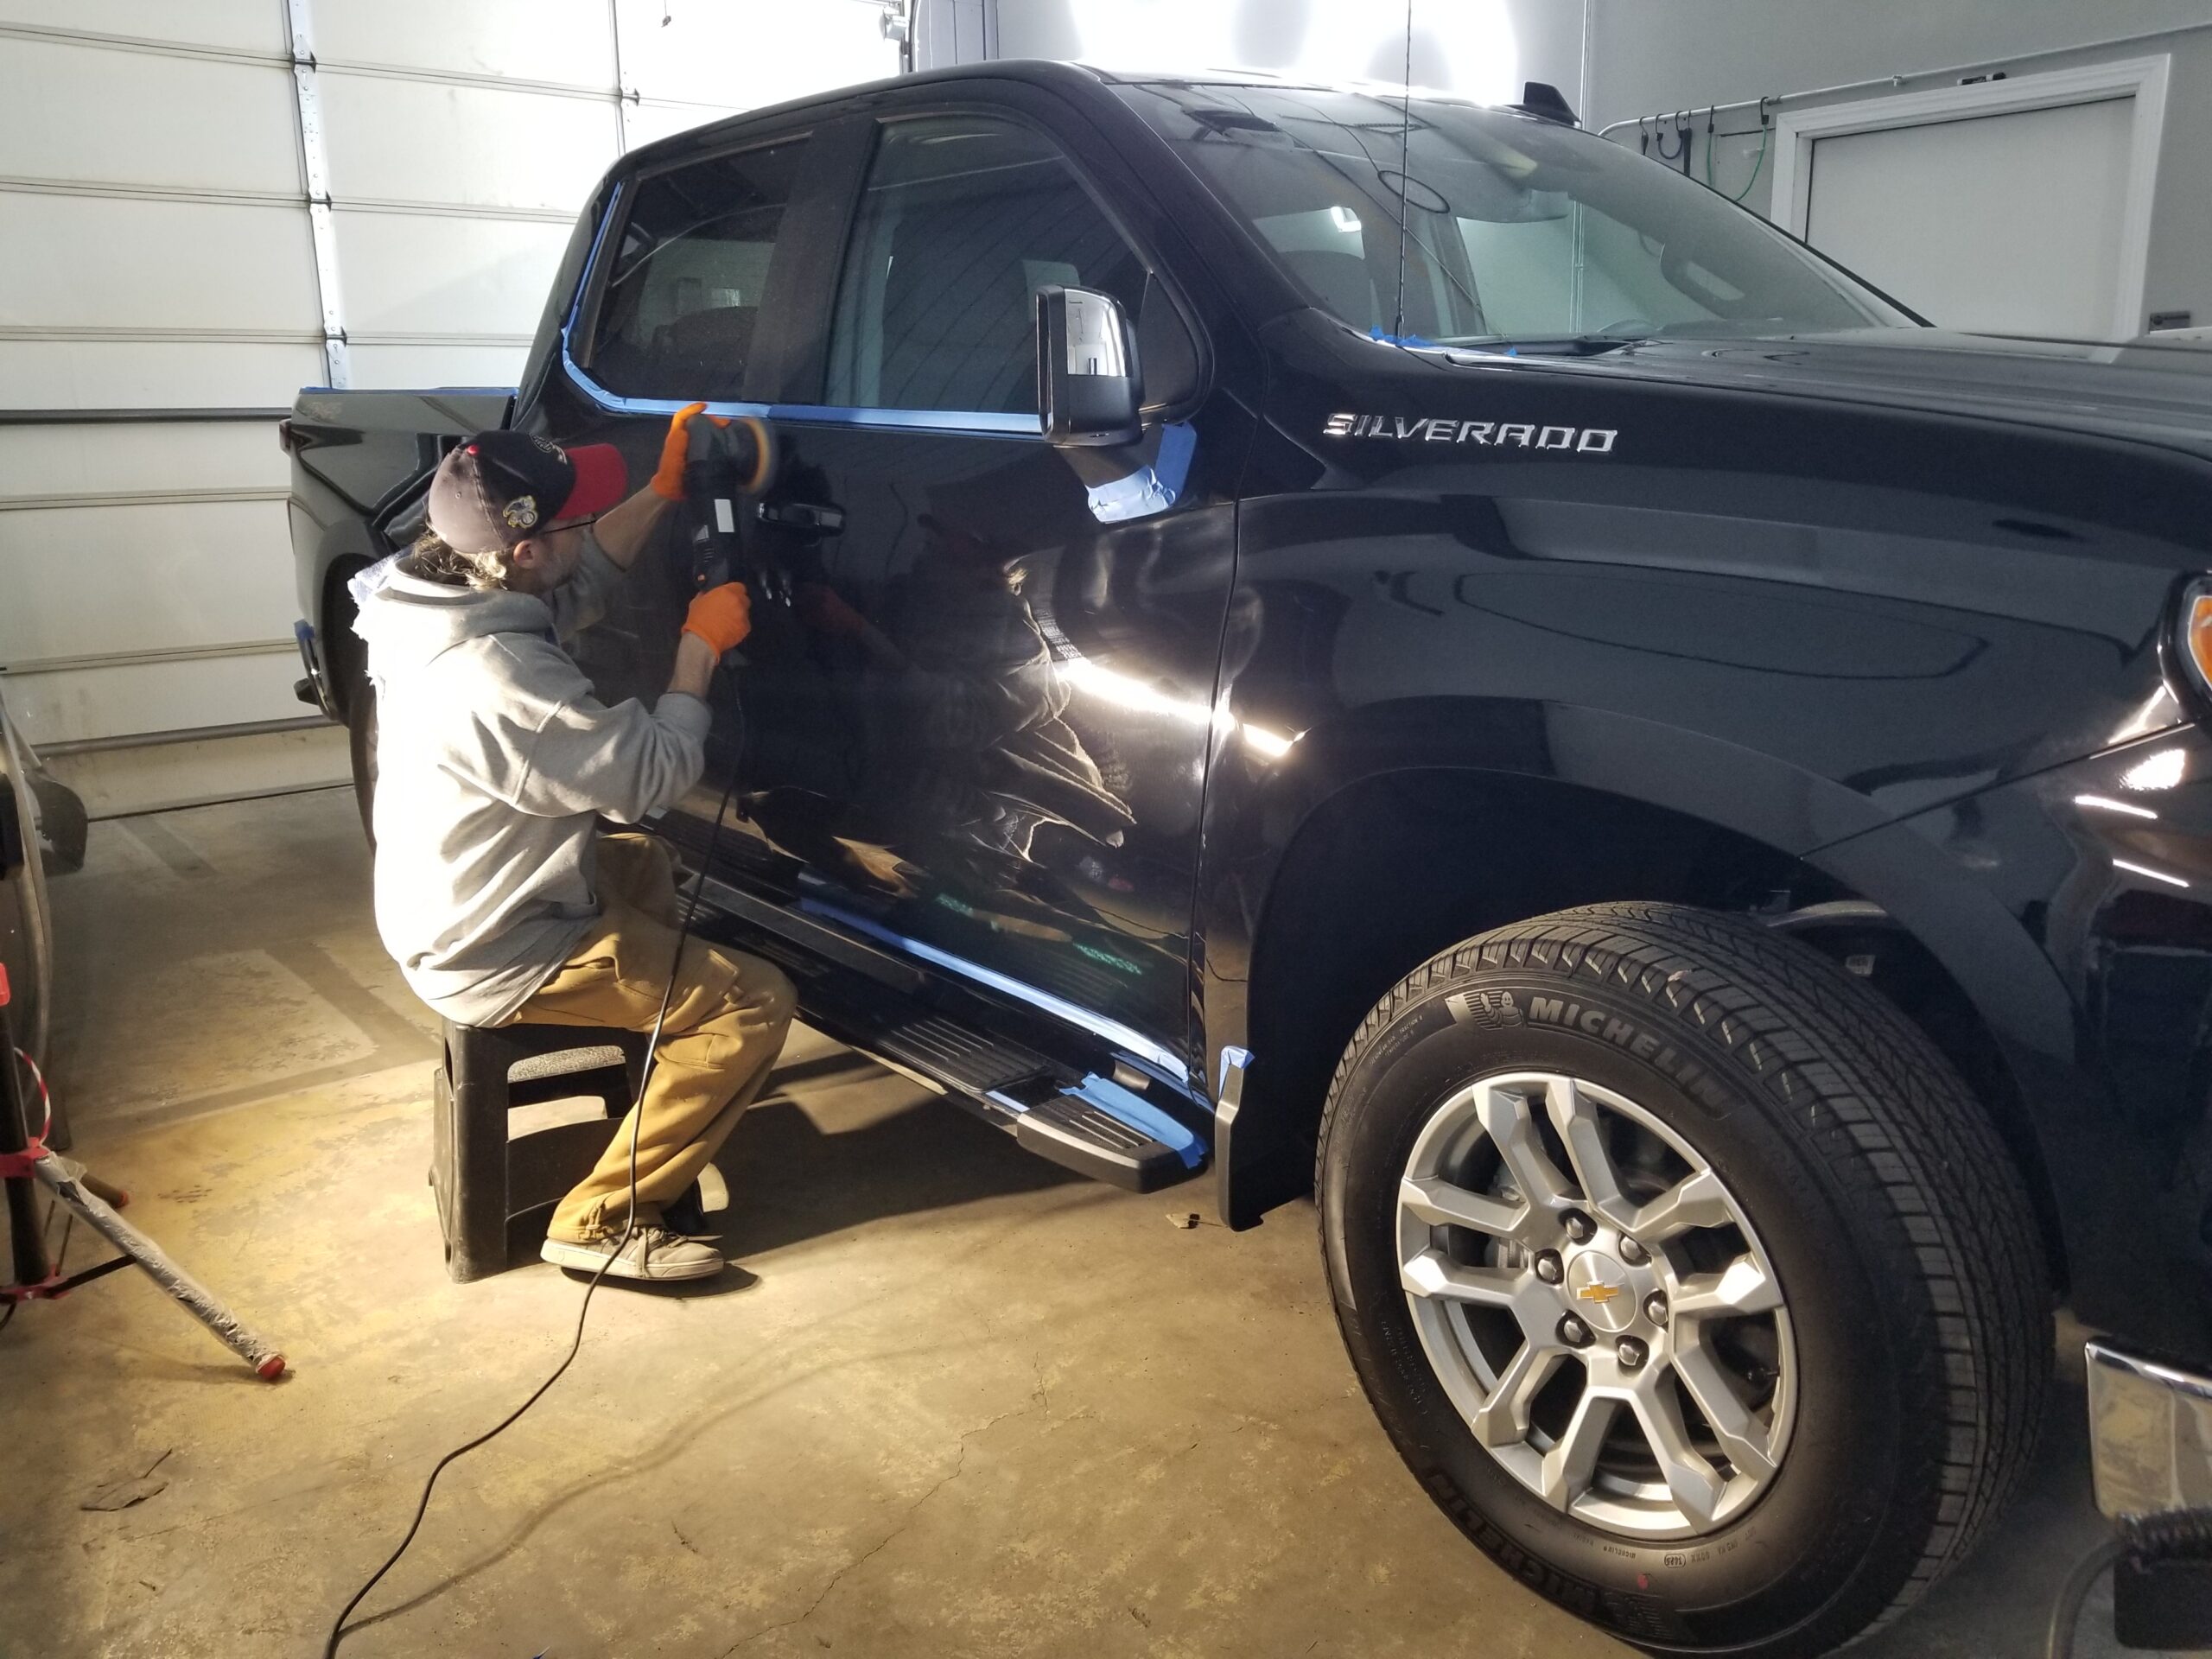
Finish Polishing Stage
3/15/26: 12:24pm
On The Radio: Workaholics on TV
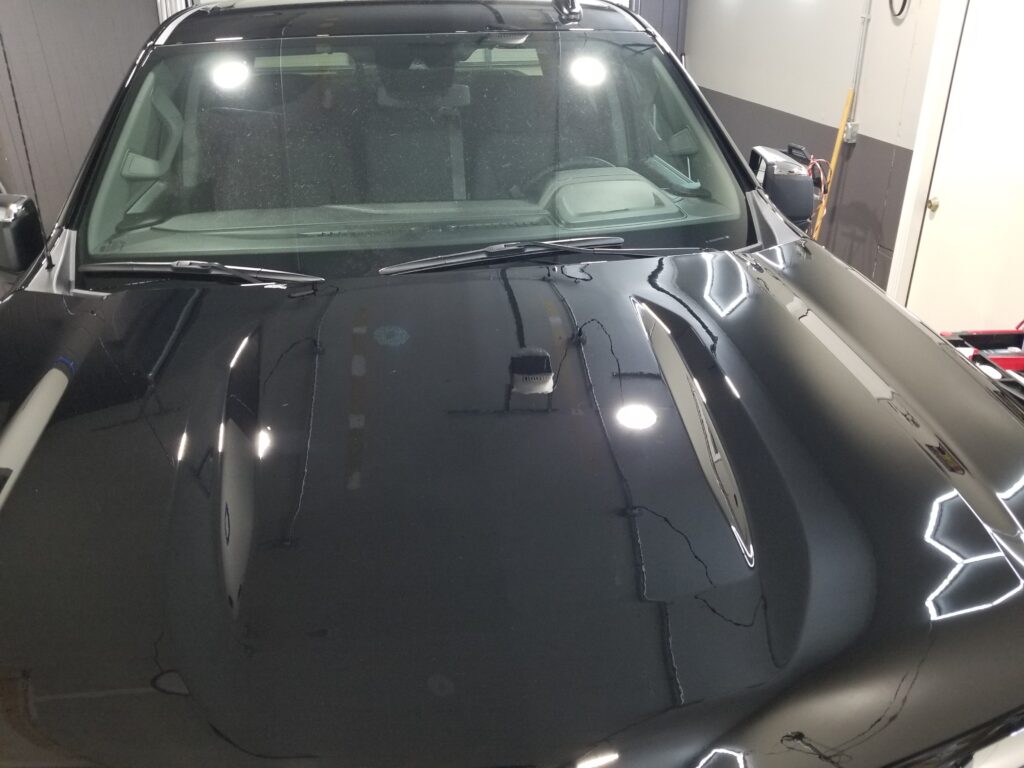
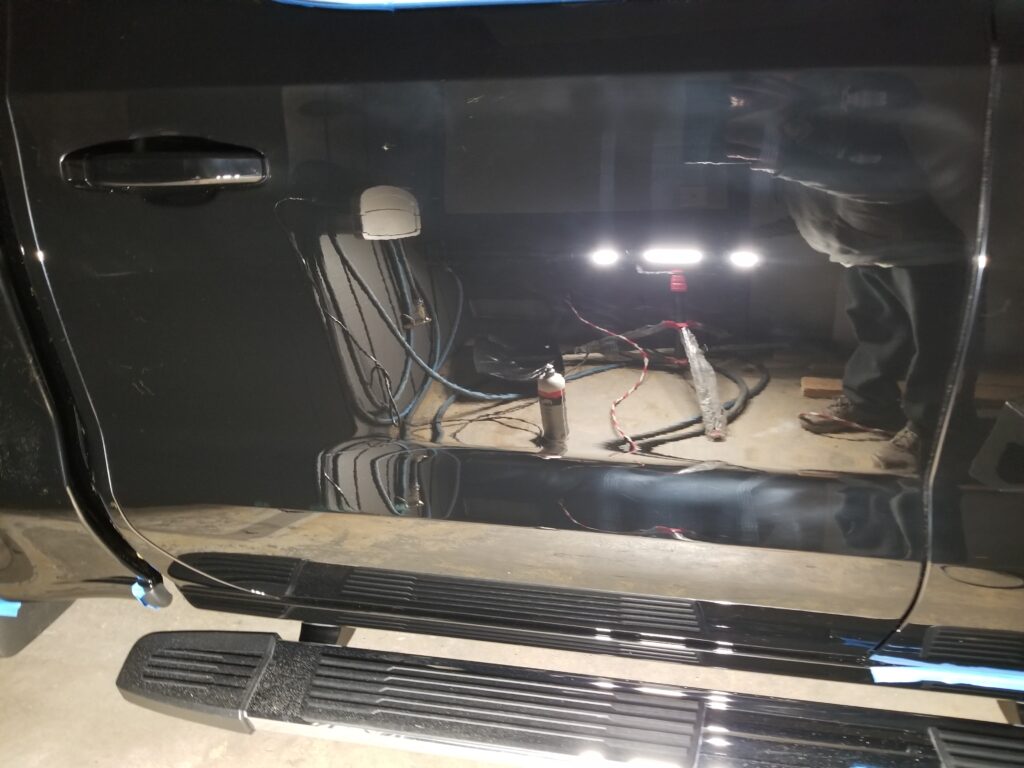
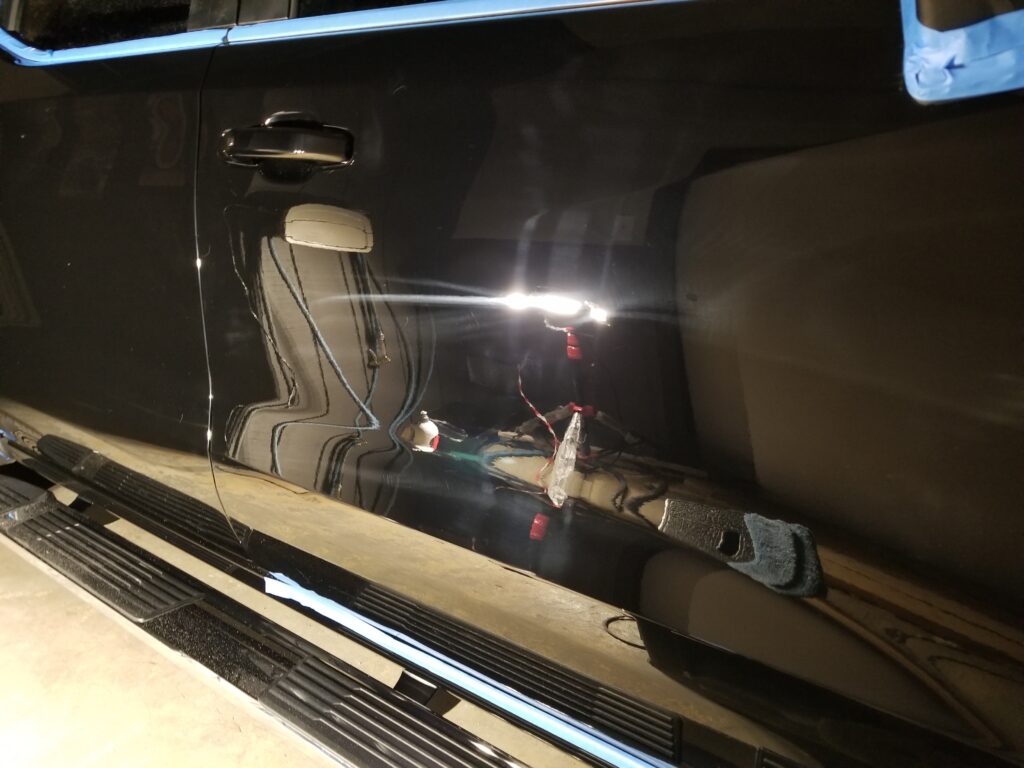
The finish polishing stage is where we bring out the final finish of the paint work. We achieve our clarity and depth in this step and begin to set the tone for how things are going to progress with the ceramic coating stages.
1:55pm - The finish polishing is coming out great. Not quite half way through the vehicle at the 4 hour mark. The paint is on the softer end of the typical GM paint hardness scale I see. This is sort of like trying to polish warm butter.
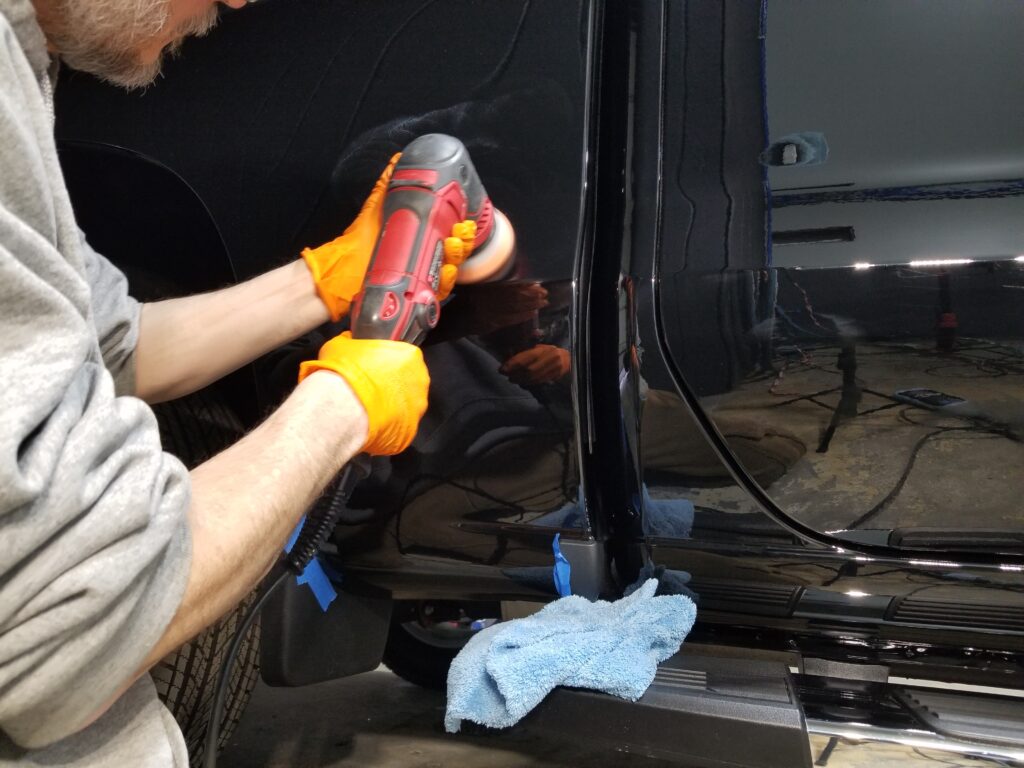
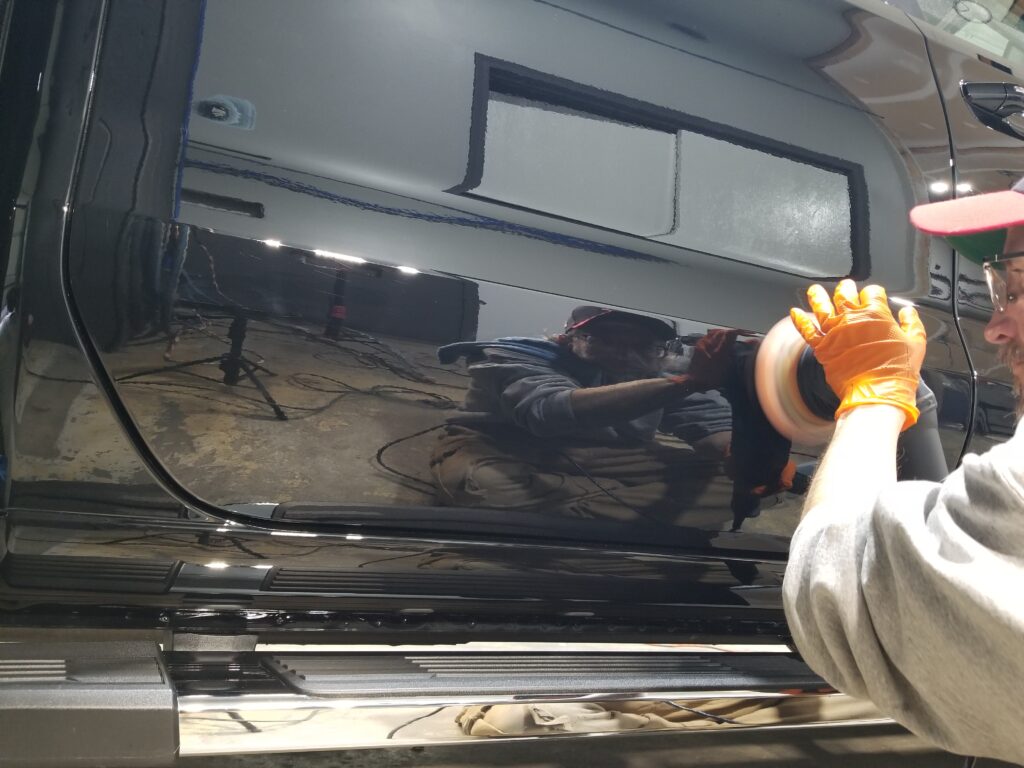
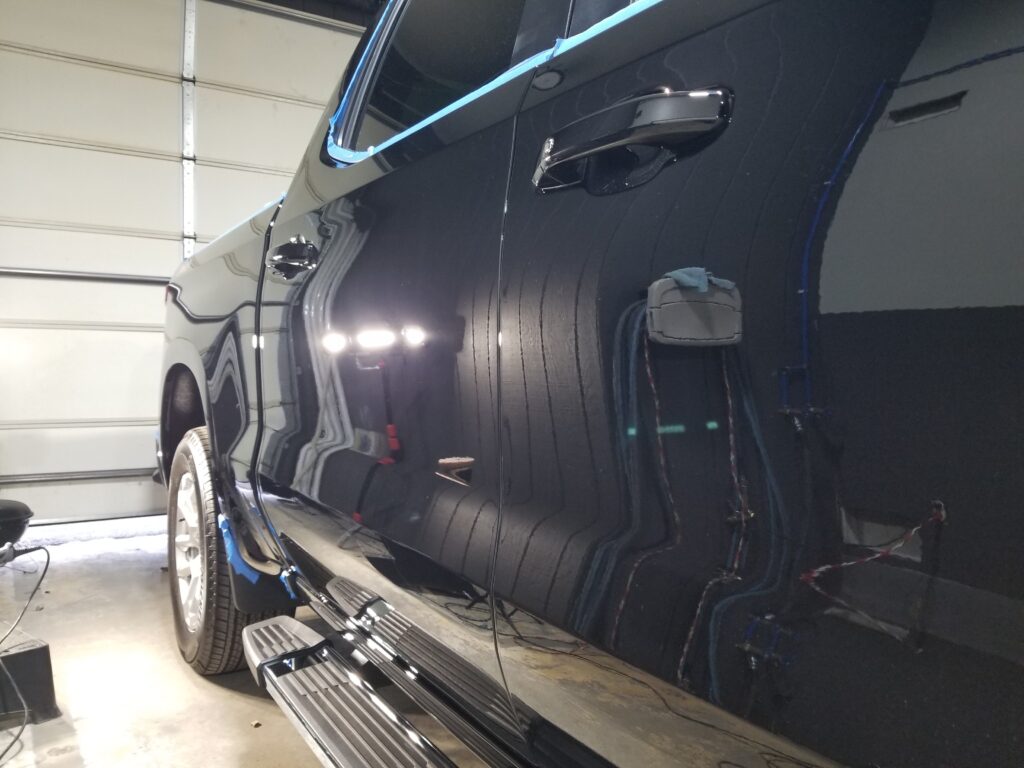
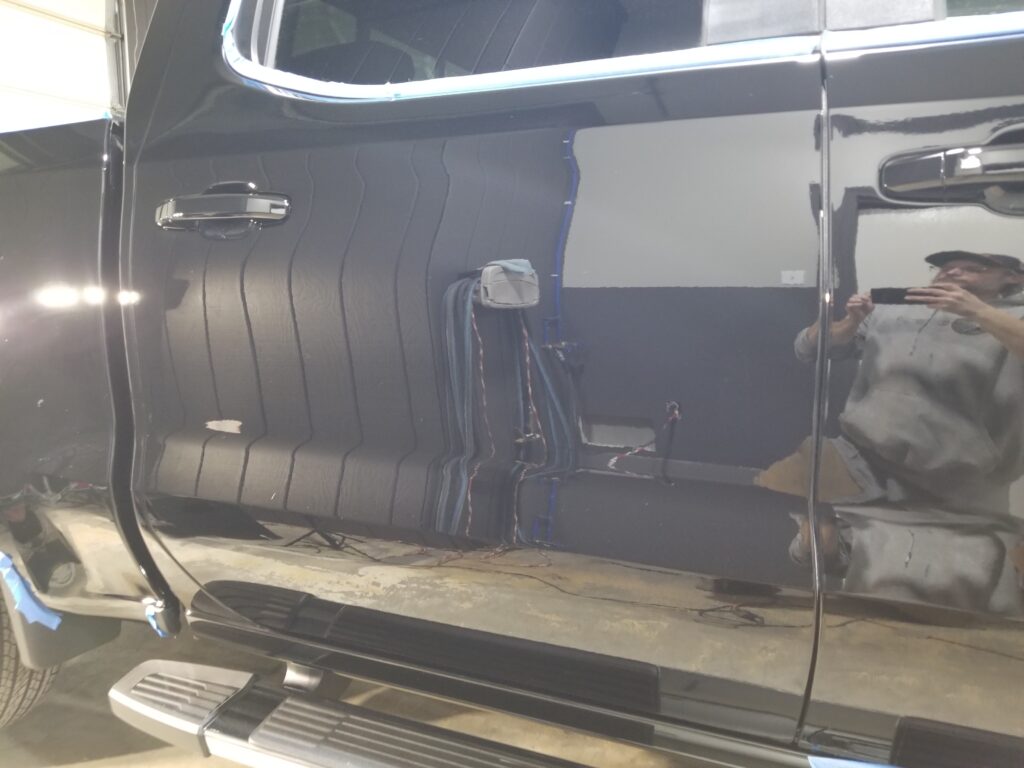
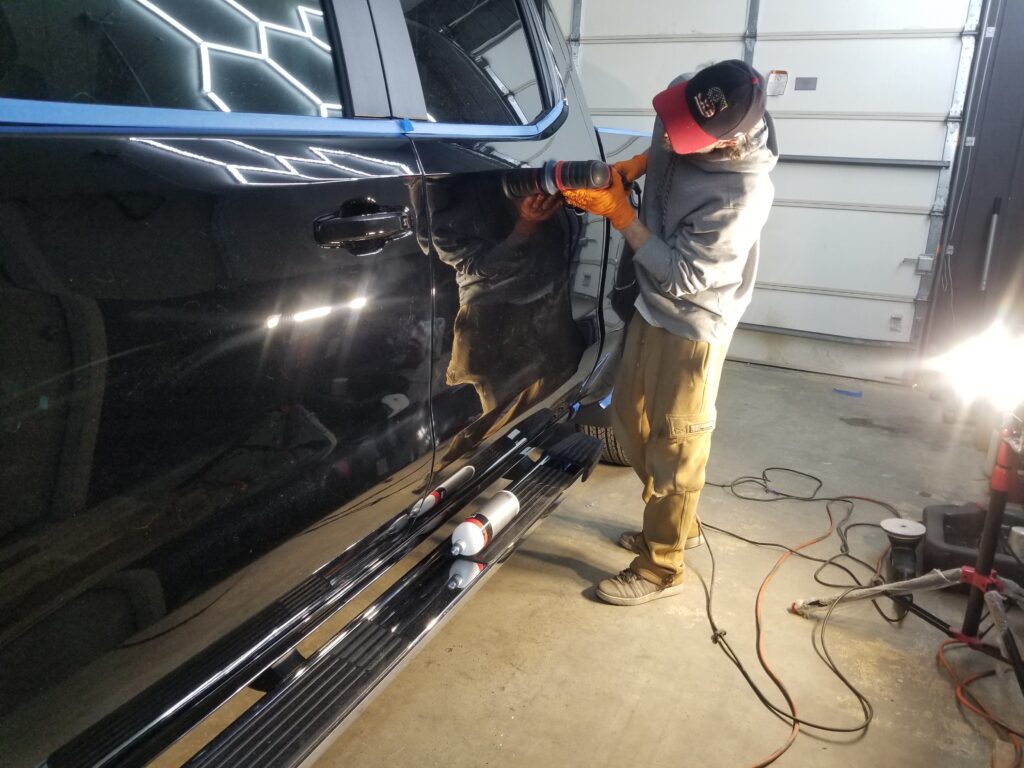
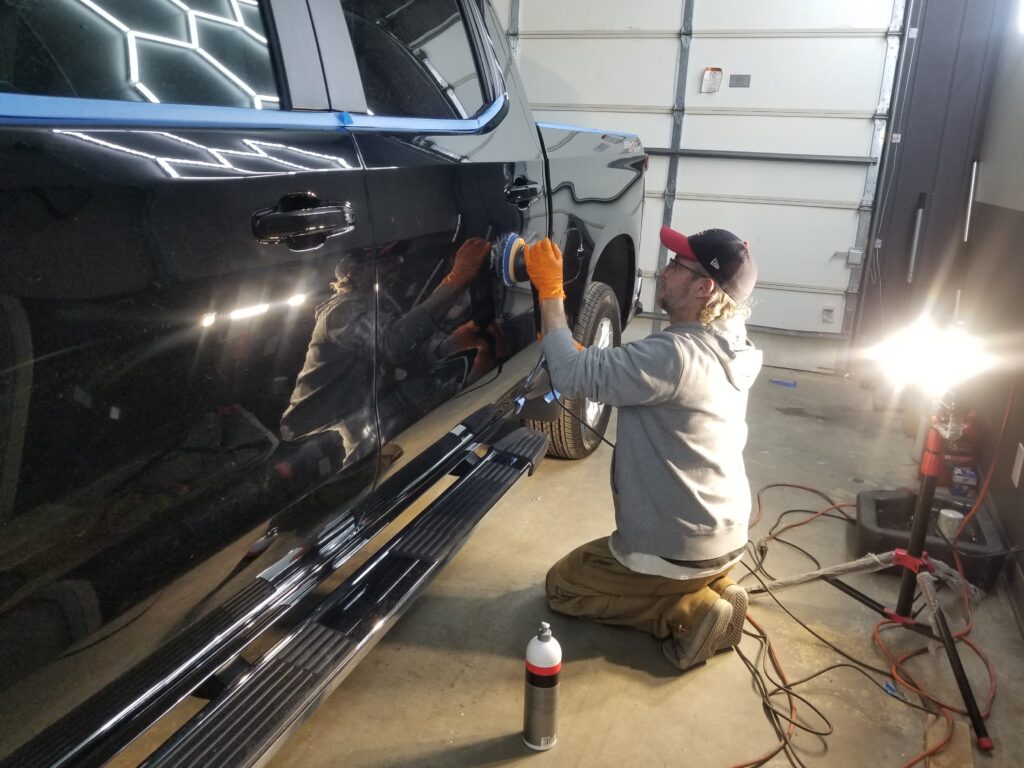
Compounding and Pre Finish Stage
3/13/26: 8:24am
On The Radio: 3am by Kascade
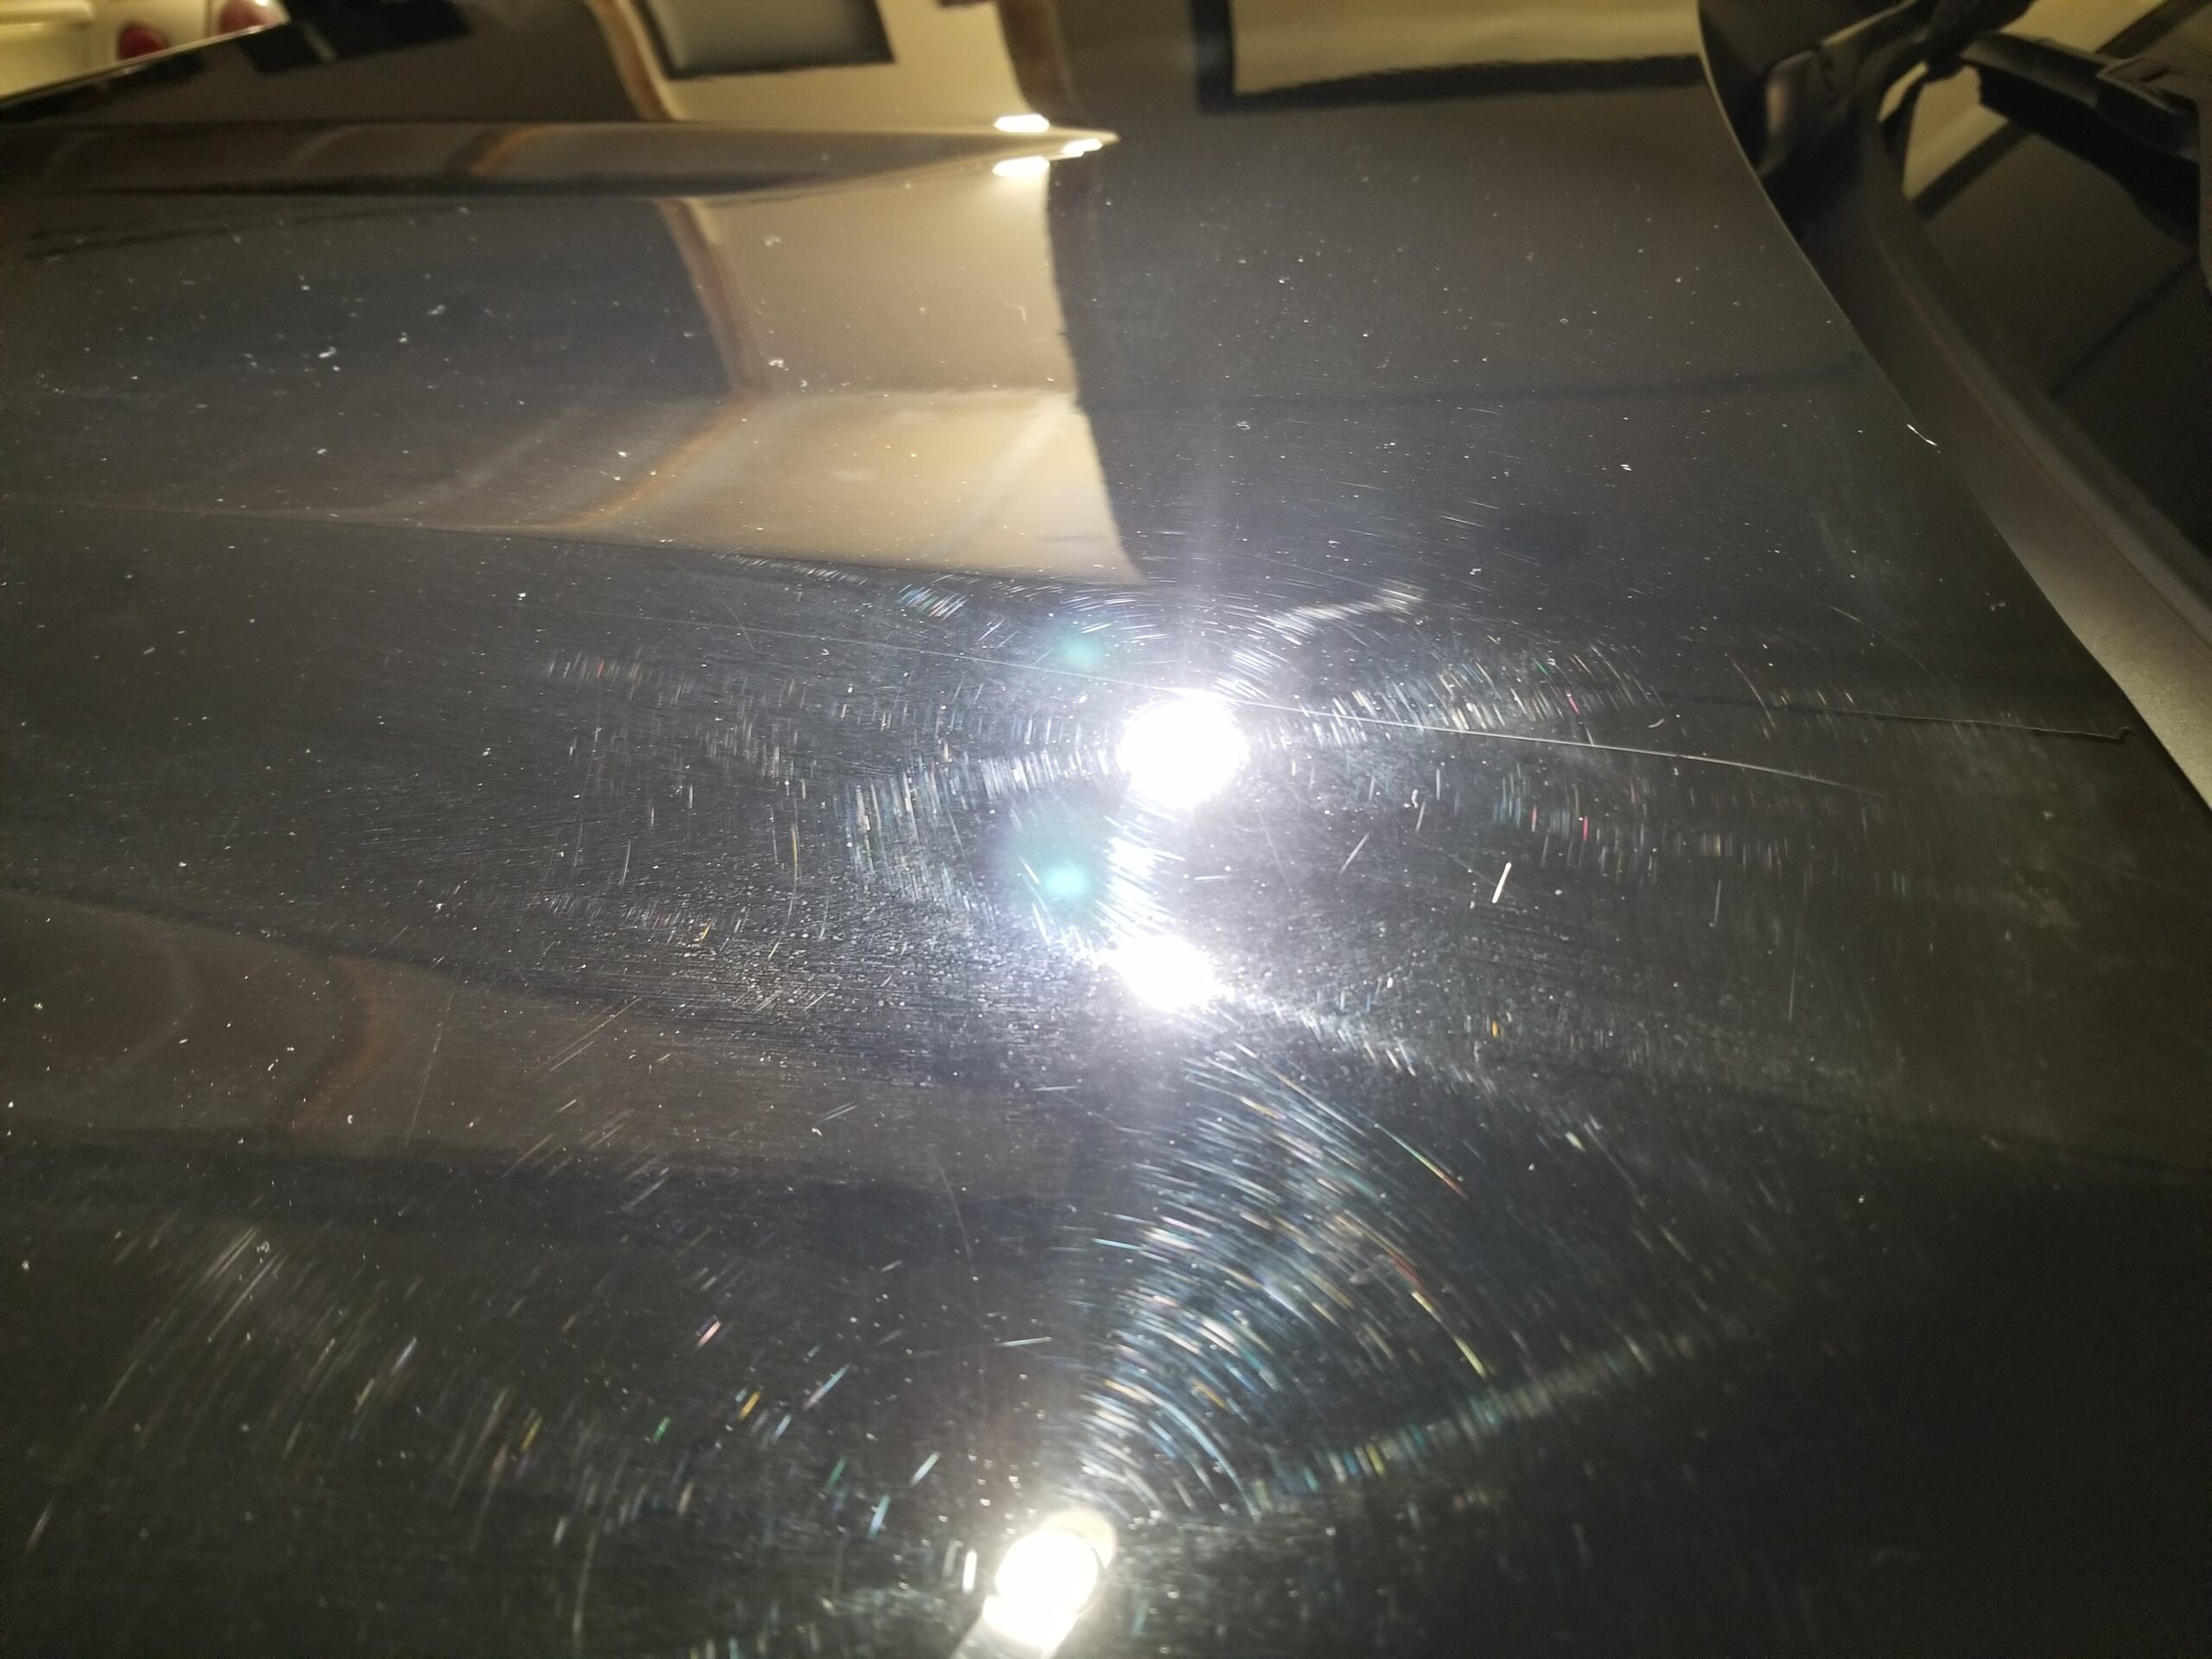
With so much damage in the paint work, and with this being extremely soft paint from the factory. We're combining the deep compounding and pre-finish stages to try to minimize the depth of our finishing marks. We'll also be combining the pre-finish and finish stages to help us dig out and refinish the deeper marks left from compounding.
GM Paint, and specifically the gloss black (8555) is one of, if not the most temperamental finishes available.

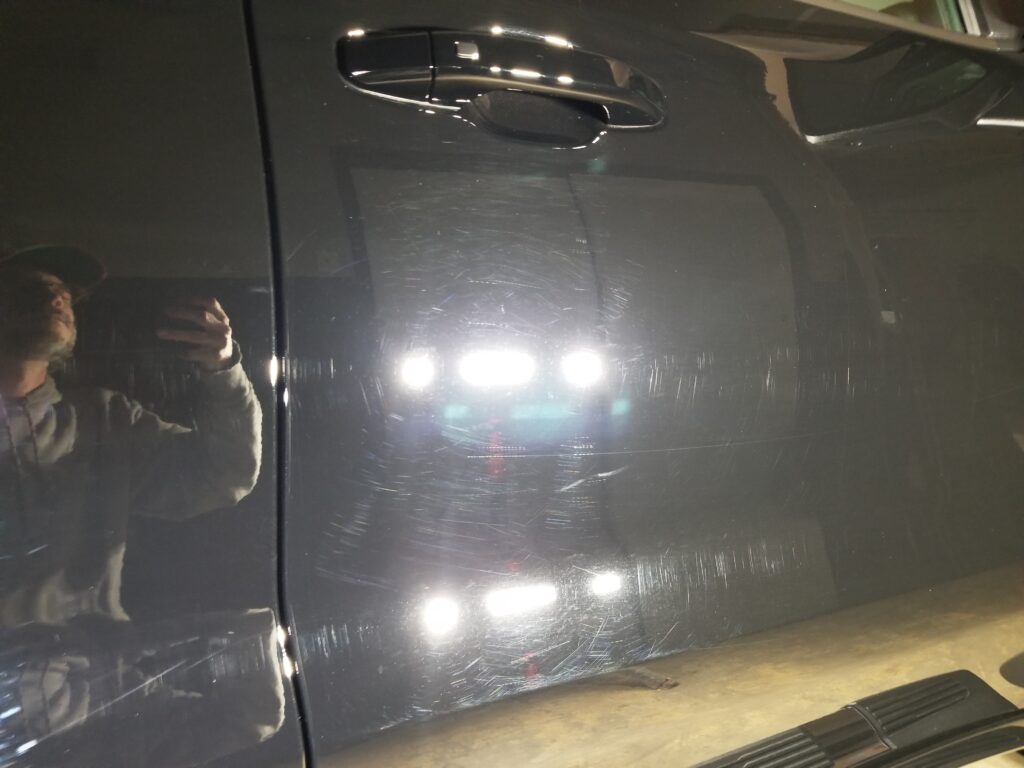
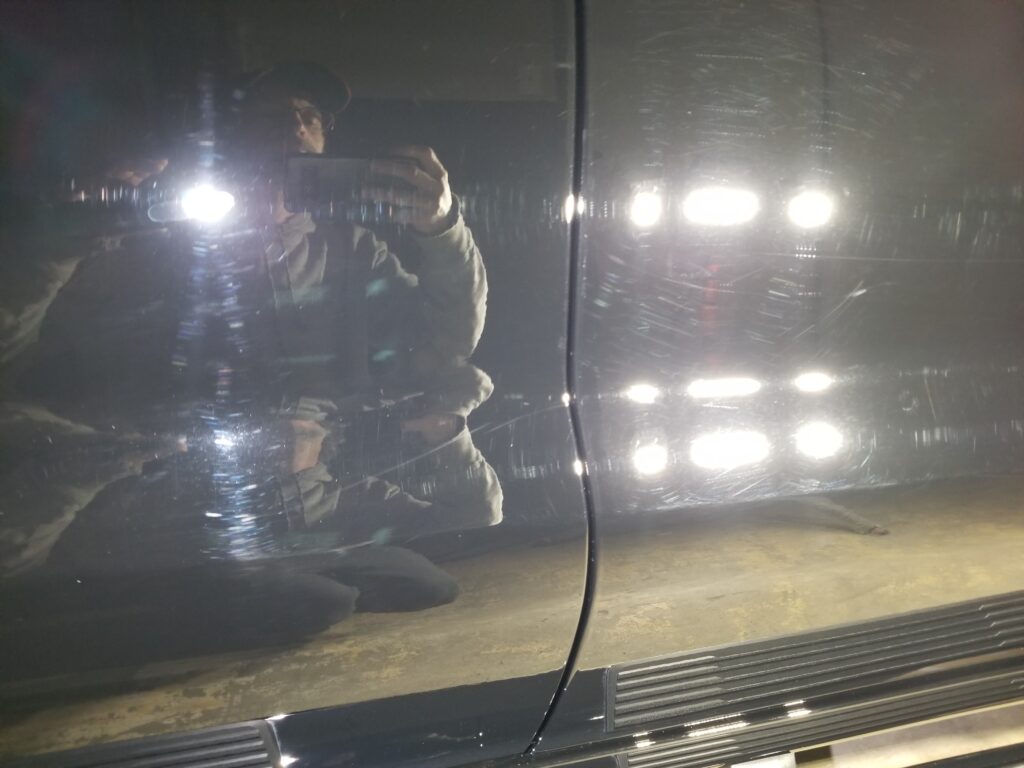
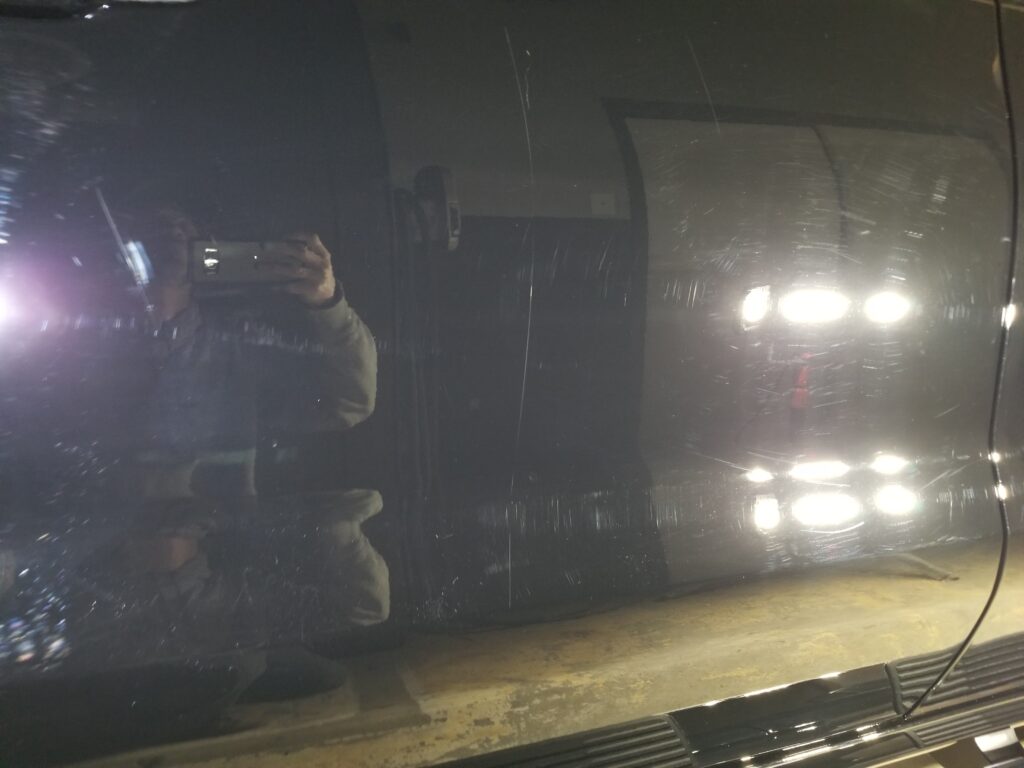
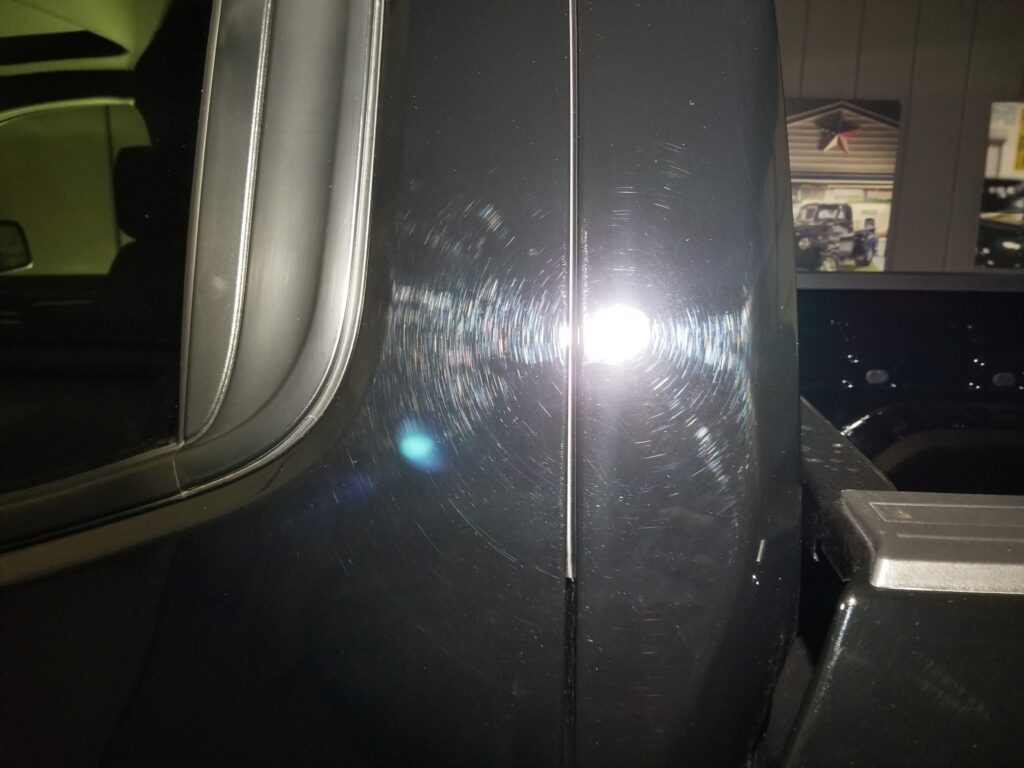
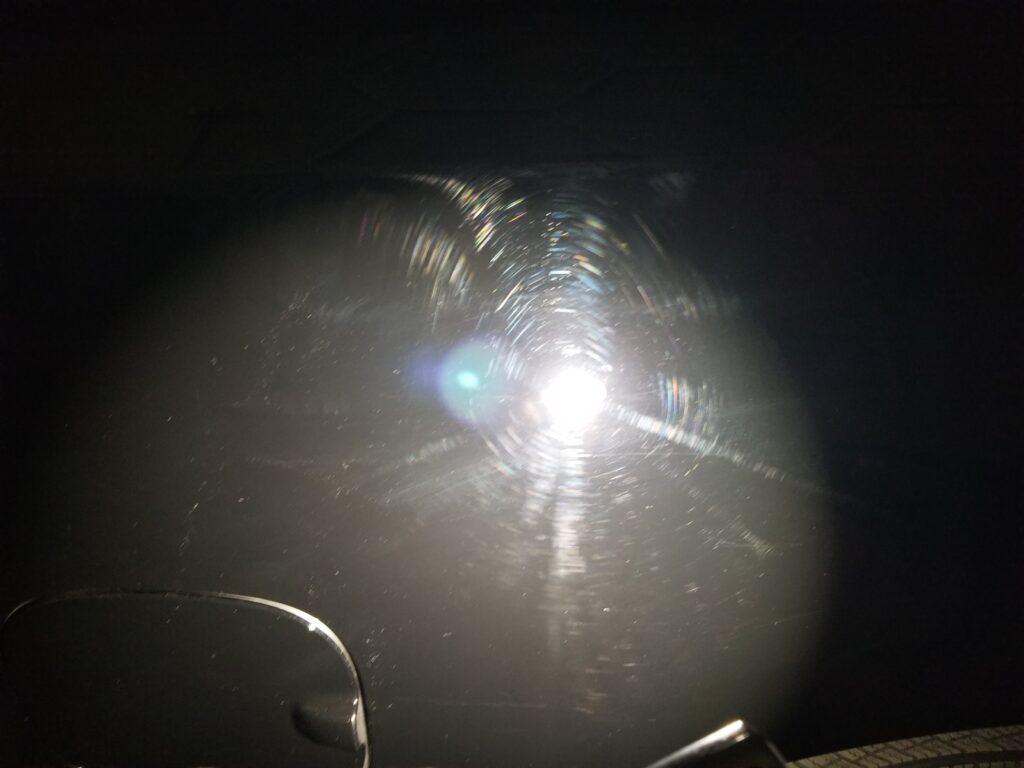
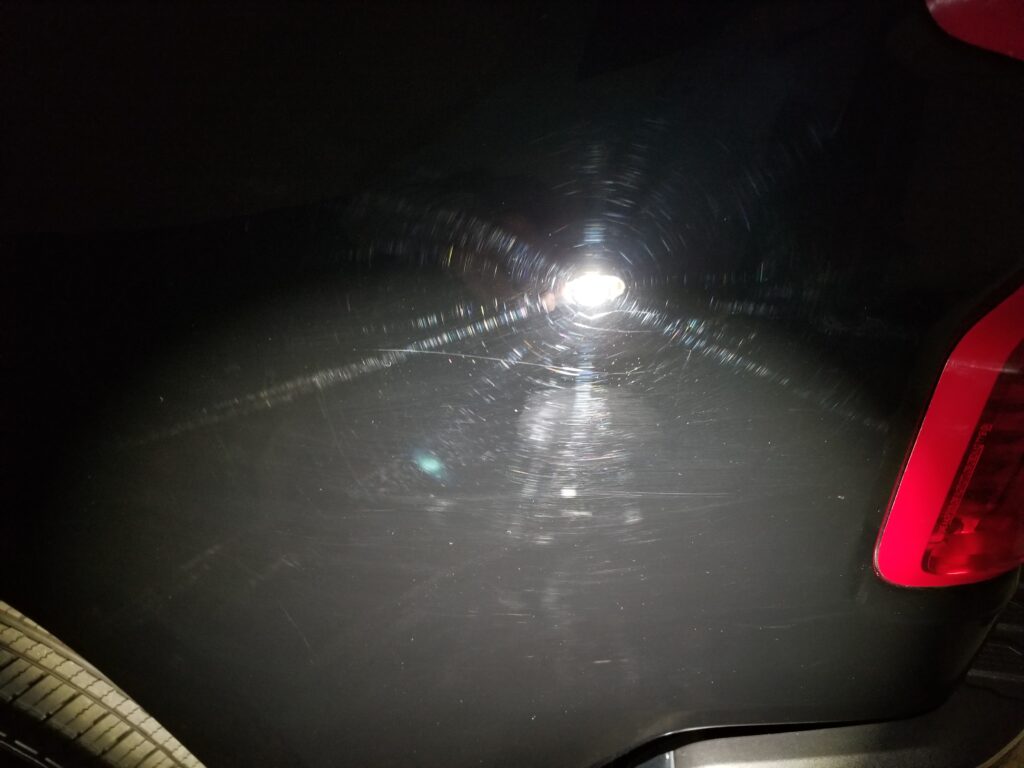
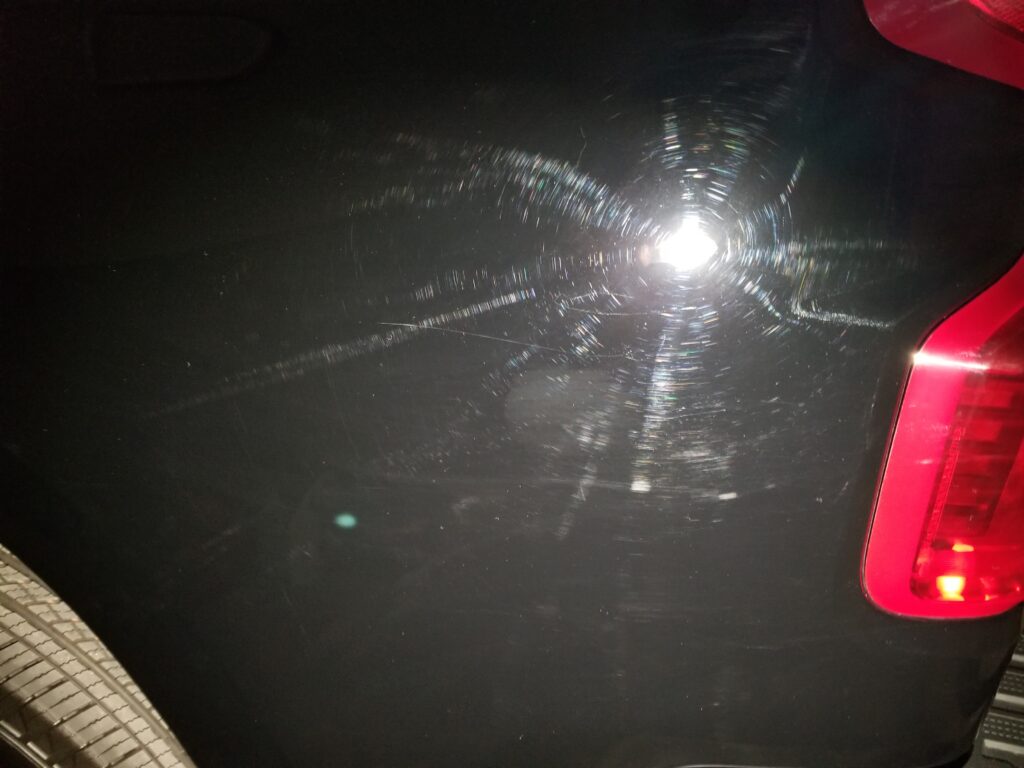
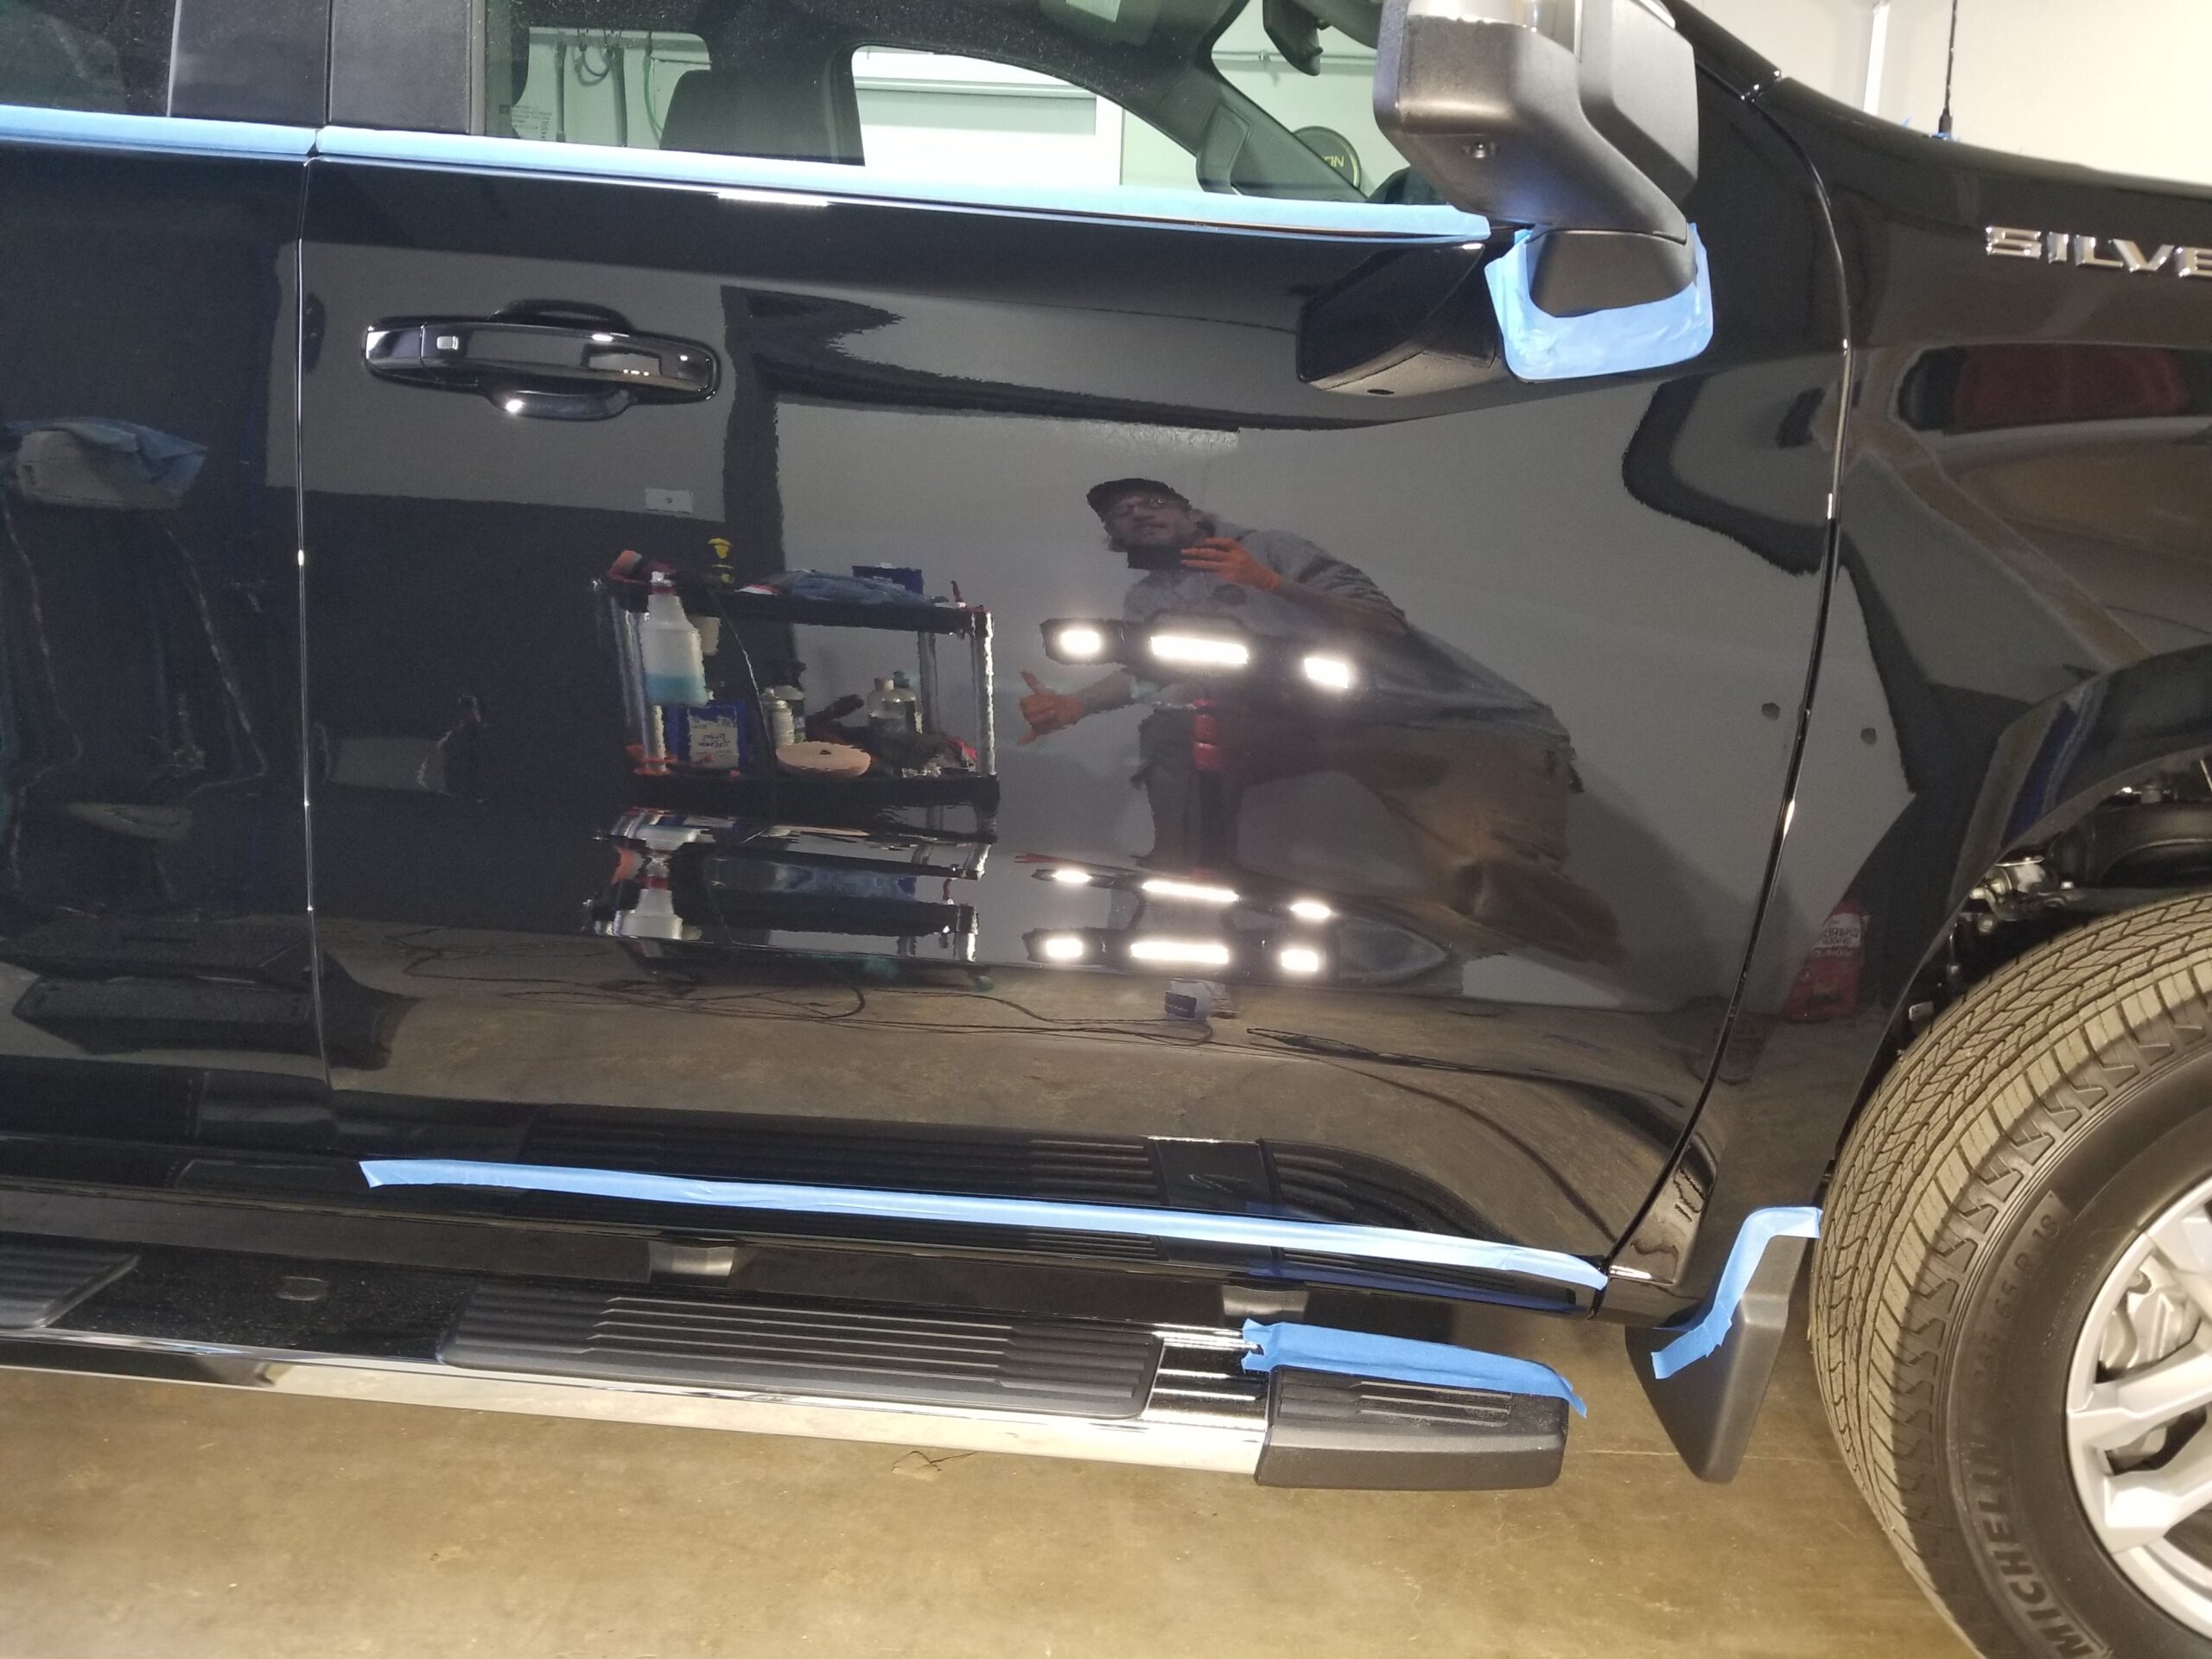
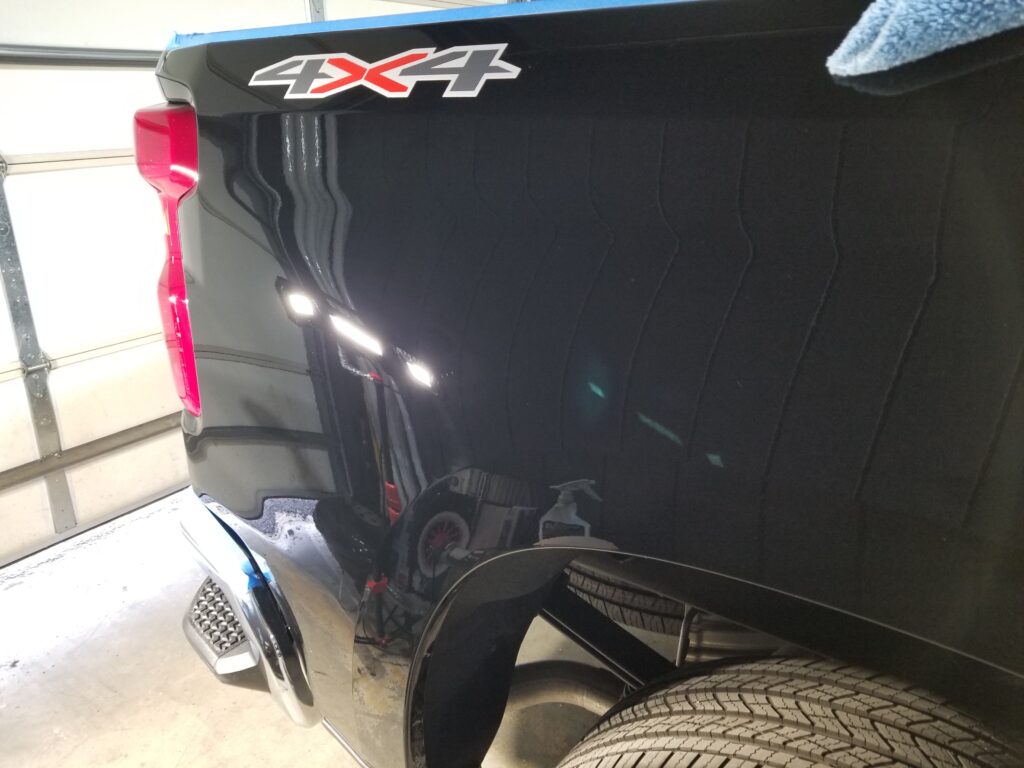
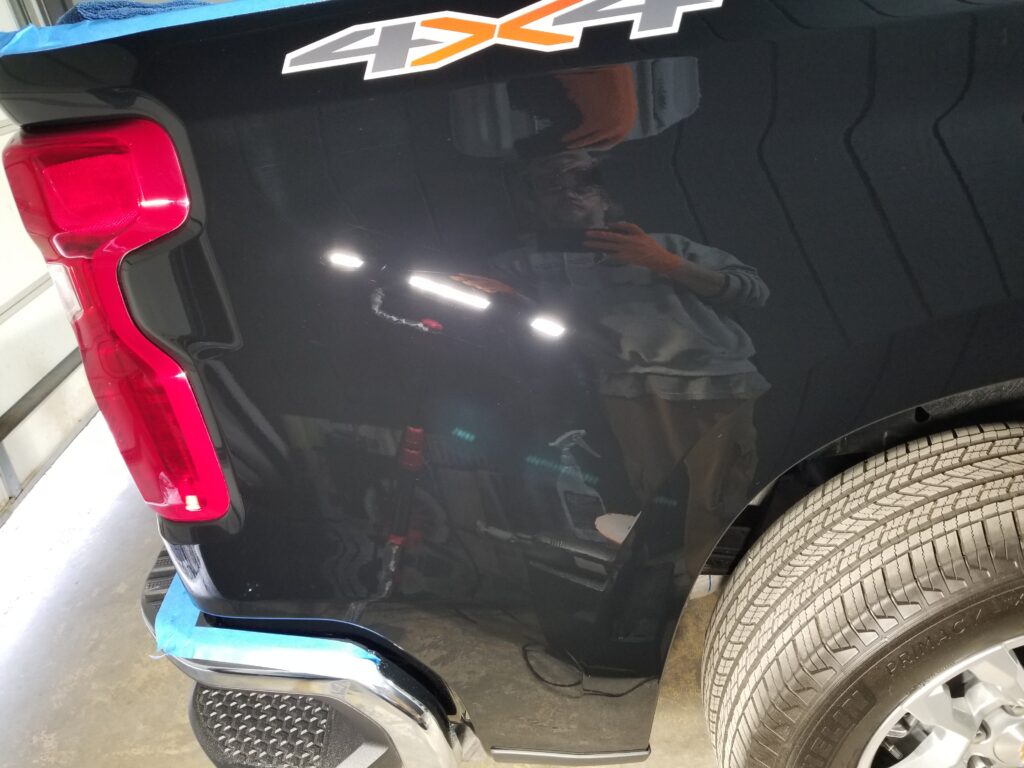
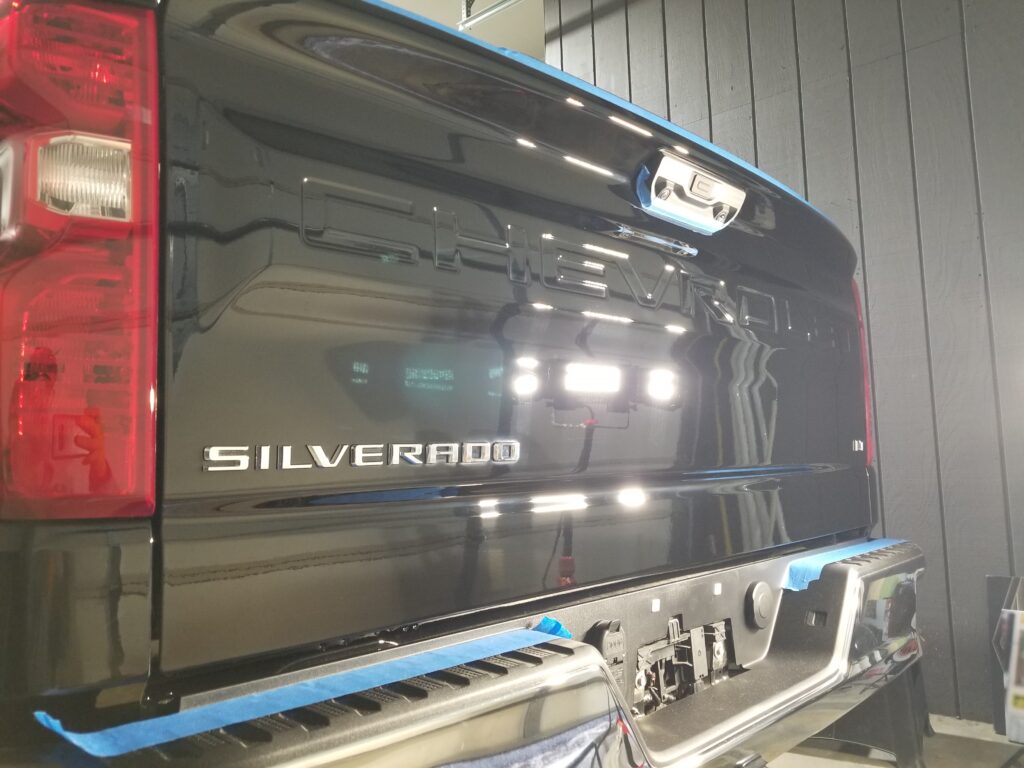
All pictures in this gallery are "in-progress" and AFTER compounding. Hazing, finishing marks, etc are all expected at this stage. What we're looking for here is the improvement in clarity and depth. We're trading the very deep blemishes for our relatively minor finishing marks. Future galleries will show the improvement in the stages as we go. Enjoy!
Test Spots

Very happy with the remediation. There is a decent amount of clear coat to work with on the truck. Which is good because we have to remove a good amount.
So far on the high end I'm looking at taking .5-.7mils and an effective average of .3-.5mils to achieve this level of correction.
The gate is very thin relative to the rest of the body, I can still achieve a great correction level but the total amount of clear coat we can safely assume to remove is significantly less than the average of the rest of the vehicle at roughly .7-.8mils
With a general effective reading of 6mils, we can safely assume 3mils of clear coat, and can assume a safe removal of 1.25mils total before clear coat integrity comes into question.*
*These are pretty conservative estimates but they're safe estimates.
High Reading: 8.23mils
Low Reading: 5.91mils
Avg Reading: 7ish mils
Effective: 5.9mils*
*(rear gate - multiple sub 5 and low mil readings will err on the side of caution and treat everything else as roughly 6mils but treat the gate as 4.5mils)
All pictures in this gallery are "in-progress" and AFTER compounding. Hazing, finishing marks, etc are all expected at this stage. What we're looking for here is the improvement in clarity and depth. We're trading the very deep blemishes for our relatively minor finishing marks. Future galleries will show the improvement in the stages as we go. Enjoy!
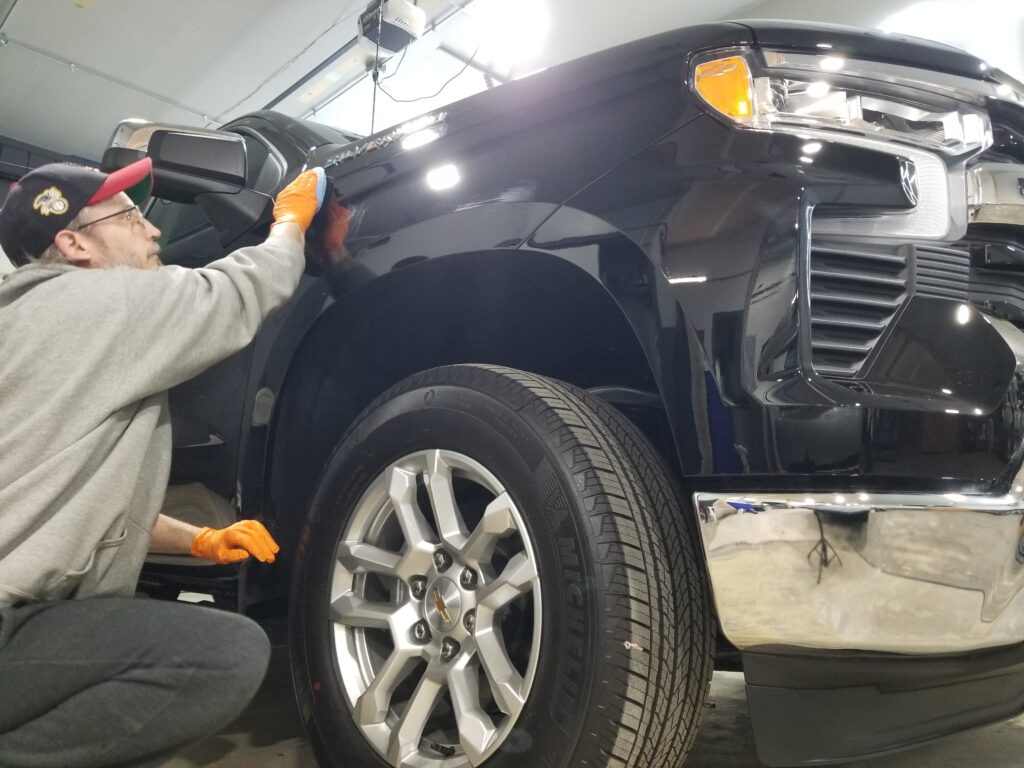
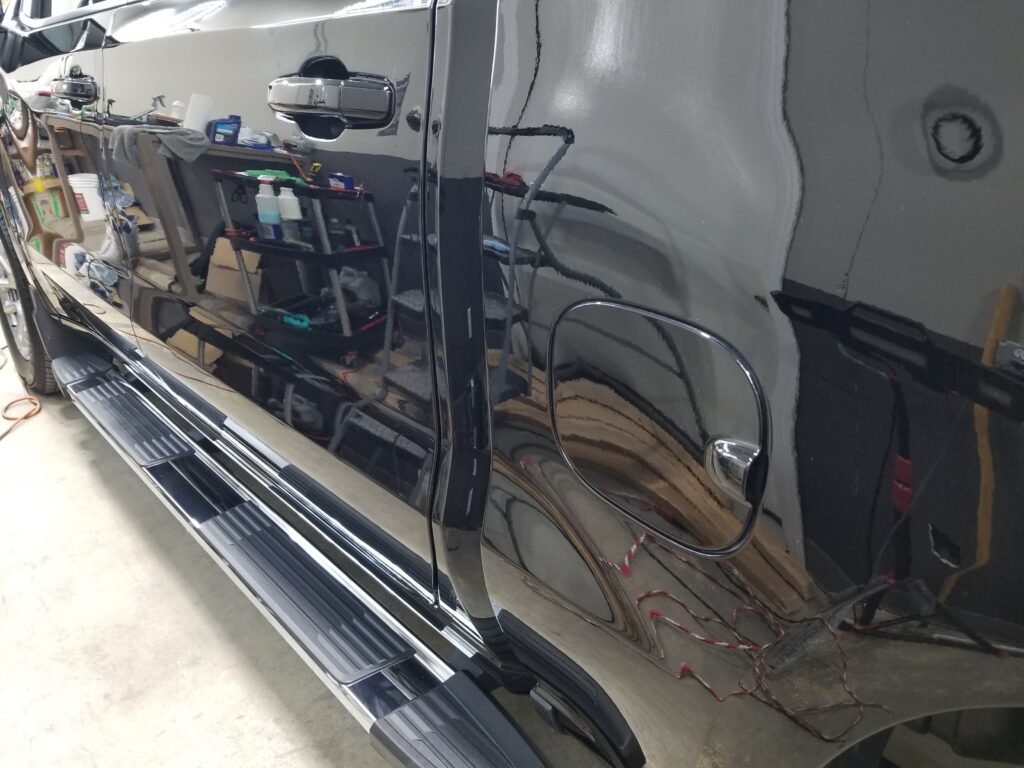
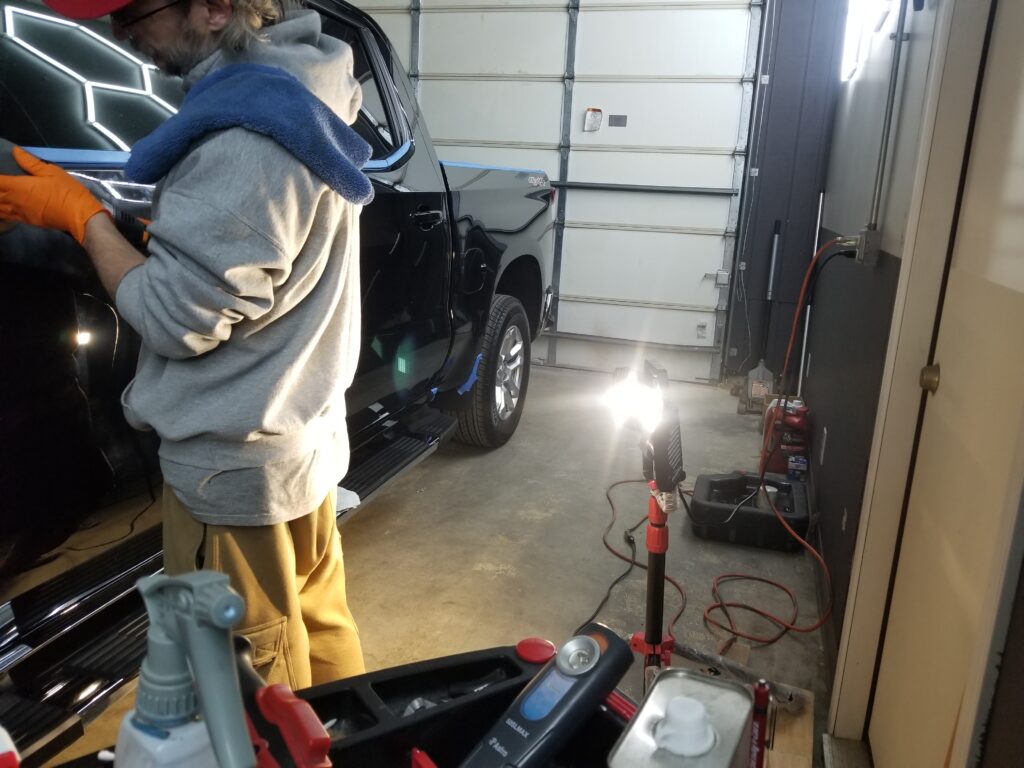
Inspection Process
During the wash and decon phase we go deep. We wash top to bottom and we get our brushes into those tight spots where the dirt and dust hide. During this stage we use some high powered soaps and detergents along with a variety of automotive clay to ensure we erase all the dirt and grime and we follow all of that up with a nice solvent bath to ensure things like tar, sap, minerals, fallout, etc are all dealt with as well prior to our paint correction work.